Give Your Disney Princess a Makeover w/ Ckinley
Redesign a Disney Princess outfit with Ckinley using fabric scraps, markers, and simple sewing or collage techniques to learn color, pattern, and creativity.


Step-by-step guide to Give Your Disney Princess a Makeover with Ckinley
Step 1
Clear a workspace and lay out all the materials so everything is easy to reach.
Step 2
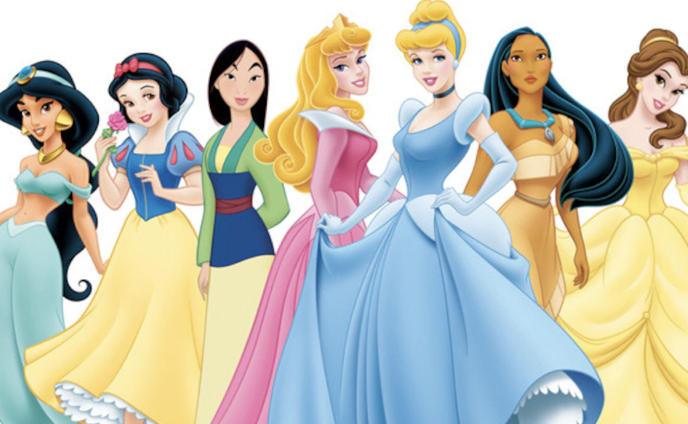
Choose which Disney Princess you want to redesign and place the picture flat on your workspace.
Step 3
Use sketch paper and a pencil to draw a new outfit idea for the princess.
Step 4
Pick fabric scraps and marker colors that match the outfit design you sketched.
Step 5
With an adult's help cut the fabric scraps into the shapes you need for the dress top skirt or accessories.
Step 6
Arrange the fabric shapes on the picture to test how the new outfit will look.
Step 7
Attach the fabric pieces to the picture using fabric glue or by sewing them on with needle and thread.
Step 8
Use markers to add drawn details like seams patterns belts or ruffles on and around the fabric pieces.
Step 9
Glue on embellishments such as buttons ribbons or sequins to make the outfit sparkle.
Step 10
Let glue dry completely or ask an adult to finish any sewing so the outfit is secure.
Step 11
Share your finished creation on DIY.org.
Help!?
What can we use if we don't have fabric scraps, fabric glue, or sewing supplies?
If you don't have fabric scraps (step 4), substitute colored construction paper, felt, or cut pieces from old clothing, and if you lack fabric glue or needle and thread (step 7), use double-sided tape or a glue stick for paper/fabric or ask an adult to use hot glue for a stronger hold.
My fabric pieces keep slipping or the glue gets messy—how can I fix that?
If pieces slip while arranging on the picture (step 6) or glue beads up during attachment (step 7), temporarily hold shapes with small pieces of painter's tape, press glued areas flat under a heavy book while drying (step 10), and trim frayed edges after cutting (step 5) for cleaner seams.
How can I change the project for different ages?
For younger kids, pre-cut fabric scraps (step 5), use fabric glue instead of sewing (step 7), and focus on sticking on large embellishments (step 9), while older kids can sketch detailed outfits (step 3), practise hand-sewing seams (step 7), and experiment with patterns and mixed-media details (steps 4 and 8).
How can we make the makeover more creative or display-worthy?
To enhance the project, create 3D accessories from cardboard and fabric scraps (steps 4–6), add painted or drawn backgrounds and extra marker details (step 8), sew or glue on sequins and ribbons for sparkle (step 9), and photograph the before-and-after to share on DIY.org (step 11).
Watch videos on how to Give Your Disney Princess a Makeover with Ckinley
How to Style Princess Outfits | Cinderella, Tiana & Ariel | Disney Princess Club | AD
4 Videos
How to Style Princess Outfits | Cinderella, Tiana & Ariel | Disney Princess Club | AD
PRINCESS BELLE and CINDERELLA MAKEOVER DIY
ELSA FROZEN MAKEUP TRANSFORMATION - Disney Princess Makeup Tutorial!
new ADLEY PRiNCESS MAKEOVER!! invited to a Royal Tea Party by bird! 2 head magic parents disney spa!
Facts about textile crafts and simple sewing for kids
🏰 The Disney Princess franchise was officially launched in 2000 and brings many beloved characters together under one brand.
♻️ Redesigning outfits with fabric scraps is a fun form of upcycling — it reuses materials and helps reduce textile waste.
🎨 Warm colors (reds, oranges, yellows) often feel energetic, while cool colors (blues, greens) feel calming — handy when choosing a princess palette.
🧵 Two simple hand stitches kids can learn quickly are the running stitch and the whipstitch — perfect for attaching scraps or adding details.
🔀 Pairing a small-scale pattern with a large-scale pattern usually keeps a design balanced and visually interesting.
How do I give my Disney Princess a makeover with Ckinley step-by-step?
What materials do I need to redesign a Disney Princess outfit with Ckinley?
What ages is this Disney Princess makeover with Ckinley suitable for?
What are the benefits of redesigning a Disney Princess outfit with Ckinley?
