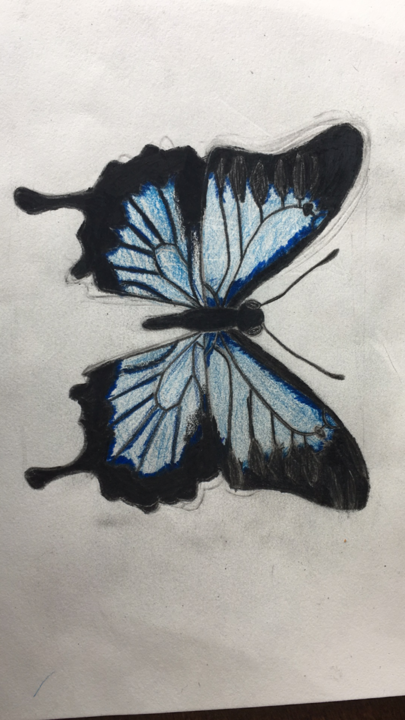
Draw any kind of insect
Draw any insect, observe reference photos or real specimens, practice shapes, symmetry, and coloring to learn insect anatomy and artistic techniques.

Drawing Apps
Step-by-step guide to draw any kind of insect
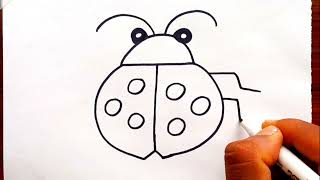
How to Draw a Bug - Easy Insect Drawing for Kids (Step-by-Step Tutorial)
Step 1
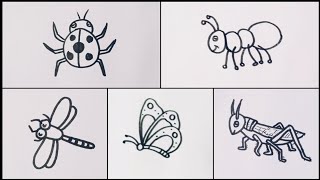
Choose one insect you want to draw like a butterfly ladybug beetle or ant.
Step 2
Place your reference photo or specimen where you can see it easily while you draw.
Step 3
Study your reference to notice the insect's main parts: head thorax abdomen wings legs and antennae.
Step 4
Lightly draw a vertical center line on your paper to help make both sides symmetrical.
Step 5
Lightly sketch simple shapes a circle or oval for the head a larger oval for the thorax and a longer oval for the abdomen.
Step 6
Draw basic wing shapes on each side using smooth curved lines that match your reference.
Step 7
Sketch the legs and antennae as straight or slightly curved lines and add joints where needed.
Step 8
Check each side against the center line and adjust your shapes so both sides look balanced.
Step 9
Add details like eyes mouthparts wing veins spots or stripes using small simple marks.
Step 10
Trace your final lines with a black pen or darker pencil to make the drawing clear and bold.
Step 11
Erase the light guide lines and the center line so only the final drawing remains.
Step 12
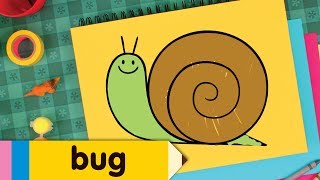
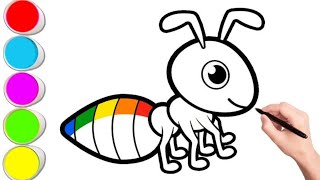
Fill in base colors across the body and wings following the colors in your reference.
Step 13
Add shading and highlights with darker and lighter tones to make your insect look three dimensional.
Step 14
Draw a simple background or a shadow under the insect so it looks like it is sitting on something.
Step 15
Take a photo of your finished insect drawing and share it on DIY.org
Help!?
What can I use if I don't have a printed reference photo or a real insect specimen?
Use a toy insect, a clear book illustration, or an image on a phone or tablet placed where you can see it while you draw to follow the step 'Place your reference photo or specimen where you can see it easily while you draw.'
My drawing looks uneven—how do I fix lopsided wings or legs?
Go back to light pencil sketches, re‑draw using the vertical center line and repeatedly 'Check each side against the center line and adjust your shapes' until wings and legs balance, then trace final lines.
How can I adapt this activity for different age groups?
For younger children stick to 'Lightly sketch simple shapes' with chunky crayons and fewer details, while older kids can add 'shading and highlights,' detailed wing veins, and a more complex background.
How can we extend or personalize the finished insect drawing?
Personalize by adding patterns or mixed‑media textures, labeling the head/thorax/abdomen, 'Draw a simple background or a shadow,' and then 'Take a photo of your finished insect drawing and share it on DIY.org.'
Watch videos on how to draw any kind of insect
How To Draw A Insect For Kids l Drawing For Kids l Step By Step Tutorial For Beginners #1
4 Videos
How To Draw A Insect For Kids l Drawing For Kids l Step By Step Tutorial For Beginners #1
How to Draw Bugs | Simple Drawing Lesson for Kids | Step By Step
How to Draw a Cute Insect | Easy Step-by-Step Tutorial | Kids Drawing and Coloring
How to draw Insects // easy drawing step by step
Facts about insect anatomy
🐜 There are more than 1,000,000 described insect species — scientists think millions more are still undiscovered!
🦋 Many butterfly and moth colors come from microscopic wing scales that reflect light, so their hues can shimmer instead of being just pigments.
🪲 Insects wear their skeleton on the outside (an exoskeleton) and must molt to grow — like taking off an old costume!
↔️ Most insects show bilateral symmetry, so drawing one side and mirroring it helps make accurate, balanced insect art.
🐝 Some insects have compound eyes made of thousands of tiny lenses — drawing those repeating patterns adds awesome realism.
How do you draw any insect step-by-step with a child?
What materials do I need to draw insects with children?
What ages is drawing insects suitable for?
What are the benefits of drawing insects for kids?
