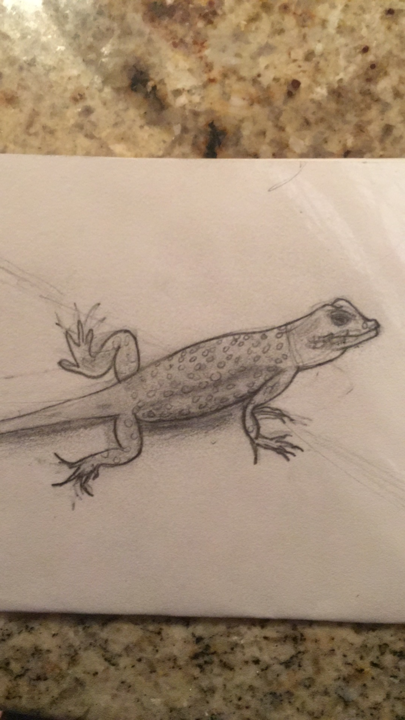
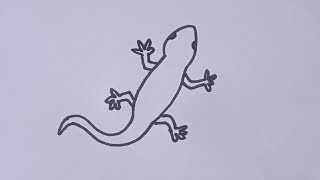
Create a drawing of a reptile
Draw a reptile (lizard, snake, or turtle) using pencils, colored pencils, and reference photos; practice shapes, scales, shading, and proportions.

Drawing Apps
Step-by-step guide to create a drawing of a reptile
Step-by-Step Reptile Drawing Tutorial for Kids: How to Draw Frog, Alligator, Cobra & More!
Step 1
Gather all your materials and put them on a clean flat workspace.
Step 2
Choose which reptile you want to draw and pick one clear reference photo to look at.
Step 3
Look carefully at the photo and find the simple shapes like circles ovals and rectangles that make up the reptile.
Step 4
Lightly sketch the big shapes on your paper to mark where the head body and tail will go.
Step 5
Connect the shapes with smooth pencil lines to form the outer outline of the reptile.
Step 6
Add limbs eyes mouth and any shell or frill using simple shapes in the correct places.
Step 7
Adjust the sizes and positions of parts so the proportions match your reference.
Step 8
Draw scales skin patterns or shell texture using small repeated marks that follow the body’s curves.
Step 9
Shade areas with your pencil where the reference shows shadows to make the reptile look 3D.
Step 10
Gently blend shaded areas with a tissue to smooth the tones if you like.
Step 11
Color your reptile with colored pencils starting with light layers and then add darker layers for depth.
Step 12
Share your finished reptile drawing on DIY.org
Help!?
What can we use if we don't have colored pencils, a tissue for blending, or a printed reference photo?
If you don't have colored pencils, tissue, or a printed reference photo, use crayons or markers for color, a cotton ball or your finger to gently blend pencil shading, and use a toy reptile or an image on a phone/tablet as your reference while you sketch the basic shapes.
My reptile looks out of proportion after I lightly sketch the big shapes — how can I fix it before connecting the shapes?
If proportions look wrong after sketching the head, body, and tail, hold your pencil up to the reference to measure relative sizes, erase and adjust the big shapes' positions, and only connect them with smooth lines once the placement matches the photo.
How can I adapt the activity for younger children or make it more challenging for older kids?
For younger children, simplify steps 3–6 by tracing basic shapes, using stickers for eyes or limbs, and coloring with crayons, while older kids can focus on detailed scale patterns in step 8, refined pencil shading and tissue blending in steps 9–10, and layered colored-pencil depth in step 11.
What are some ways to enhance or personalize the reptile drawing after coloring?
After coloring, personalize your drawing by adding a habitat background, labeling body parts from your reference, trying a light watercolor wash under the colored-pencil layers for richer tones, or making a series of different reptiles to photograph and share on DIY.org.
Watch videos on how to create a drawing of a reptile
How to Draw a Cute Lizard 🦎 | Easy & Fun Art Tutorial for Kids!
4 Videos
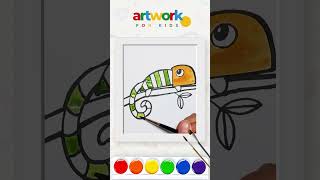
How to Draw a Cute Lizard 🦎 | Easy & Fun Art Tutorial for Kids!
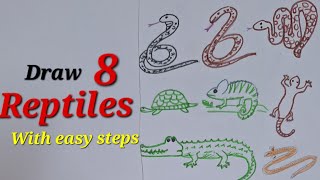
Reptiles drawing easy,Draw Reptile easy,How to draw reptiles easy,Draw snake, lizard, python, turtle
Draw a Lizard with Me! 🦎✨ | Step-by-Step Drawing Tutorial
How to draw lizard drawing easy step by step /Reptile drawing/Lizard drawing
Facts about drawing and sketching for kids
🦎 Many lizards can drop and regrow their tails — a cool escape trick called autotomy!
🐢 Some turtles use cloacal respiration (a kind of "butt breathing") to stay underwater longer.
🐍 Snakes use their forked tongues to collect scent particles and send them to a special organ to "smell" the world.
✏️ Artists often start drawings with simple shapes (circles, ovals, rectangles) to get proportions right before adding details.
🎨 Drawing a mix of scale shapes and sizes (tiny near the eyes, bigger on the body) makes reptiles look more realistic.
How do I draw a reptile (lizard, snake, or turtle) with pencils and colored pencils?
What materials do I need to draw a reptile using reference photos?
What ages is a reptile drawing activity suitable for?
What are the benefits, safety tips, and fun variations for a reptile drawing activity?
