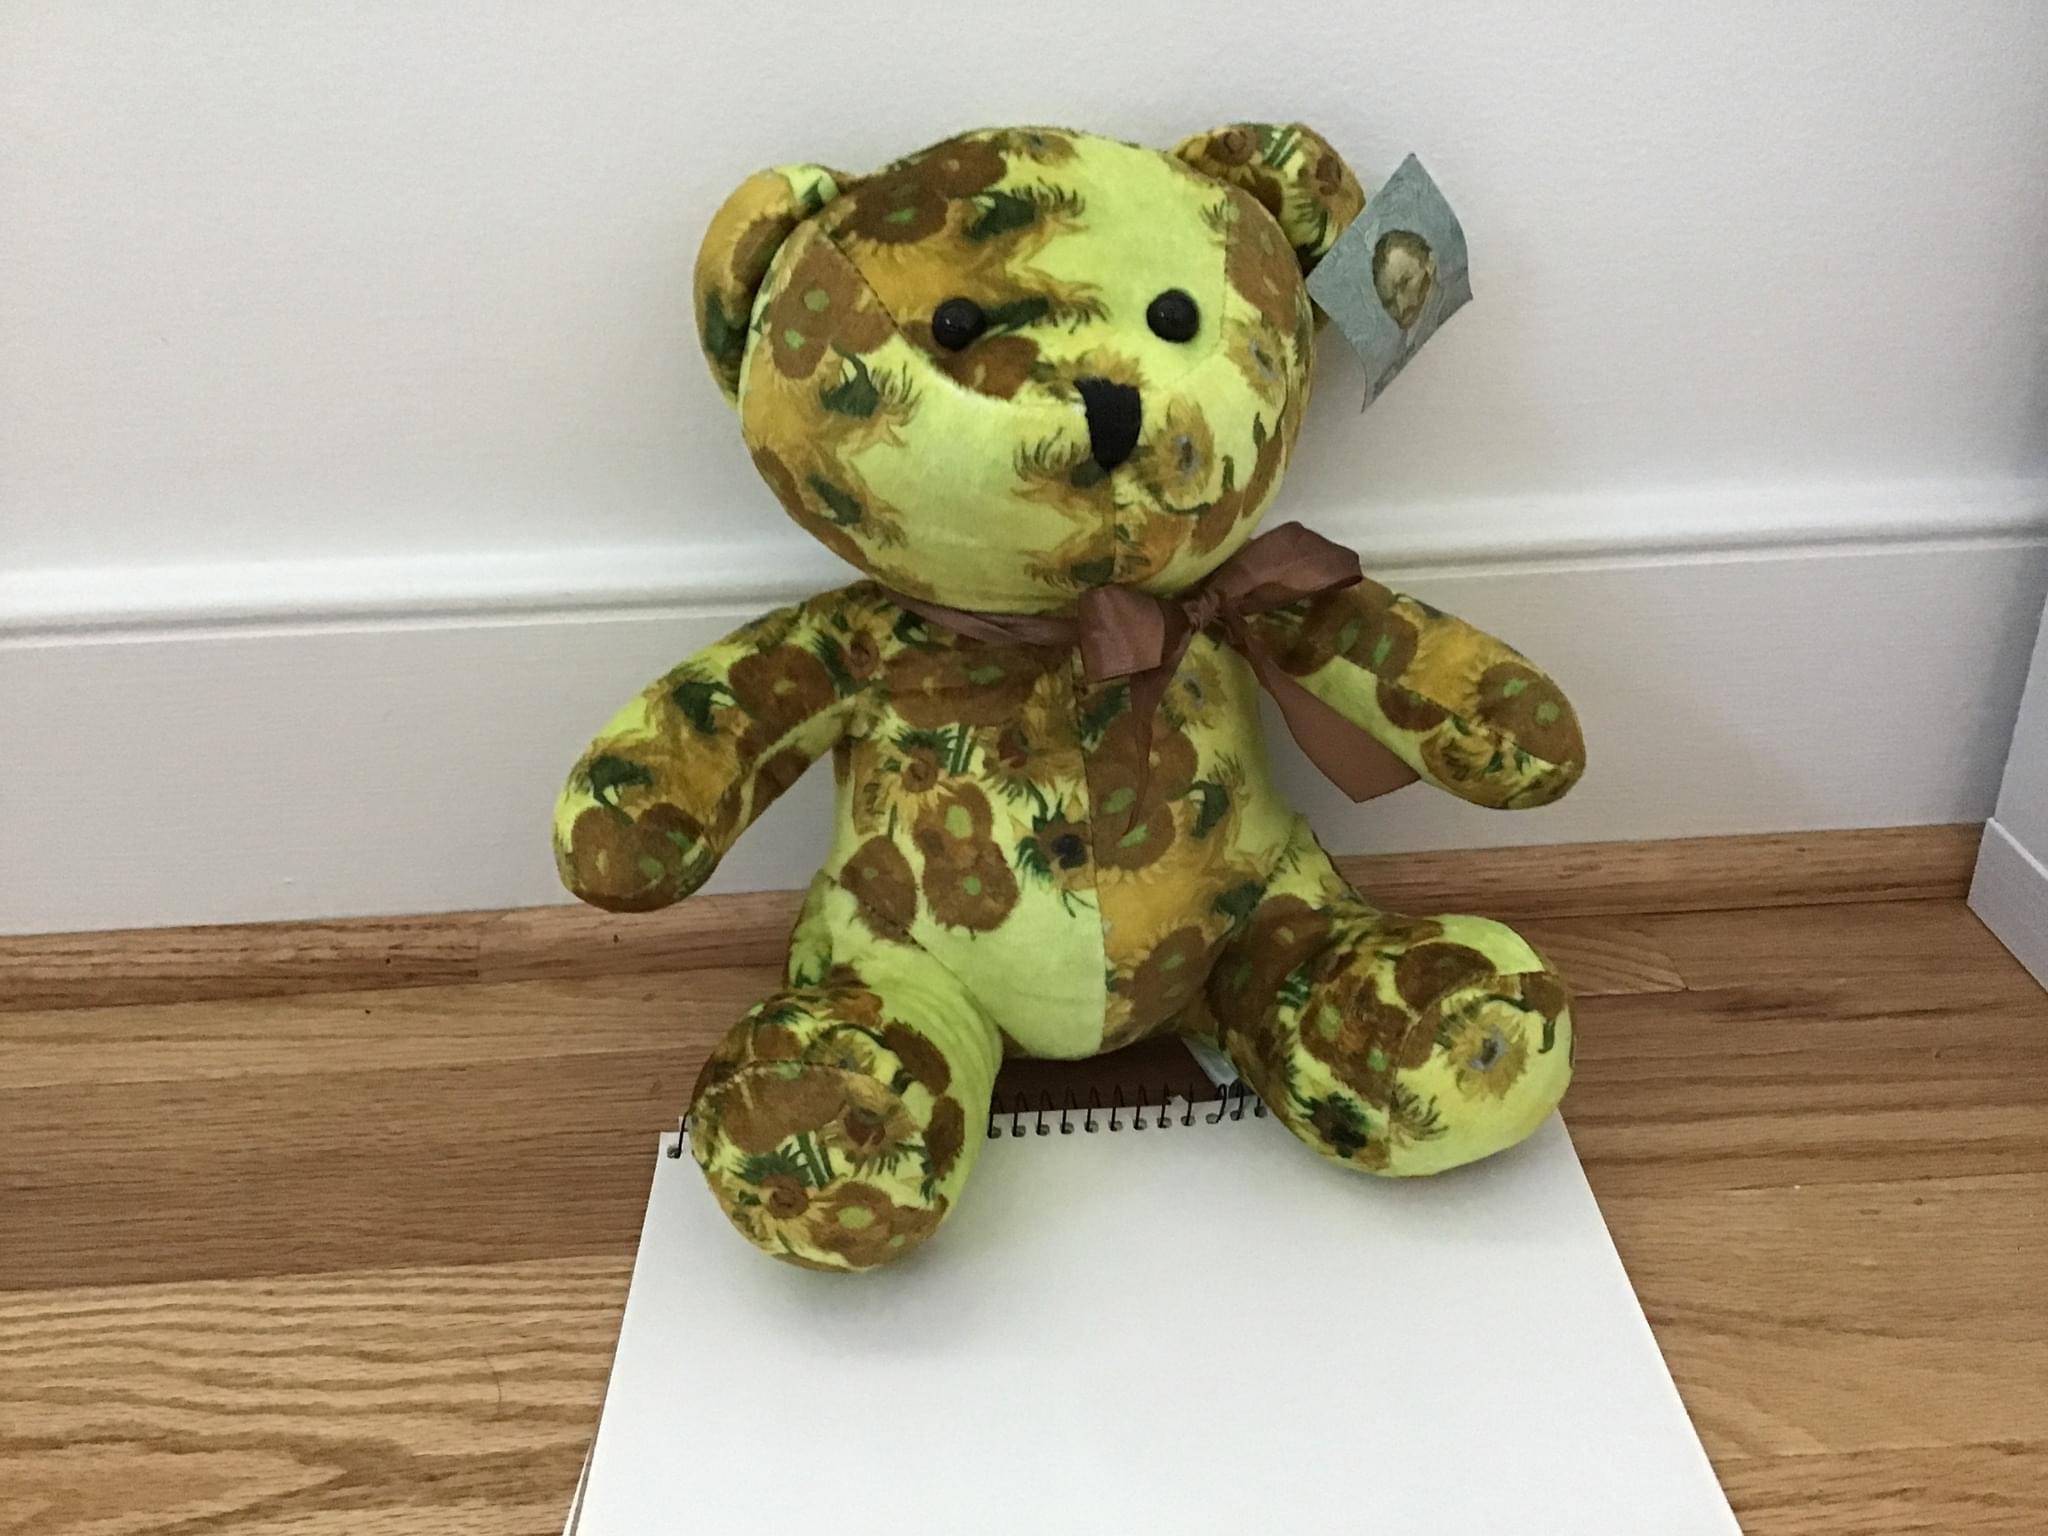
Draw a Stuffed Animal w/ Bebegirl
Draw a stuffed animal together with Bebegirl, learning shapes, shading, and adding colors to create a cute plush character step by step.

Drawing Apps
Step-by-step guide to draw a stuffed animal with Bebegirl
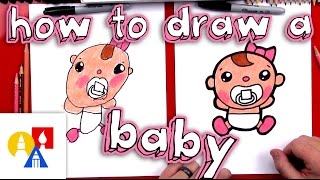
How to Draw a Baby in a Unicorn Onesie 🍼🦄 | Blume Baby Pop
Step 1
Gather all your materials and find a flat comfy spot to draw.
Step 2
Lightly draw a big oval for the stuffed animal’s body.
Step 3
Lightly draw a smaller circle that overlaps the top of the oval for the head.
Step 4
Draw two rounded ears on top of the head.
Step 5
Draw two small round eyes on the face.
Step 6
Draw a small oval in the middle of the face for the nose.
Step 7
Draw a curved smile under the nose.
Step 8
Draw simple rounded arms and rounded legs attached to the body.
Step 9
Add short little fur lines on the head and body to make it look fluffy.
Step 10
Draw one accessory like a bow or a patch on the belly.
Step 11
Shade the edges lightly with your pencil and blend softly with the tissue to make your plush look 3D.
Step 12
Color your stuffed animal using light layers first then add darker colors for depth.
Step 13
Trace your final lines with the black marker to make your character pop.
Step 14
Wait for the marker to dry then gently erase any extra pencil lines.
Step 15
Share your finished stuffed-animal drawing on DIY.org.
Help!?
What can I use instead of a black marker or tissue if I can't find them?
If you don't have a black marker, trace your final lines with a dark pen, fineliner, or a sharpened crayon, and substitute the tissue for a cotton ball or a soft microfiber cloth when blending the pencil shading.
My shading and marker lines are smudging or look flat—how can I fix that?
Prevent smudging by waiting for the traced marker lines to dry fully as the instructions say, use very light pencil layers when shading the edges, blend gently with a clean tissue or cloth, and reapply subtle darker layers to build depth if the plush looks flat.
How can I adapt these steps for kids of different ages?
For toddlers, have an adult pre-draw the big oval and circle and let them color with chunky crayons; for early elementary kids follow the full step list with guided light pencil marks and simple fur lines; and for older kids encourage detailed fur textures, layered shading with the tissue blending step, and more complex accessories before tracing with marker.
How can we extend or personalize the stuffed-animal drawing once it's finished?
To personalize and extend the activity, add a unique accessory like a fabric bow or a belly patch (as in step 11), create a patterned background, turn the final traced design into a small sewn plush using scrap fabric, and then share the finished piece on DIY.org as suggested.
Watch videos on how to draw a stuffed animal with Bebegirl
How to Draw a Cute Stuffed Animal and strawberry | Squishy
4 Videos
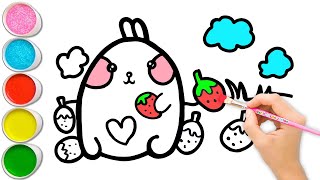
How to Draw a Cute Stuffed Animal and strawberry | Squishy
How To Draw Cartoon Baby Olivia
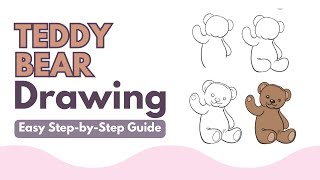
How to Draw A Teddy Bear - Step-by-Step Guide
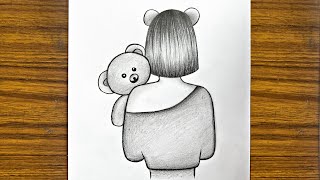
How to draw a girl holding a teddy bear || Girl drawing step by step || Easy drawing for beginners
Facts about drawing, shading, and coloring for kids
🐻 The teddy bear was named after U.S. President Theodore "Teddy" Roosevelt after a famous 1902 hunting story — and that’s where the modern plush craze began!
✏️ Pro artists and cartoonists often build characters from simple shapes (circles, ovals, rectangles) — it makes drawing easier and faster.
🎨 Shading with a clear light source turns flat sketches into 3D-looking plushies — that's the magic of shadows and highlights.
🌈 Complementary colors (opposite on the color wheel) make each other pop — great for cute eyes, bows, or patches on a stuffed animal.
👀 Adding a tiny white 'catchlight' in the eye instantly makes a character look shiny, friendly, and alive.
How do I draw a stuffed animal with Bebegirl step by step?
What materials do I need to draw a stuffed animal with Bebegirl?
What ages is the 'Draw a Stuffed Animal with Bebegirl' activity suitable for?
What are the benefits of drawing a stuffed animal with Bebegirl?
