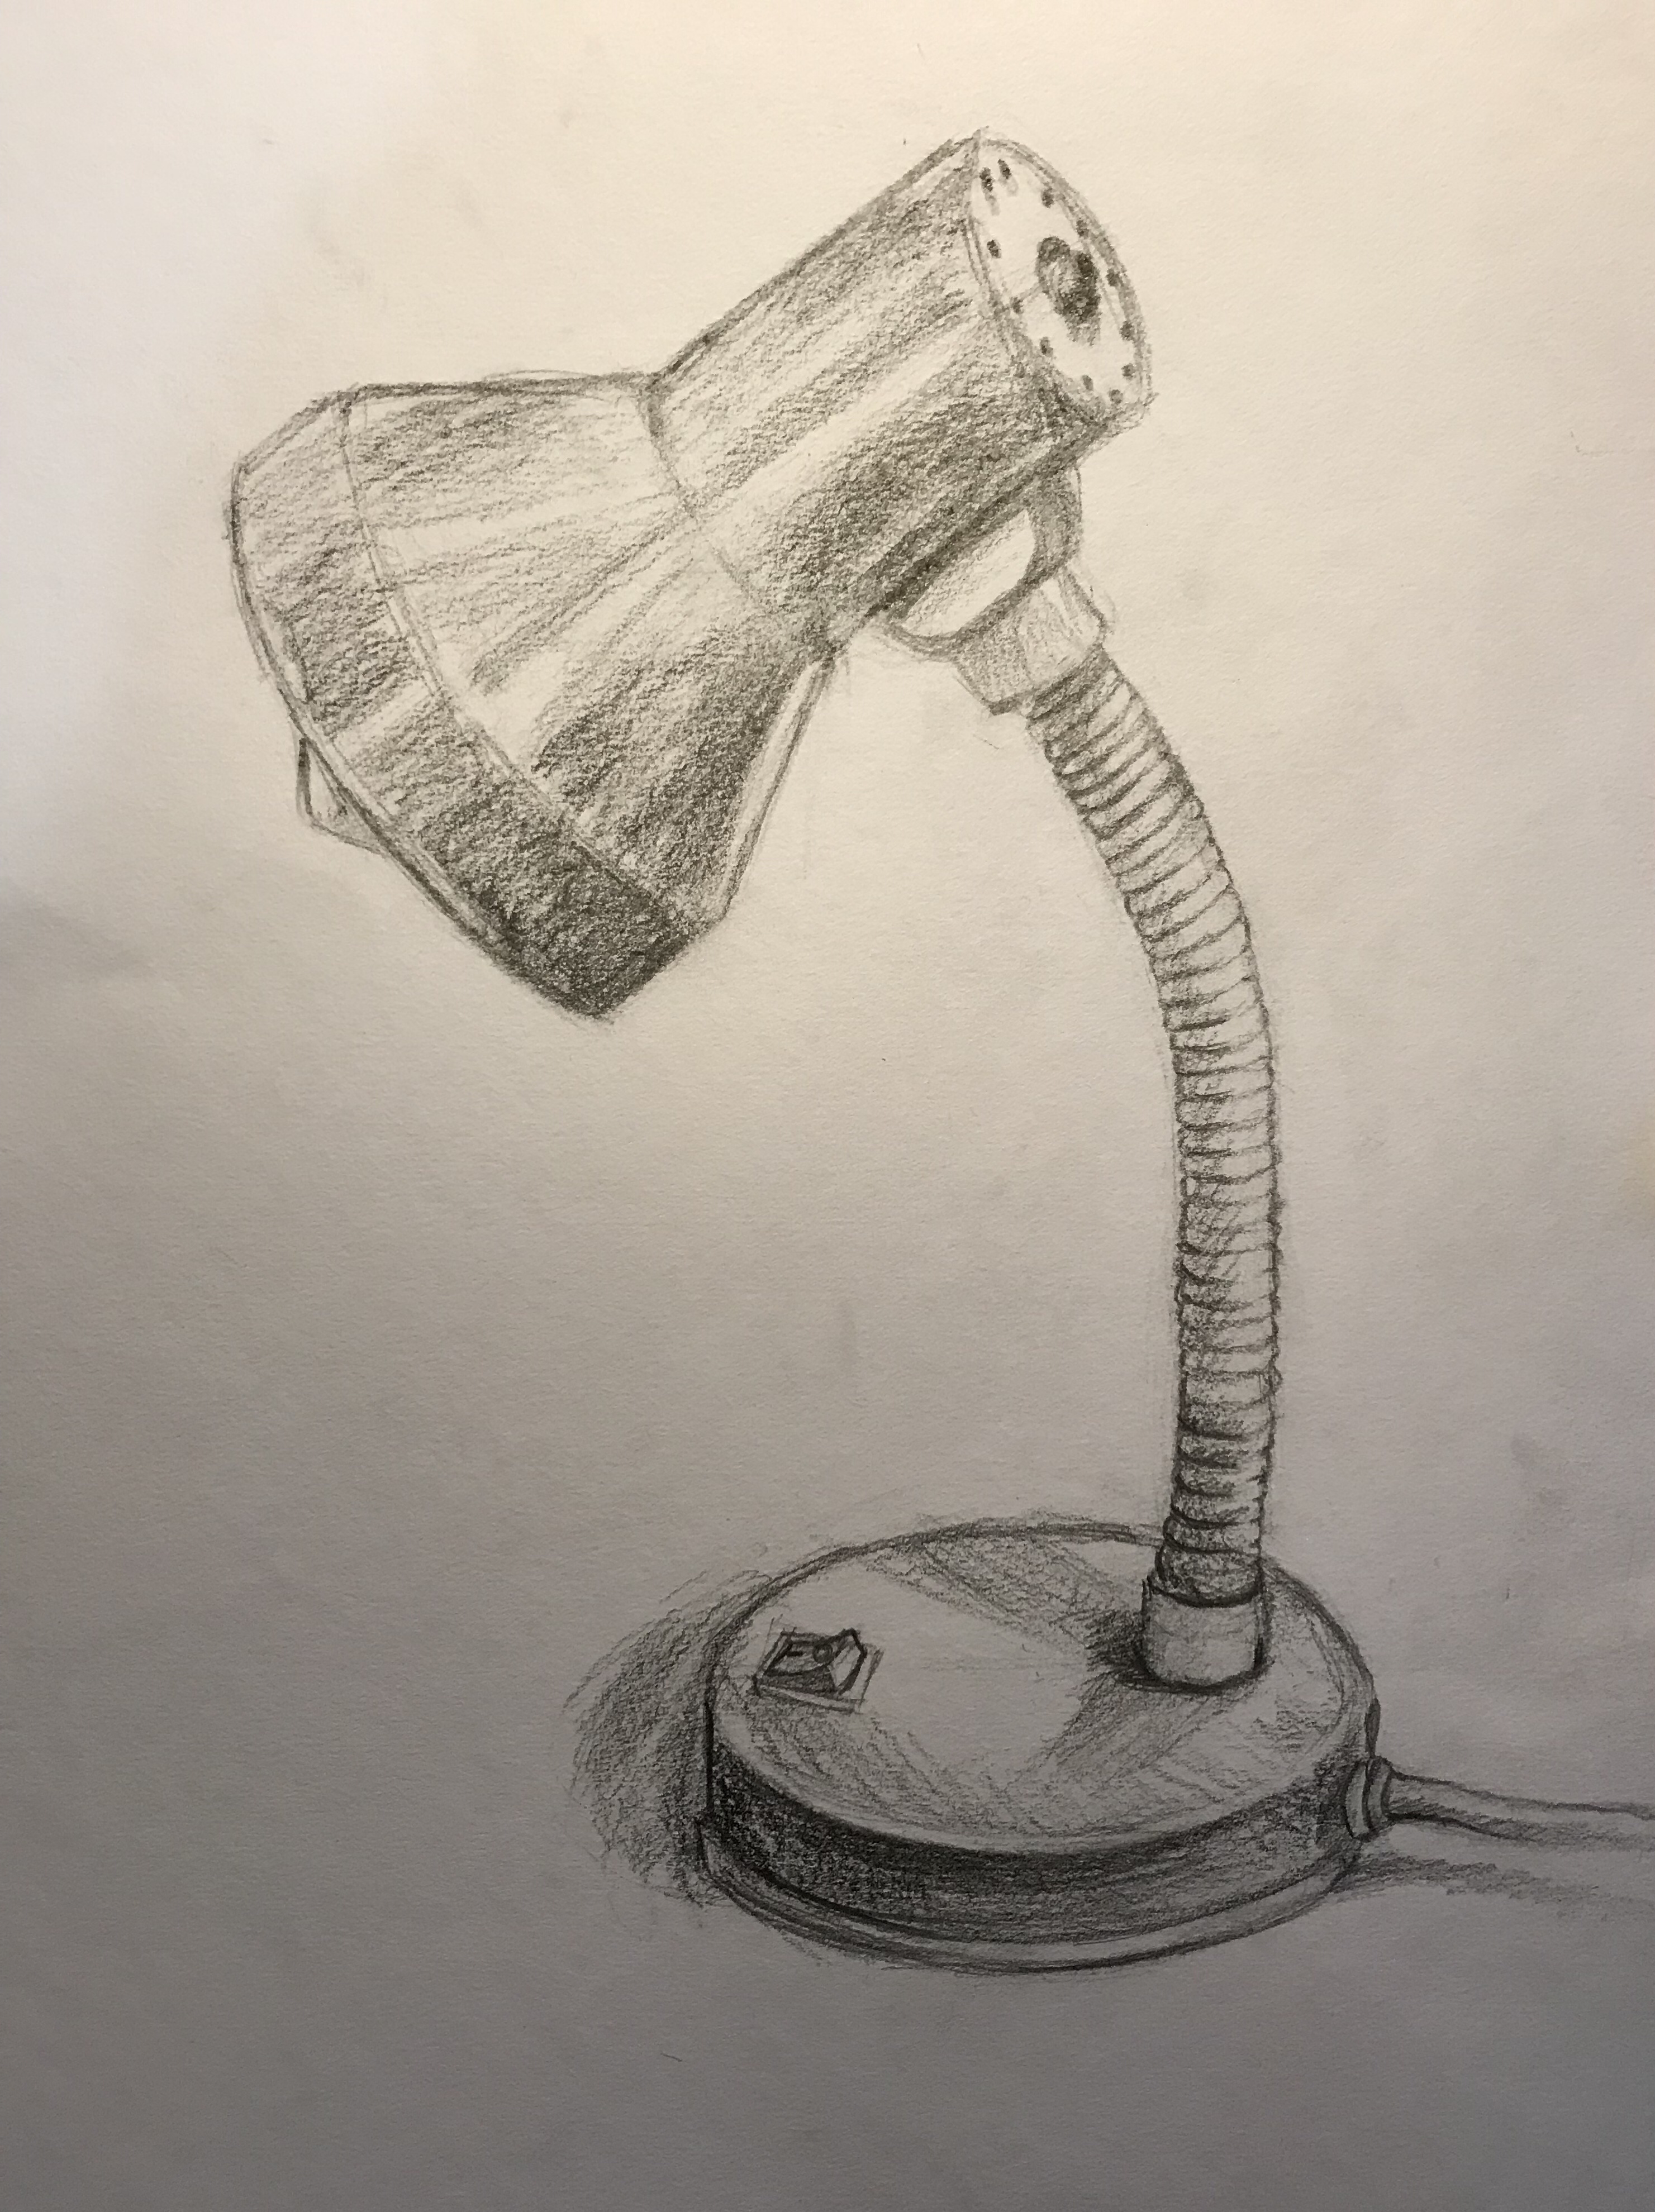
Draw an object in your house
Choose an object from your house, observe its shapes and shadows, then draw it with pencils or crayons, practicing careful observation and shading.

Drawing Apps
Step-by-step guide to draw an object in your house
Step 1
Choose one small object from your house that looks interesting to draw.
Step 2
Put the object on a table where you can see it easily.
Step 3
Place a lamp nearby or sit by a sunny window so the object creates clear light and shadow.
Step 4
Study the object for one minute to find its biggest shape.
Step 5
Lightly sketch the main outline of that big shape on your paper using simple lines.
Step 6
Compare your sketch to the object to spot any parts that look different.
Step 7
Erase or change one line that looks wrong to make the outline closer to the object.
Step 8
Add smaller details inside the outline like handles bumps or patterns.
Step 9
Lightly mark the shadow areas you see on the object onto your drawing.
Step 10
Shade the marked shadow areas with your pencil using soft strokes.
Step 11
Blend the pencil shading gently with your finger or a tissue if you want softer shadows.
Step 12
Use crayons or colouring materials to add color and texture following your shapes and shadows.
Step 13
Erase stray pencil marks to clean up your picture and then sign your name.
Step 14
Share your finished creation on DIY.org
Help!?
What can we use if we don't have a lamp, crayons, or a tissue for blending?
Use a phone flashlight or a desk lamp to create clear light and shadow, substitute colored pencils or markers for crayons, and blend pencil shading with your finger, a cotton ball, or a scrap of paper instead of a tissue.
My outline doesn't match the object—how do we fix it without ruining the paper?
Compare your sketch to the object as instructed, hold your pencil at arm's length to check proportions, then gently erase or change the one line that looks wrong as described in the erase/change step to preserve the rest of the drawing.
How can we adapt this drawing activity for different ages?
For toddlers simplify steps 4–6 by tracing the biggest shape and using chunky crayons, for elementary kids follow steps 7–11 to add details and shade shadows with soft strokes, and for teens add fine shading, blending with a tissue, and colored textures in step 11.
How can we extend or personalize the finished drawing before sharing it on DIY.org?
Arrange a small still life of two or three objects, experiment with moving the lamp in step 3 to change shadow shapes, add patterns or mixed-media textures in step 11, then clean stray marks, sign your name, and share the finished picture on DIY.org as the final step.
Watch videos on how to draw an object in your house
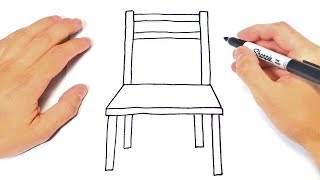
How to draw a chair SIMPLE & EASY step by step for kids
4 Videos
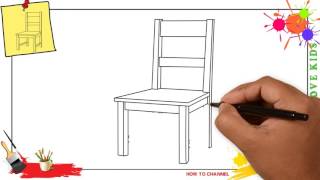
How to draw a chair SIMPLE & EASY step by step for kids
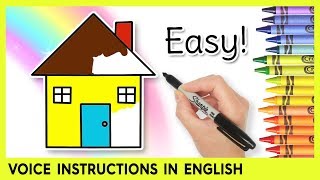
Easy HOUSE Drawing for Kids! Step by Step Lessons
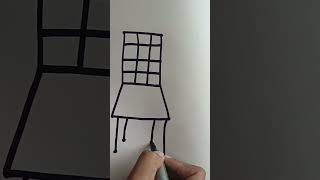
Easy Drawing for kids|| Simple chair Drawing #art #drawing #shorts
How to draw a Chair Step by Step | Easy drawings
Facts about observational drawing and shading
✏️ Graphite pencils come in grades from 9H (very hard) to 9B (very soft) — softer pencils make darker, smoother shading.
🖍️ Crayons were mass-produced for children starting in the early 1900s; Crayola began selling crayons in 1903.
🎨 Chiaroscuro (Italian for "light-dark") is a classic art technique that uses strong contrasts to make flat shapes look three-dimensional.
👀 People who draw objects tend to remember them better — the "drawing effect" improves recall compared with just listing or reading.
🕯️ Move the light source and the shadows change: a low light casts long, dramatic shadows; overhead light makes short, soft ones.
How do I draw an object from my house step-by-step?
What materials do I need to draw a household object?
What ages is this household object drawing activity suitable for?
What are the benefits of drawing objects from around the house?
