Show Off Your Stationary
Make and decorate a personalized stationery set of cards, envelopes, and matching stickers using paper, markers, stamps to practice design and lettering.


Step-by-step guide to Show Off Your Stationary
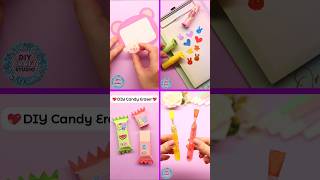
COOLEST STATIONERY CRAFTS EVER! 🤩💖 FUN IDEAS FOR SCHOOL
Step 1
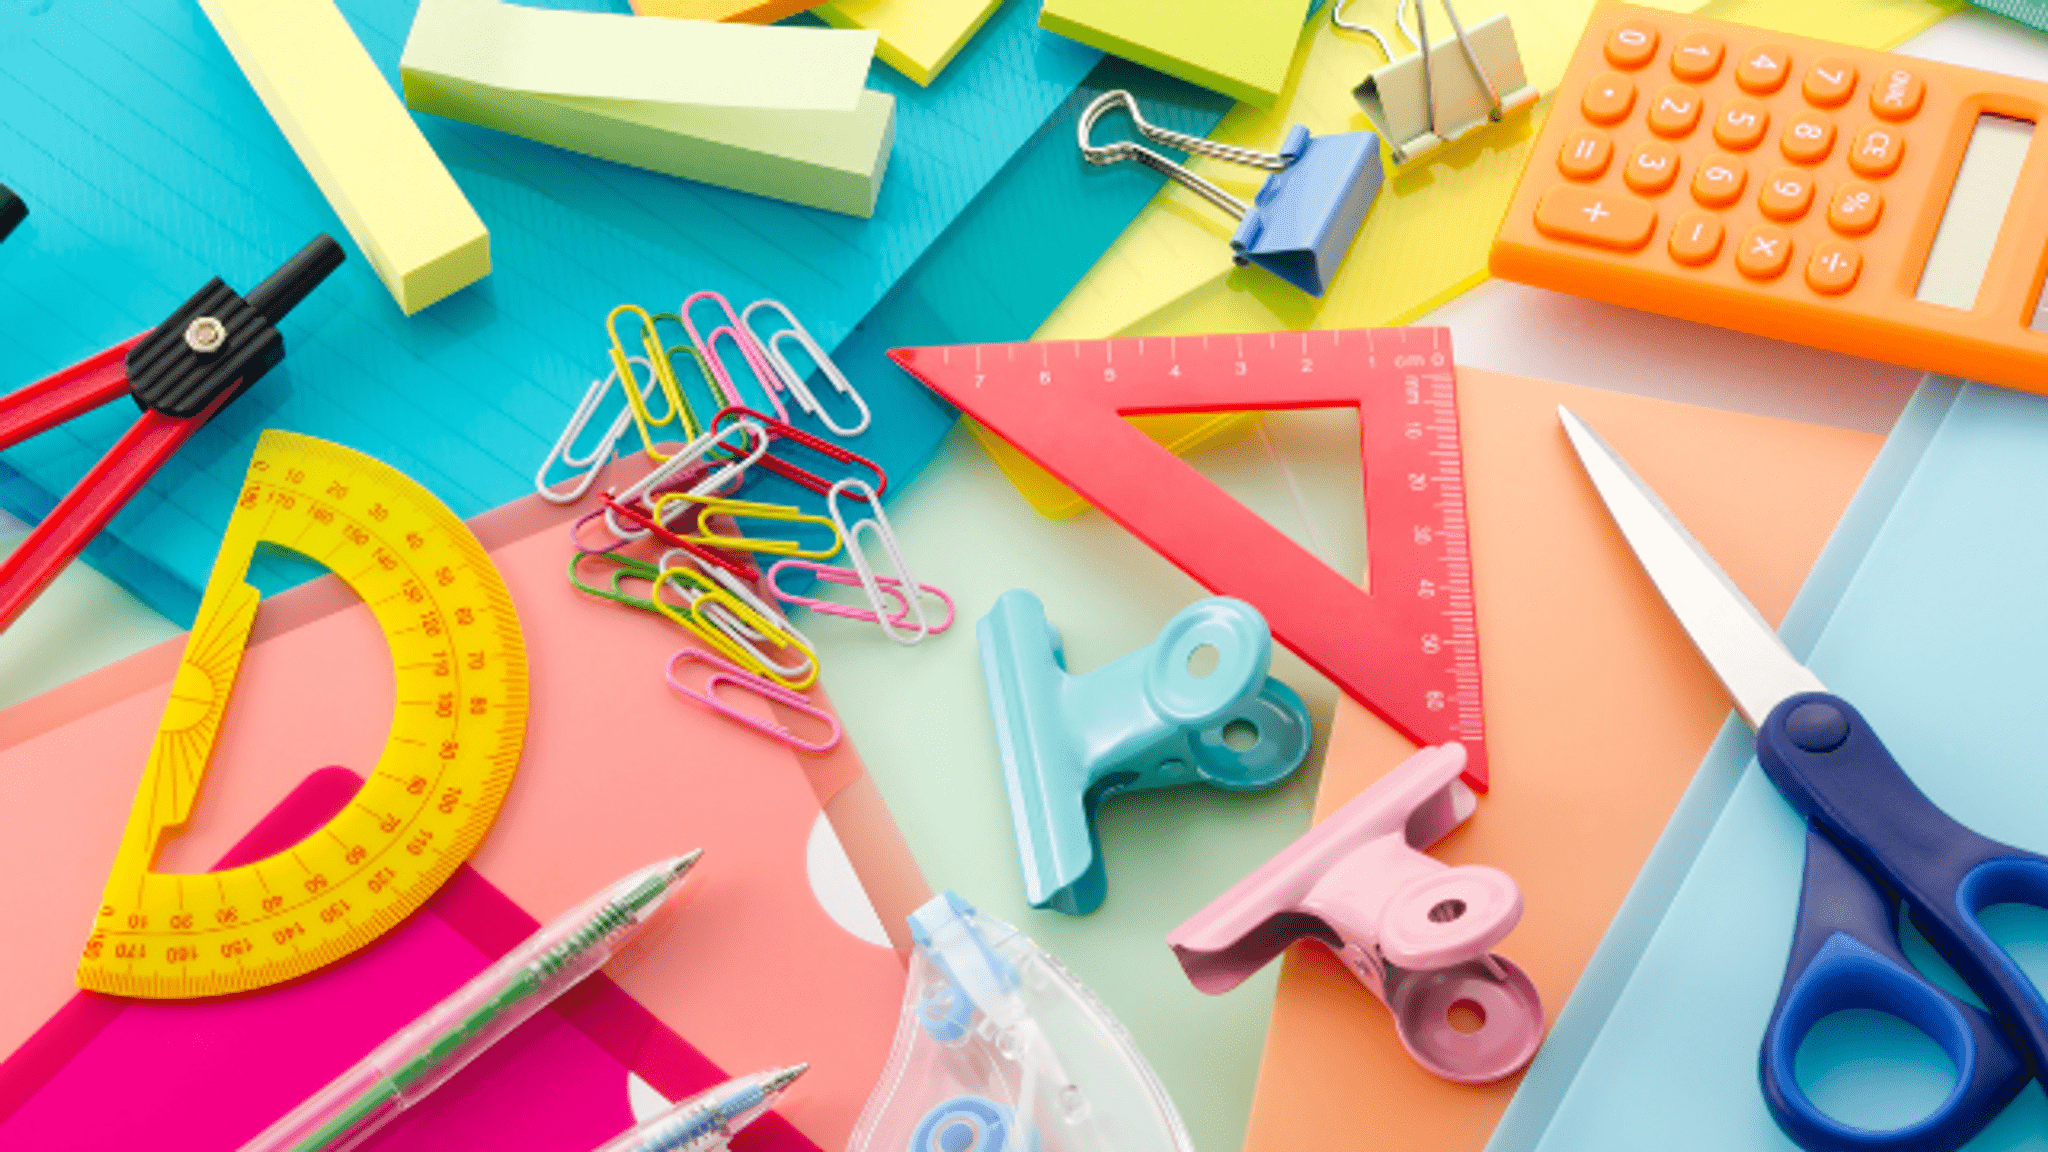
Gather all the materials from the list and bring them to your workspace.
Step 2
Clear a flat workspace so you have room to fold cut and decorate.
Step 3
Choose a fun theme and pick three main colors for your stationery set.
Step 4
Fold each piece of cardstock in half to make the cards.
Step 5
Make matching envelopes by trimming and folding plain paper so each card fits inside.
Step 6
Use a pencil and ruler to draw light guide lines on the front and inside of each card.
Step 7
Decorate the front of each card with your markers stamps and coloring materials using your chosen theme.
Step 8
Write a short greeting inside each card using neat lettering.
Step 9
Draw matching small designs on sticker paper and cut them out to make stickers.
Step 10
Add stamped accents to envelopes and stickers using your rubber stamps and ink pad.
Step 11
Write the recipient name on each envelope in your best handwriting.
Step 12
Assemble each stationery set by sliding a card into an envelope and sealing it with glue or a sticker.
Step 13
Share your finished creation on DIY.org.
Help!?
I can't find cardstock, sticker paper, or an ink pad—what can I use instead?
Use heavyweight printer paper or glue two sheets of plain paper together in place of cardstock, cut plain paper shapes and attach them with glue or double-sided tape instead of sticker paper, and replace the ink pad by drawing stamp designs with colored pens or using marker-tipped stamps when adding stamped accents.
My envelopes keep tearing or the cards don't slide in properly—how do I fix folding and trimming issues?
If envelopes tear or don't fit the folded cards, re-measure the folded card, trim the envelope paper slightly larger than the card before folding, score the fold lines with a ruler or the back of a spoon for crisp folds, and seal with small glue dots or a sticker so the card slides in smoothly.
How can I change the activity for different age groups?
For preschoolers pre-fold the cardstock and pre-cut sticker shapes and let them decorate with washable markers, while older kids can use the pencil and ruler to draw guide lines, experiment with rubber stamps and ink pads for accents, and practice neat or decorative handwriting for the greetings.
What's a simple way to extend or personalize our stationery sets?
Personalize and extend the project by stamping a monogram on each envelope with your rubber stamps and ink pad, cutting extra cardstock into matching notepaper, layering washi tape or die-cut shapes on the card fronts, and photographing the finished sets to share on DIY.org.
Watch videos on how to Show Off Your Stationary
🌷How to Make DIY Cute Stationery | Easy & Fun Craft Ideas
4 Videos
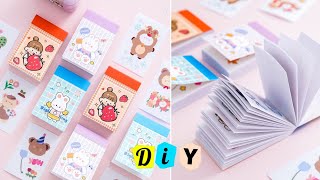
🌷How to Make DIY Cute Stationery | Easy & Fun Craft Ideas
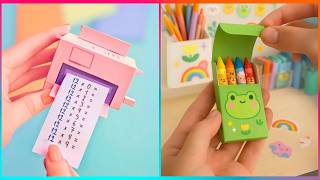
46 DIY School Stationery Ideas Anyone Can Try When They're Bored in Class
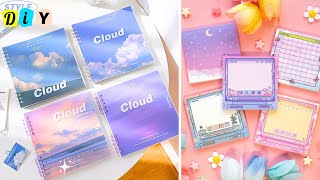
🌷 How to Make Stationery | DIY Cute Stationery | Handmade School Supplies | School Hacks
How to Make 4 Cute Mini Stationery Crafts / DIY Easy Paper Craft Ideas #papercraft
Facts about stationery design and paper crafts
✉️ Stationery has been used for personal and official letters for centuries; the word comes from "stationer," the old sellers of writing supplies.
🖋️ Practicing calligraphy and hand-lettering can improve handwriting, patience, and creativity — perfect for designing your own cards.
📬 The greeting card industry sells billions of cards every year, so making handmade cards is a special, personal alternative.
✂️ Papercrafting can turn a single sheet into envelopes, pop-ups, or stickers — a few folds and cuts go a long way!
🎨 Using stamps, markers, and matching patterns helps kids learn design basics like balance, repetition, and color harmony.
How do I make a personalized stationery set with my child?
What materials do I need to make a personalized stationery set at home?
What ages is making a stationery set suitable for?
What are the benefits of making personalized stationery for kids?
