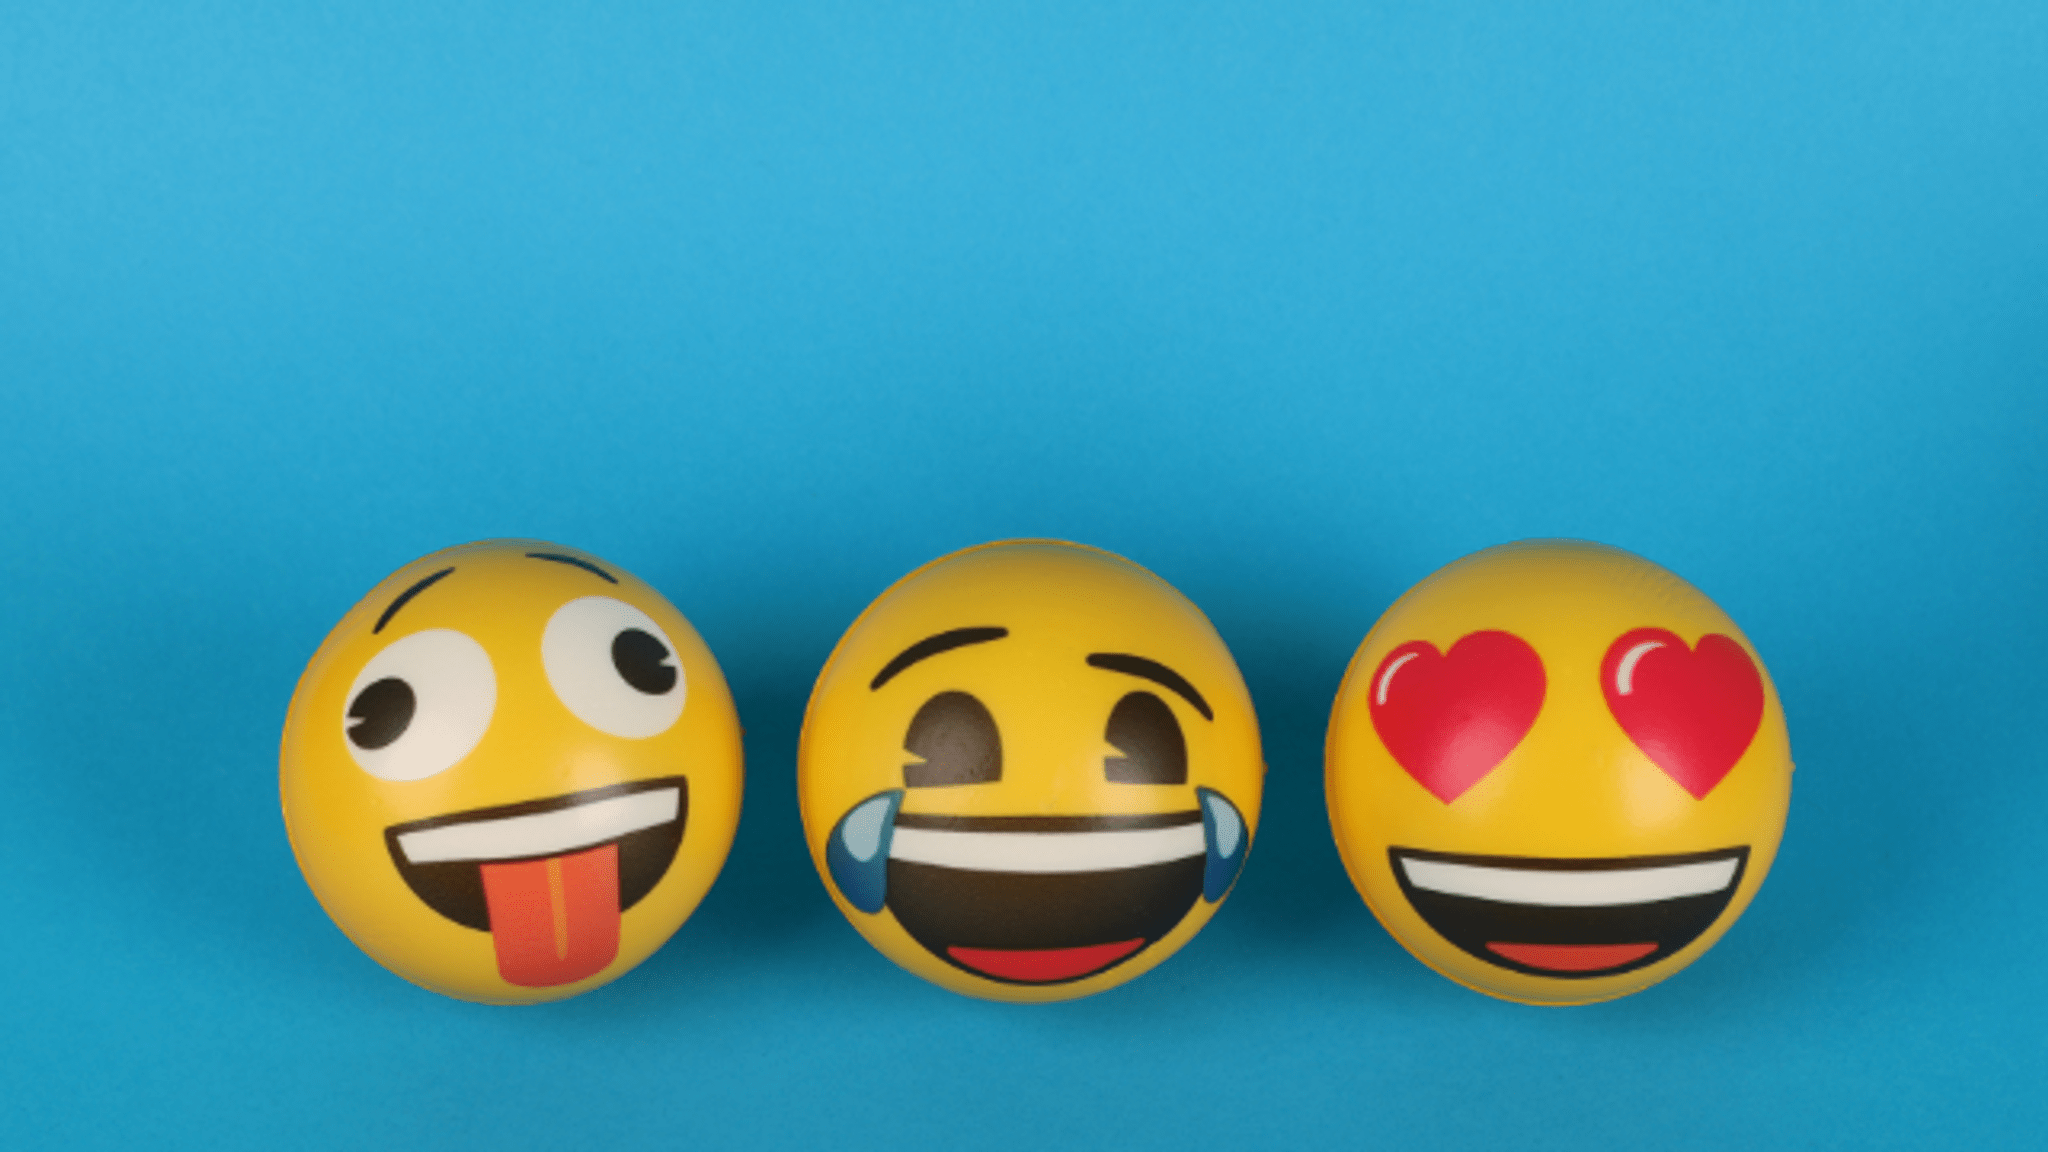
Create Yourself As an Emoji
Design a personalized emoji of yourself using drawing, coloring, and collage; observe expressions, pick features, and make a small paper avatar.

Drawing Apps
Step-by-step guide to create yourself as an emoji
Fun Emoji Drawing for Kids | Easy Art Idea 🎨 #shorts
Step 1
Gather all the materials from the list and bring them to your workspace.
Step 2
Clear a flat surface and lay out your materials so you can reach everything easily.
Step 3
Place the cup or lid on a sheet of paper and trace around it to make a circle for your emoji head.
Step 4
Stand in front of a mirror and watch how your eyes mouth and eyebrows move when you make different faces.
Step 5
Choose one expression you want your emoji to show like happy surprised or sleepy.
Step 6
Lightly sketch the chosen expression’s eyes eyebrows nose and mouth inside the circle.
Step 7
Draw personal features like your hairstyle glasses freckles or a hat on the circle.
Step 8
Carefully cut out the circle with scissors to make your emoji head.
Step 9
Color the face and drawn features using your colouring materials.
Step 10
Cut small shapes from coloured paper or magazines to make hair clothes or accessories.
Step 11
Glue the cut paper shapes onto your emoji to add collage details.
Step 12
Outline your emoji with a black marker to make the features stand out.
Step 13
Glue your finished emoji onto a small rectangle of coloured paper to make a mini emoji card.
Step 14
Write your name or draw a tiny speech bubble under your emoji with a short word that matches the expression.
Step 15
Share your finished creation on DIY.org.
Help!?
What can I use if I don't have a cup or lid to trace a circle, colored paper, or a mirror?
If you don't have a cup or lid to trace the circle, use a small plate or large coin to draw the head, substitute colored paper with magazine pages or plain paper colored by crayons, and use a selfie photo instead of standing in front of a mirror to study your expression.
My paper ripped while cutting and my collage wrinkled when I glued it—how can I fix that?
If the circle rips while cutting, stop and use safety scissors or ask an adult to cut slowly along your traced line, and prevent glue wrinkles by applying tiny dabs of glue, smoothing each piece flat with a clean finger or a book before it dries.
How can I adapt this activity for different ages?
For preschoolers, pre-trace and pre-cut the circle and let them stick pre-cut shapes and color with crayons, for elementary kids let them draw and cut the facial features and hair themselves, and for older kids encourage shading, detailed features, or making a set of emoji cards from multiple expressions.
What are simple ways to extend or personalize my finished emoji card?
Mount your finished emoji onto the colored rectangle as instructed, then personalize by laminating it, gluing it to a popsicle stick to make a puppet, adding collage textures like glitter or magazine cutouts, or photographing several expressions and uploading the series to DIY.org as a project.
Watch videos on how to create yourself as an emoji
⭐❤️ Funny Emoji Star Art | Cute Drawing for Kids
4 Videos
⭐❤️ Funny Emoji Star Art | Cute Drawing for Kids

How To Draw and Color Emoticons (Emoji)

How To Draw Laughing Emoji 😂
How To Draw The Party Emoji Face 🥳 + Spotlight
Facts about character design and self-expression
🎌 Emoji were invented in Japan in the late 1990s by designer Shigetaka Kurita.
🖼️ Artists like Rembrandt and Frida Kahlo used self-portraits to explore identity and emotion.
😃 Researchers say people across cultures can recognize basic facial expressions such as happy, sad, anger, surprise, fear, and disgust.
✂️ Collage became a famous modern art technique in the early 20th century with Cubists and Dadaists cutting and pasting paper and photos.
🧑💻 Tiny avatars and emoji help people add tone and personality to messages—there are over 3,000 emoji in modern emoji lists.
How do I create a personalized emoji avatar with my child?
What materials do I need to make a "Create Yourself As an Emoji" craft?
What ages is the "Design Yourself as an Emoji" activity suitable for?
What are the benefits and fun variations of making a personalized emoji?
