Doodle FNAF Characters
Draw and doodle your own Five Nights at Freddy's style animatronic characters using pencils, markers, and simple shapes to practice proportions and creativity.
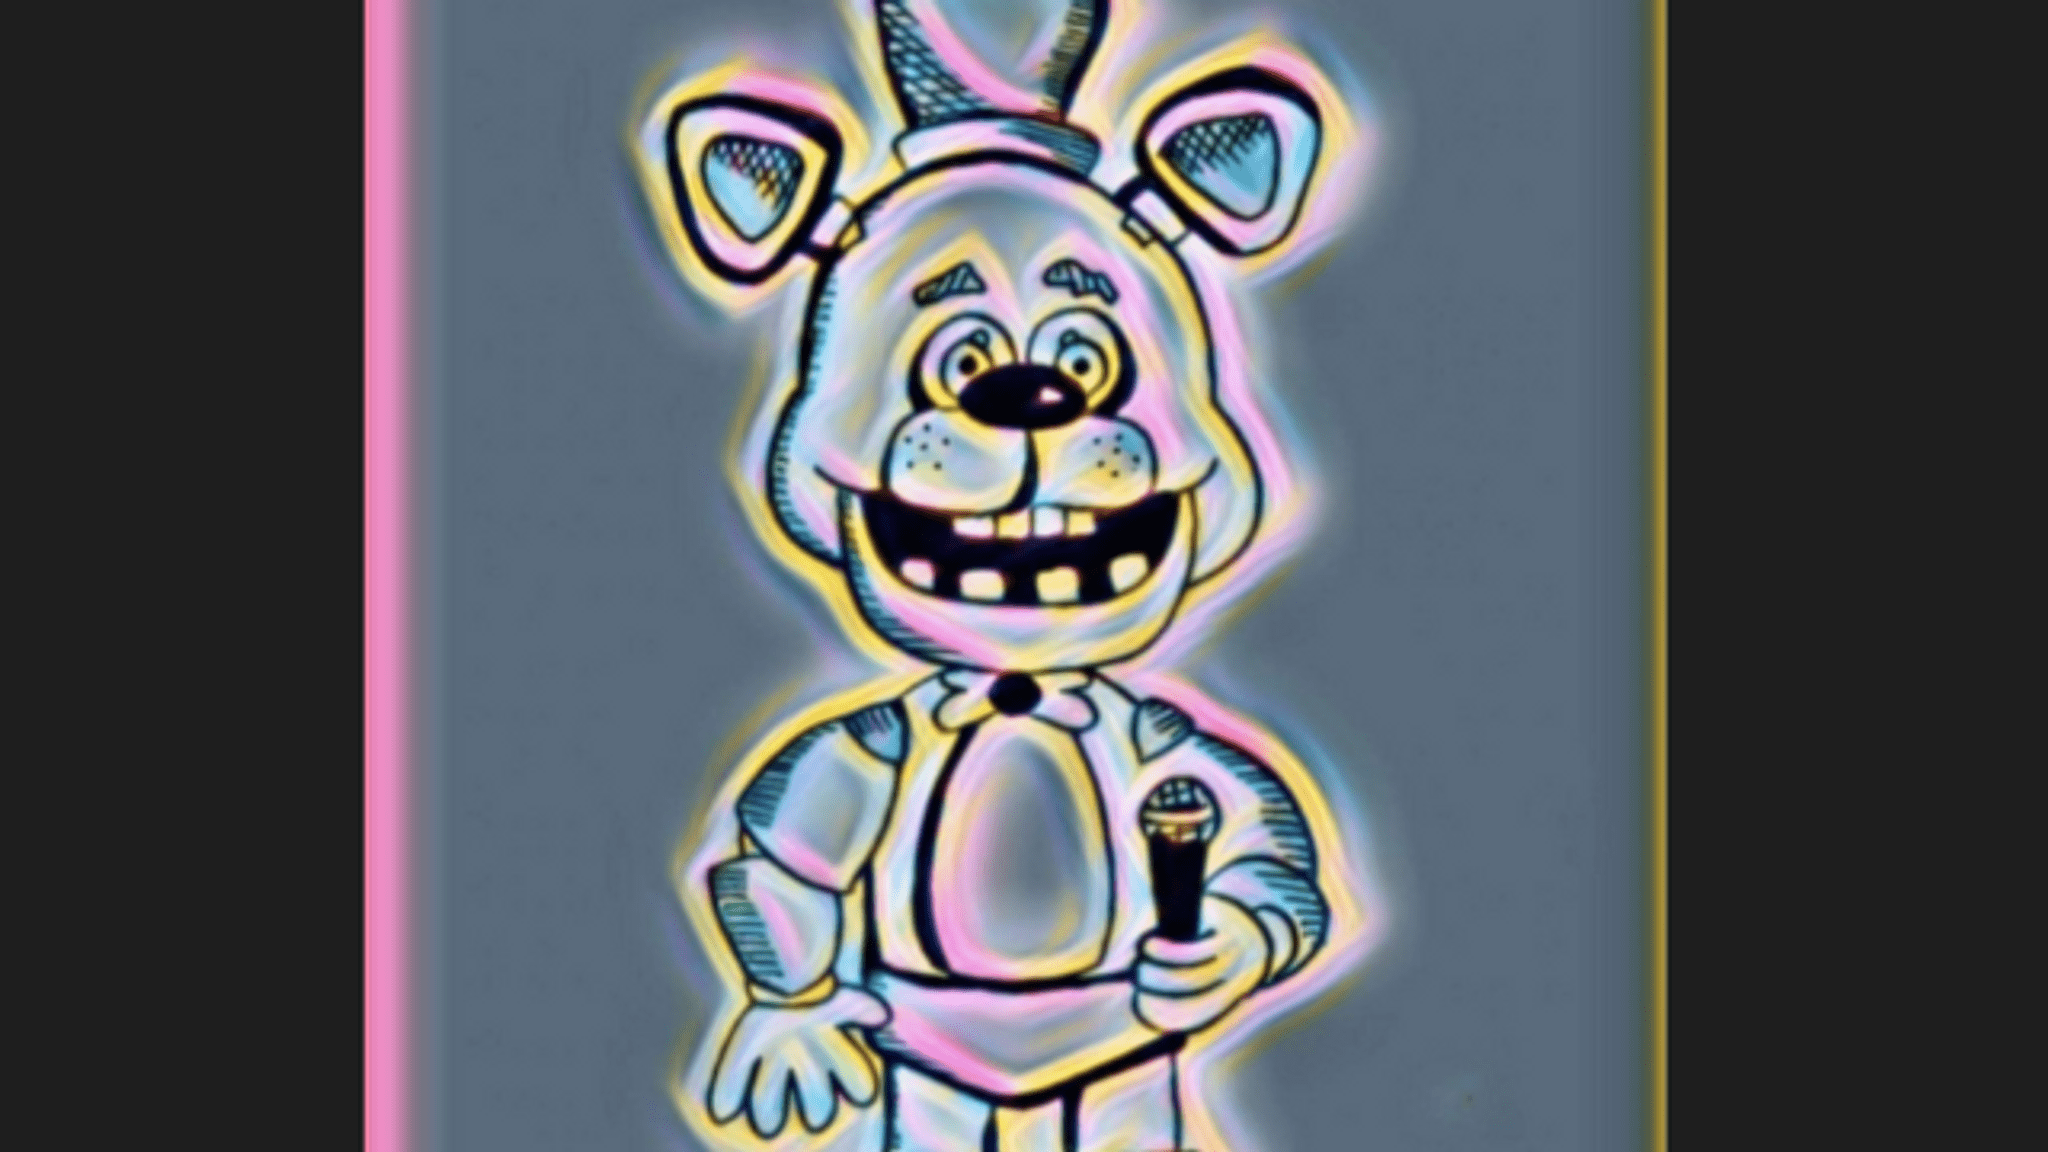
About this tutorial
Draw and doodle your own Five Nights at Freddy's style animatronic characters using pencils, markers, and simple shapes to practice proportions and creativity.
What you need
Instructions
- 1
Step 1
Think of a name and one or two simple traits for your animatronic like brave or silly.
- 2
Step 2
Lightly draw a big oval or rectangle for the body to block out the size.
- 3
Step 3
Draw a circle or rounded square for the head above the body shape.
- 4
Step 4
Add a vertical and horizontal guideline on the head to help place features.
- 5
Step 5
Draw two large simple eyes on the guideline using circles or ovals.
- 6
Step 6
Draw a mouth shape and add simple teeth or a gear-like row for a robot mouth.
- 7
Step 7
Sketch the arms and legs using long cylinders and circles for the joints.
- 8
Step 8
Add mechanical details like panel lines bolts wires and a few square or round panels.
- 9
Step 9
Draw one or two costume items like a hat bowtie or torn fabric to give personality.
- 10
Step 10
Use the eraser to remove extra sketch lines and keep the clean shapes you like.
- 11
Step 11
Trace your final lines carefully with the black marker to make the drawing bold.
- 12
Step 12
Wait a minute for the marker to dry so it does not smudge.
- 13
Step 13
Color your animatronic using your coloring materials and choose cool colors or rusty metal tones.
- 14
Step 14
Add light pencil shading or white highlights to show shiny metal or worn edges.
- 15
Step 15
Write your animatronic’s name and a one-sentence backstory next to it and then share your finished creation on DIY.org
Fun facts
How do I doodle Five Nights at Freddy's style animatronic characters?
Start by choosing a simple pose and lightly sketching basic shapes: circles for heads, rectangles for bodies, and ovals for limbs. Block in proportions, then add animatronic details like segmented joints, rivets, and facial plates. Erase guidelines, darken your final lines, and color with markers or colored pencils. Encourage imaginative features—glowing eyes, mismatched parts—and keep sessions short and fun so kids stay engaged without getting frustrated.
What materials do I need to doodle FNAF-style animatronics?
You’ll need plain drawing paper or a sketchbook, a soft pencil (HB or 2B), an eraser, a thin black pen or fineliner for outlines, washable markers or colored pencils for coloring, and a ruler for straight panel lines. Optional items include reference images of animatronics, a blending stump for shading, and stickers for decoration. Choose non-toxic, washable supplies for younger children.
What ages is doodling FNAF characters suitable for?
This activity suits children aged about 6 and up. Younger kids (4–5) can join using tracing, sticker eyes, or guided scribbles, while older kids and teens can explore complex proportions, perspective, and mixed-media textures. Adjust supervision and tools by offering washable markers and blunt scissors to younger artists, and allowing sharper tools and more detailed references for older children.
What are the benefits, safety tips, and variations for drawing animatronics?
Benefits include improving proportion sense, fine motor skills, creativity, and visual storytelling as children invent animatronic personalities. For safety, use non-toxic, washable supplies and supervise small parts or sharp tools. Variations: turn doodles into a comic strip, make paper puppets, or challenge kids to design a 'friendly' versus 'scary' version with different colors and expressions. Display finished work to boost confidence and inspire practice.
Watch & Learn
Need help?
What can we use if we don't have a black marker, eraser, or certain coloring supplies?
If you don't have a black marker to trace your final lines, use a dark ballpoint pen or fine-tip felt pen, swap a kneaded or soft white cloth for an eraser to lift extra sketch lines, and use crayons or colored pencils in place of other coloring materials when coloring your animatronic.
My animatronic looks lopsided or my marker smudged—what should I do?
If features look off, realign eyes and mouth using the head's vertical and horizontal guideline, erase extra sketch lines before you trace with the black marker, and avoid smudges by waiting the minute for the marker to dry or gently blotting with a tissue if needed.
How can we adapt this activity for different ages or skill levels?
For younger kids, pre-draw the big oval/rectangle body and head shapes and let them add simple eyes, a hat or bowtie, and color with crayons, while older kids can add complex mechanical details, detailed pencil shading for shiny metal, and write a longer backstory before sharing on DIY.org.
How can we enhance or personalize our finished animatronic drawing?
To extend the project, add real textures like aluminum foil or fabric scraps for costume items, use paper fasteners at the drawn joints for movable limbs, and scan or photograph the inked and colored piece to create a digital slideshow or GIF to share on DIY.org.