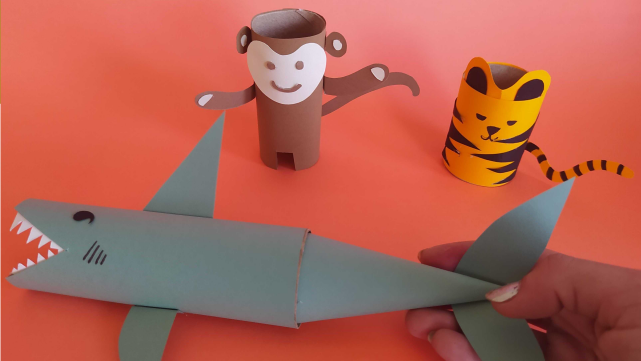
Design a forest with animals using toilet paper rolls
Make a miniature forest diorama using painted toilet paper rolls, paper, glue, and crayons; create animal figures and arrange habitats while learning about ecosystems.


Step-by-step guide to design a forest with animals using toilet paper rolls
Step 1
Gather all your materials and clear a flat table to make your forest.
Step 2
Lay one large sheet of plain paper flat on the table to be your forest base.
Step 3
Cut some toilet paper rolls to different heights with scissors to make tree trunks and stumps.
Step 4
Paint each roll brown or green to look like tree trunks bushes or logs.
Step 5
Set the painted rolls aside and wait until they are completely dry.
Step 6
Draw leaves grass and other background shapes on plain paper using your coloring materials.
Step 7
Cut out the leaves grass and background shapes carefully with scissors.
Step 8
Draw simple animal shapes on paper and color them with your coloring materials.
Step 9
Cut out the animal shapes carefully with scissors.
Step 10
Glue the paper leaves and background shapes to the tops and sides of the painted rolls to make treetops and bushes.
Step 11
Glue the finished rolls upright onto the base paper to arrange your trees logs and habitats.
Step 12
Fold tiny paper tabs and glue them to the backs of your paper animals to make little stands.
Step 13
Place and glue each animal into a habitat on the base near trees water or grass.
Step 14
Add extra details with crayons like a sun a pond paths or labels for each animal.
Step 15
Share a photo or description of your finished miniature forest diorama on DIY.org.
Help!?
What can we use if we don't have toilet paper rolls or a big sheet of plain paper?
Replace toilet paper rolls with tightly rolled newspaper or cut-down paper towel tubes for trunks and use a flattened cereal-box or posterboard as the forest base paper.
My painted rolls keep tipping over or paint smudges when I try to glue them—what should I do?
Let the painted rolls dry completely as instructed, then glue a small cardboard circle under each roll or fold and glue a paper tab inside the bottom to create a flat stable base before arranging them on the base paper.
How can I adapt this project for different ages?
For preschoolers, pre-cut the rolls and paper animals and let them color with crayons, while older kids can cut detailed leaves, paint trunks (step: 'Paint each roll brown or green'), add folded tabs for standing animals, and label habitats themselves.
How can we extend or personalize the miniature forest diorama after finishing it?
Make animals removable by attaching small velcro dots to the folded paper tabs and base, add a foil pond or textured fabric 'moss' near glued rolls, and write animal names on labels as suggested in 'Add extra details...labels'.
Watch videos on how to design a forest with animals using toilet paper rolls
Toilet Paper Roll Lion Craft | Jungle Animal Craft for Kids
4 Videos
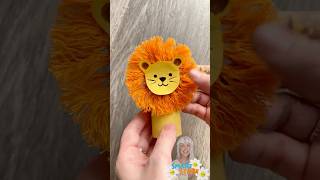
Toilet Paper Roll Lion Craft | Jungle Animal Craft for Kids
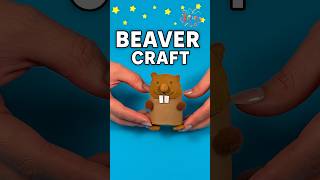
DIY Beaver Craft Using Toilet Paper Roll | Easy Kids Animal Craft Idea #diy #craft #craftyfun #kids
📦🐴 Toilet Roll Horse Craft | Easy Farm Animal Craft for Kids
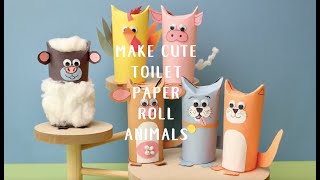
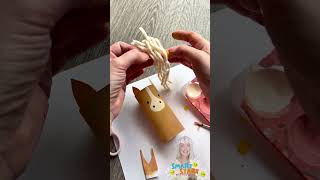
Make Cute Toilet Paper Roll Animals 6 Farm Animals Full Length Tutorial
Facts about forest ecosystems and habitats
🌳 Forests cover about 31% of Earth’s land and are home to more than half of the world’s terrestrial species.
♻️ Empty toilet paper rolls are a classic upcycling favorite — they’re sturdy tubes that are easy to paint, cut, and glue into shapes.
🖼️ Dioramas became popular in the 1800s as miniature stage-like displays used in museums and theaters to show scenes.
🐛 A tiny forest diorama can show a whole food chain — plants feed insects, insects feed birds, and so on.
🎨 Making and arranging mini habitats helps kids learn about camouflage, shelter, and where different animals live.
How do I make a miniature forest diorama using toilet paper rolls?
What materials do I need to design a forest with animals using toilet paper rolls?
What ages is this toilet paper roll forest diorama suitable for?
What are the benefits of making a toilet paper roll forest diorama?
