Create a cardboard camera
Build a working cardboard camera with a simple pinhole, lens, shutter, and viewfinder; decorate and test it to learn about light and photography.


Step-by-step guide to create a cardboard camera
Step 1
Gather all the materials and put them on a clear table so everything is ready.
Step 2
Choose a sturdy cardboard box and tape all open seams closed to make it light-tight.
Step 3
Paint or line the inside of the box with black paint or black paper and let it dry to stop inside reflections.
Step 4
On one side mark the center and cut a round hole about 2.5 cm wide for the lens opening.
Step 5
Make a pinhole plate by wrapping a small cardboard square with aluminium foil and poking one tiny hole in the center with the needle.
Step 6
Tape the magnifying glass or small lens over the round hole with the curved side facing out so the lens is centered.
Step 7
Place and tape the pinhole plate over the lens hole when you want to use the pinhole option so you can switch modes.
Step 8
Cut a small rectangular flap of cardboard and tape one long edge above the lens hole so the flap can swing as a sliding shutter.
Step 9
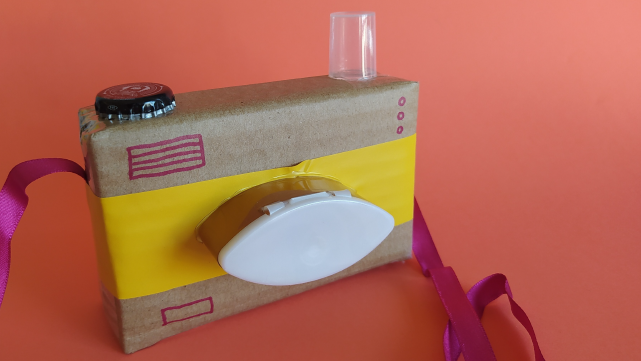
Make a simple viewfinder by cutting a small peephole on the top of the box above the lens position and taping a short paper tube or folded cardboard over it.
Step 10
Cut a window in the back of the box and tape tracing paper or wax paper over it to make a translucent viewing screen.
Step 11
Seal any gaps or shiny spots inside with tape so no stray light leaks into the box.
Step 12
Decorate the outside of your camera with colouring materials stickers or markers to make it uniquely yours.
Step 13
In a dim room point the camera at a bright scene and open the shutter briefly while looking at the back screen to see the upside-down image.
Step 14
Move the back screen or slightly shift the lens position to adjust focus until the image on the screen looks sharp.
Step 15
Share a photo or video of your finished cardboard camera and what you learned on DIY.org.
Help!?
What can I substitute if I can't find a magnifying glass, black paint, aluminium foil, or tracing paper?
Use a lens salvaged from old binoculars or a webcam module instead of the magnifying glass, line the inside with black construction paper if you don't have black paint, use the thin metal from a disposable baking tray for the pinhole plate in place of aluminium foil, and tape wax paper over the back window instead of tracing paper.
The image is blurry or too dim — what should I check and fix?
Check that all box seams and shiny spots are sealed with tape and the interior is fully black as instructed, remake the pinhole plate with a finer needle if the hole is too large, ensure the magnifying glass is centered over the round lens hole, and adjust the back tracing-paper screen or slightly shift the lens to improve focus while using a darker room and brief shutter openings.
How can I adapt this activity for younger children or older kids?
For younger children have an adult pre-cut the 2.5 cm lens hole, prepare and tape the pinhole plate and black-lined box ahead of time and let them decorate and slide the shutter, while older kids can poke their own tiny needle pinhole, try swapping different lenses and precisely move the back screen to study focus.
How can we extend or personalize the cardboard camera beyond decorating?
Add a toilet-paper-roll tripod or cardboard brace for stability, make several interchangeable pinhole plates with different hole sizes to compare images, attach a smartphone to the back screen to photograph the upside-down image, or tape colored cellophane over the lens as simple filters.
Watch videos on how to create a cardboard camera
How To Make Camera With Real Functional Screen From Cardboard | King Of Crafts
4 Videos
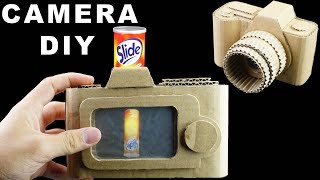
How To Make Camera With Real Functional Screen From Cardboard | King Of Crafts
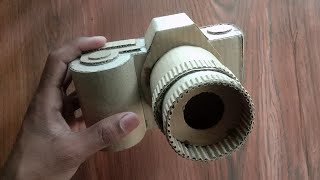
how to make cardboard camera | diy crafts | Ponnuttan DIY-YouTube

Diy Homemade Camera From Cardboard | Craft karton
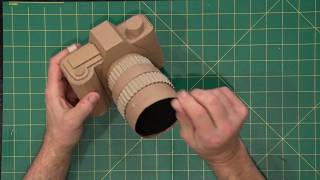
Build a Cardboard DSLR Camera - FREE PLANS! - by Gary Hegedus
Facts about photography and optics for kids
🕳️ Pinhole cameras make images without a lens — a tiny hole acts like a simple projector: smaller hole = sharper but dimmer image.
📸 The picture formed inside a pinhole camera appears upside-down because light rays cross at the pinhole.
⏳ The first successful permanent photo (by Nicéphore Niépce in 1826) required about an 8-hour exposure.
🔍 Adding a simple glass lens to your cardboard camera can shorten exposure times and make images brighter and clearer.
🖼️ Artists used camera obscura boxes for centuries to trace and study perspective long before modern cameras existed.
How do you make a working cardboard camera with a pinhole, lens, shutter, and viewfinder?
What materials do I need to build a cardboard pinhole camera?
What ages is a cardboard camera project suitable for?
What are the benefits of building a cardboard camera for kids?
