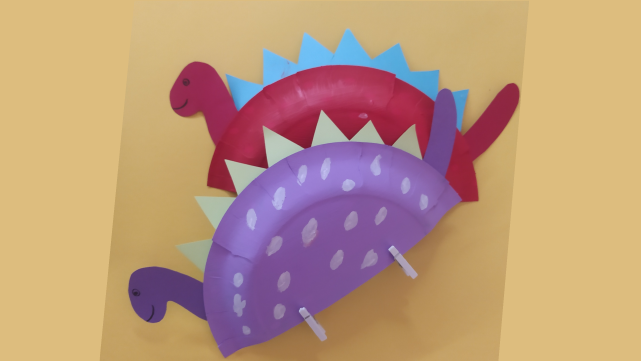
Make dinosaur decor plates
Decorate paper plates with paint, markers, and cut-out dinosaur shapes to create colorful dinosaur decor plates for bedroom or party display.


Step-by-step guide to make dinosaur decor plates
Step 1
Gather all materials and bring them to a clear table.
Step 2
Cover the work surface with newspaper or a table covering.
Step 3
Choose a dinosaur design and pick two to three paint colors for your plate.
Step 4
Paint a base color on the front of a paper plate.
Step 5
Set the painted plate aside so the paint can start to dry.
Step 6
Draw dinosaur shapes on construction paper with a pencil.
Step 7
Cut out the dinosaur shapes carefully with scissors.
Step 8
Add details to each dinosaur cut-out using markers.
Step 9
Glue the dinosaur cut-outs onto the dry painted plate.
Step 10
Decorate the plate background with markers stickers or glitter glue.
Step 11
Let the entire plate dry completely.
Step 12
Hang or display your dinosaur decor plate in your bedroom or at your party.
Step 13
Share a photo of your finished dinosaur decor plate on DIY.org.
Help!?
Can I substitute materials if I don't have construction paper or paper plates?
If you don't have construction paper or paper plates use recycled cereal boxes or thin cardboard for the dinosaur cut-outs and a sturdy dinner plate or a cardboard circle as the base, then follow the same drawing, cutting, painting, and gluing steps.
What should I do if the paint or glue won't dry and the dinosaur cut-outs won't stick?
If the paint or glue stays wet, apply thinner paint layers when you paint a base color on the plate, let the plate dry longer or speed drying with a hair dryer, and use tacky glue or double-sided tape to attach the cut-outs securely.
How can I change the activity for younger or older kids?
For younger children have an adult pre-cut the dinosaur shapes and use washable paint and stickers for decorating, while older kids can draw more detailed dinosaur shapes on construction paper, add fine marker details, and layer glitter glue for texture.
What are some ways to make my dinosaur plate extra special or more durable?
To personalize and strengthen the project, add folded paper tabs or foam pieces under the glued dinosaur cut-outs for a 3D effect, write names or labels with marker, seal the finished plate with clear glue or Mod Podge, and punch a hole to hang it with ribbon as in the display step before sharing a photo on DIY.org.
Watch videos on how to make dinosaur decor plates
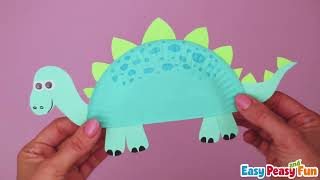
Paper Plate Dinosaur Craft | Easy Crafts for Kids
3 Videos
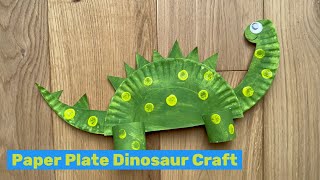
Paper Plate Dinosaur Craft | Easy Crafts for Kids
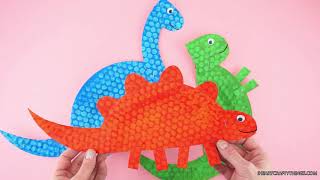
How to Make Paper Plate Dinosaurs
Paper Plate Dinosaur Craft
Facts about paper crafts for kids
🦖 Many dinosaur names end in "-saurus", which means "lizard" in ancient Greek.
🎨 You can make dozens of new colors by mixing just the three primary paints (red, blue, yellow) — perfect for dinosaur skin experiments!
✂️ Paper plates are lightweight paperboard discs that became popular for easy cleanup at 20th-century parties and crafts.
🔬 Scientists can sometimes infer dinosaur colors by studying fossilized pigments, revealing stripes, spots, or iridescence on some species.
🦕 Papercrafting — folding, cutting, and decorating paper — has been practiced in various cultures for centuries and is a super-friendly craft for kids.
How do I make dinosaur decor plates?
What materials do I need for dinosaur decor plates?
What ages is this dinosaur decor plates activity suitable for?
What are the benefits of making dinosaur decor plates?
