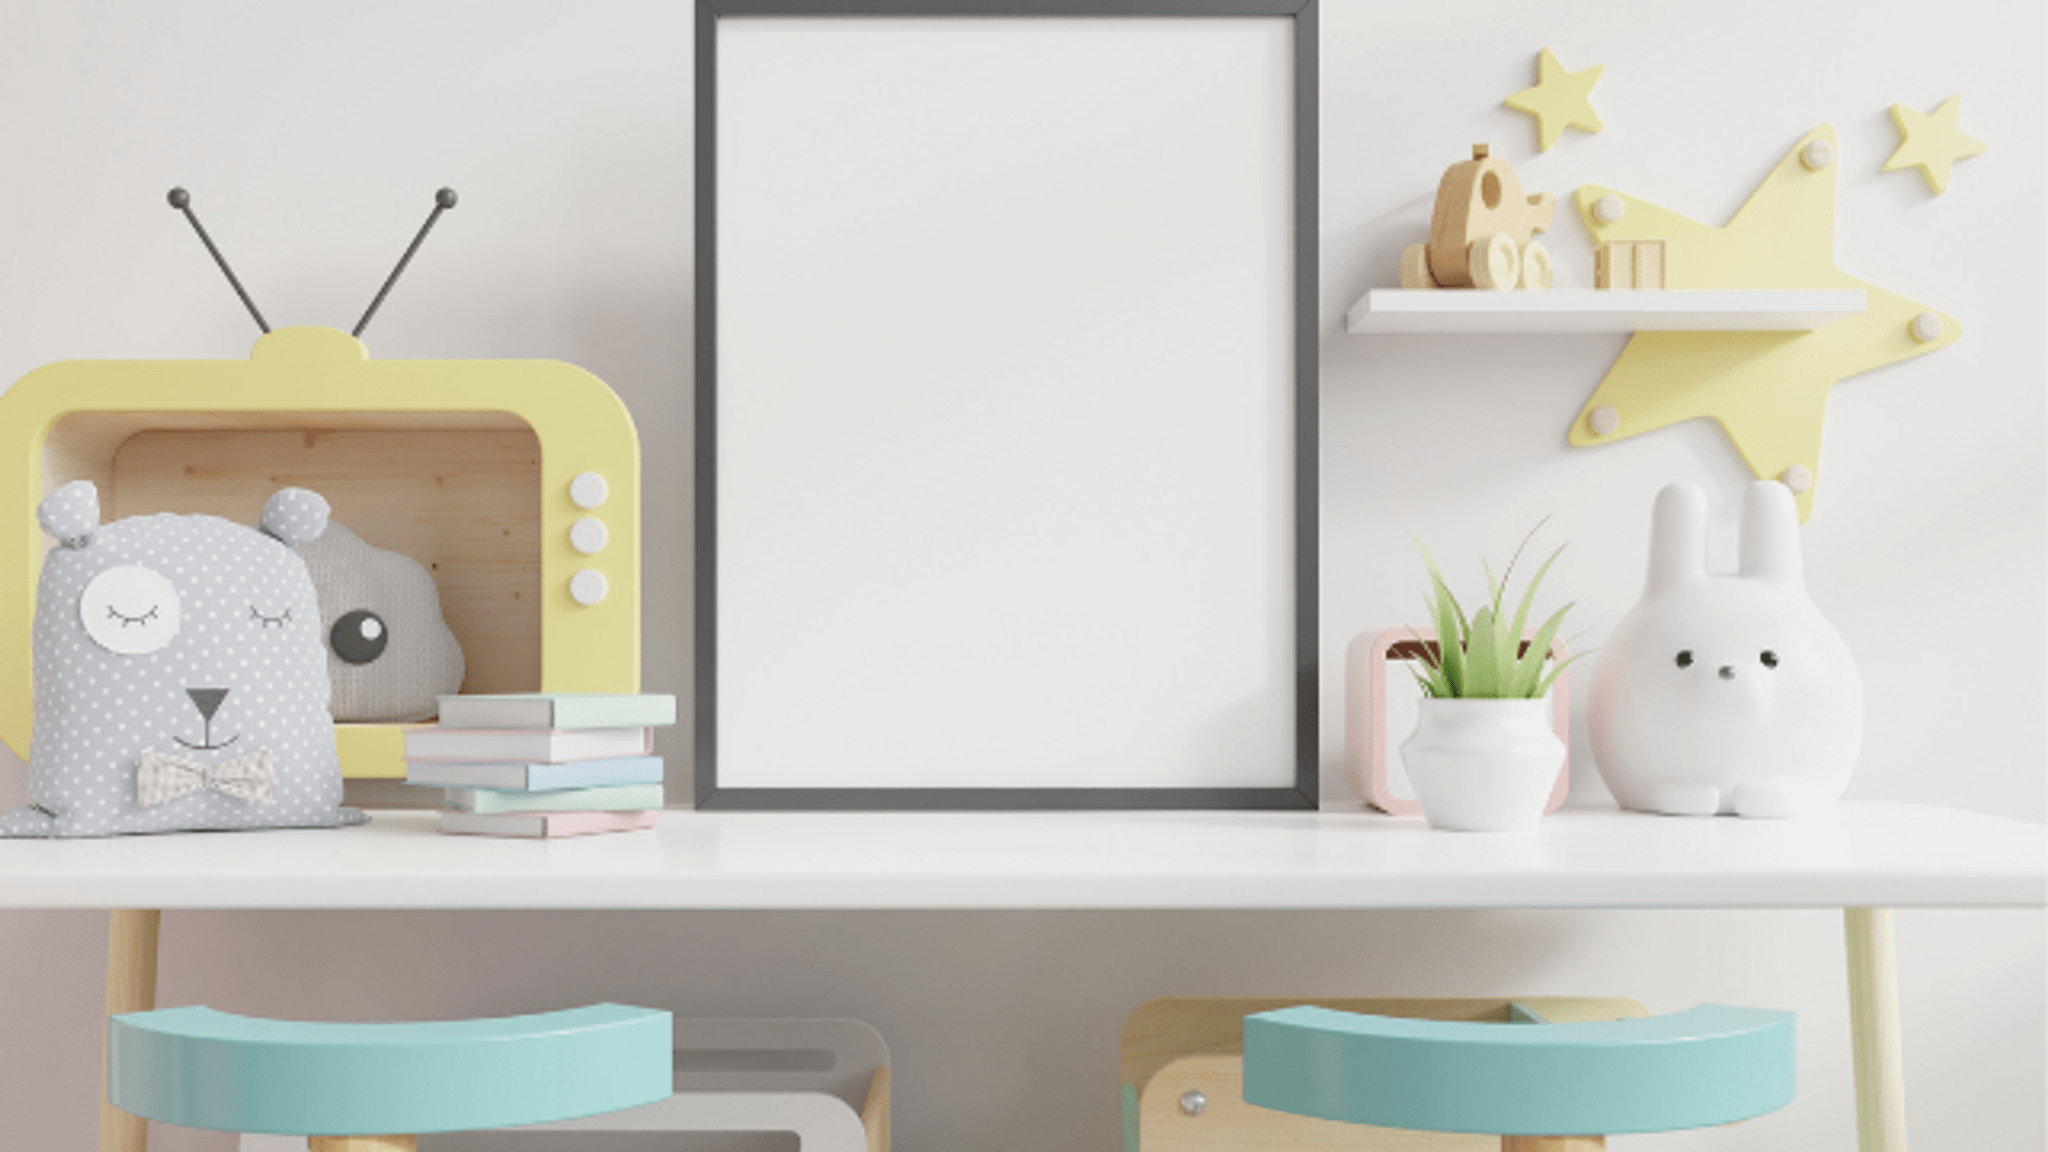
Give Your Room a Summer Makeover
Decorate your room for summer by making colorful bunting, sun themed crafts, and rearranging furniture for brightness while learning measuring and basic design.


Step-by-step guide to give your room a summer makeover
8 Amazing 😱 DIY's for KIDS Room Makeover + ON BUDGET 💖 Part - 2
Step 1
Clear a floor or table space and lay out all your materials so you can see everything.
Step 2
Measure the wall or window width where you want to hang the bunting and write the number down.
Step 3
Pick two or three colors for your summer theme and set those colored papers aside.
Step 4
Divide the wall width number by 15 to estimate how many triangle flags to make and write that number down.
Step 5
Use the ruler and pencil to draw that many triangle shapes on your chosen colored papers about 15 centimeters wide.
Step 6
Cut out all the triangle shapes with scissors.
Step 7
Attach the triangles to the string by spacing them evenly and taping or gluing the top edge of each triangle to the string.
Step 8
Trace a circle on yellow paper and cut it out to make a sun base.
Step 9
Decorate the sun by drawing a happy face and gluing paper rays onto the circle using coloring materials and glue.
Step 10
Hang the bunting across the planned wall using tape or adhesive putty.
Step 11
Move one piece of furniture like a desk or chair closer to the window to increase natural light.
Step 12
Replace heavy curtains with a light fabric or tie them back to let more sunshine into your room.
Step 13
Place your sun crafts on the wall or shelf using tape or putty and add stickers for extra summer flair.
Step 14
Stand back and adjust any decorations or spacing until the room feels bright and balanced.
Step 15
Share your finished summer room makeover on DIY.org
Help!?
What can I use instead of colored paper or string if I don't have them?
Use scrap magazine pages, thin fabric, or paper plates cut into triangles for the colored paper and baker's twine, yarn, or a ribbon instead of string when attaching flags with tape or glue.
My triangles keep slipping on the string or the bunting sags — how do I fix that?
Reinforce the top edge of each triangle by folding a small strip of the chosen colored paper over the string and gluing it, or use double-sided tape or extra glue at the top edge as you space and attach each triangle to the string to stop slipping and sagging.
How can I change the activity to suit younger or older kids?
For younger kids, pre-measure and pre-cut the triangles from the chosen colored papers and let them glue and decorate the sun and flags, while older kids can measure the wall, divide by 15, draw precise 15 cm triangles, and create detailed sun rays with markers and layered paper.
What are some ways to personalize or improve the summer makeover once it's up?
Add battery fairy lights along the string before attaching triangles, personalize each flag with stickers or names, and use adhesive putty to arrange the sun craft on shelves or walls for a layered, brighter summer display.
Watch videos on how to give your room a summer makeover
KID'S ROOM MAKEOVER IDEAS || Awesome Home Decorating Hacks
4 Videos
KID'S ROOM MAKEOVER IDEAS || Awesome Home Decorating Hacks
Budget Friendly Kids Room Makeover | Transforming Dreams into Reality | Urban Rasoi
*Extreme* Kids Room Makeover | Budget Friendly Set Up | Affordable Decoration Ideas | Amazon Finds

TOP 7 Budget Friendly Kid's Room Makeover Ideas / Kid's Room Decoration / Easy DIYs / Room Tour
Facts about room decorating and basic design for kids
🎉 Bunting has been used for celebrations for hundreds of years—perfect for bright summer party vibes!
☀️ Bright yellows reflect more light and can make a room feel sunnier and even larger.
📏 Measuring carefully (lengths and spacing) helps your bunting hang straight and your furniture fit just right.
🎨 Color theory shows complementary colors (opposites on the color wheel) make decorations pop—try blue + orange for summer!
🪞 Moving a mirror or rearranging furniture can increase reflected light and make a room feel much bigger.
How do I give my child's room a summer makeover with bunting, sun crafts, and furniture rearranging while teaching measuring and design?
What materials do I need to decorate a room for summer with colorful bunting, sun-themed crafts, and safe furniture rearranging?
What ages is a summer room makeover activity suitable for and how can I adapt it for different age groups?
What are the benefits, safety tips, and variations for a child-led summer room makeover?
