Franken-emoji Makeover: Create the Coolest Emoji
Design and build a Franken-emoji by combining parts of different emojis using paper, markers, scissors, and glue, then decorate and name your creation.


Step-by-step guide to Franken-emoji Makeover: Create the Coolest Emoji
How To Draw A Cool Emoji
Step 1
Gather all materials and find a clear workspace to make your Franken-emoji.
Step 2
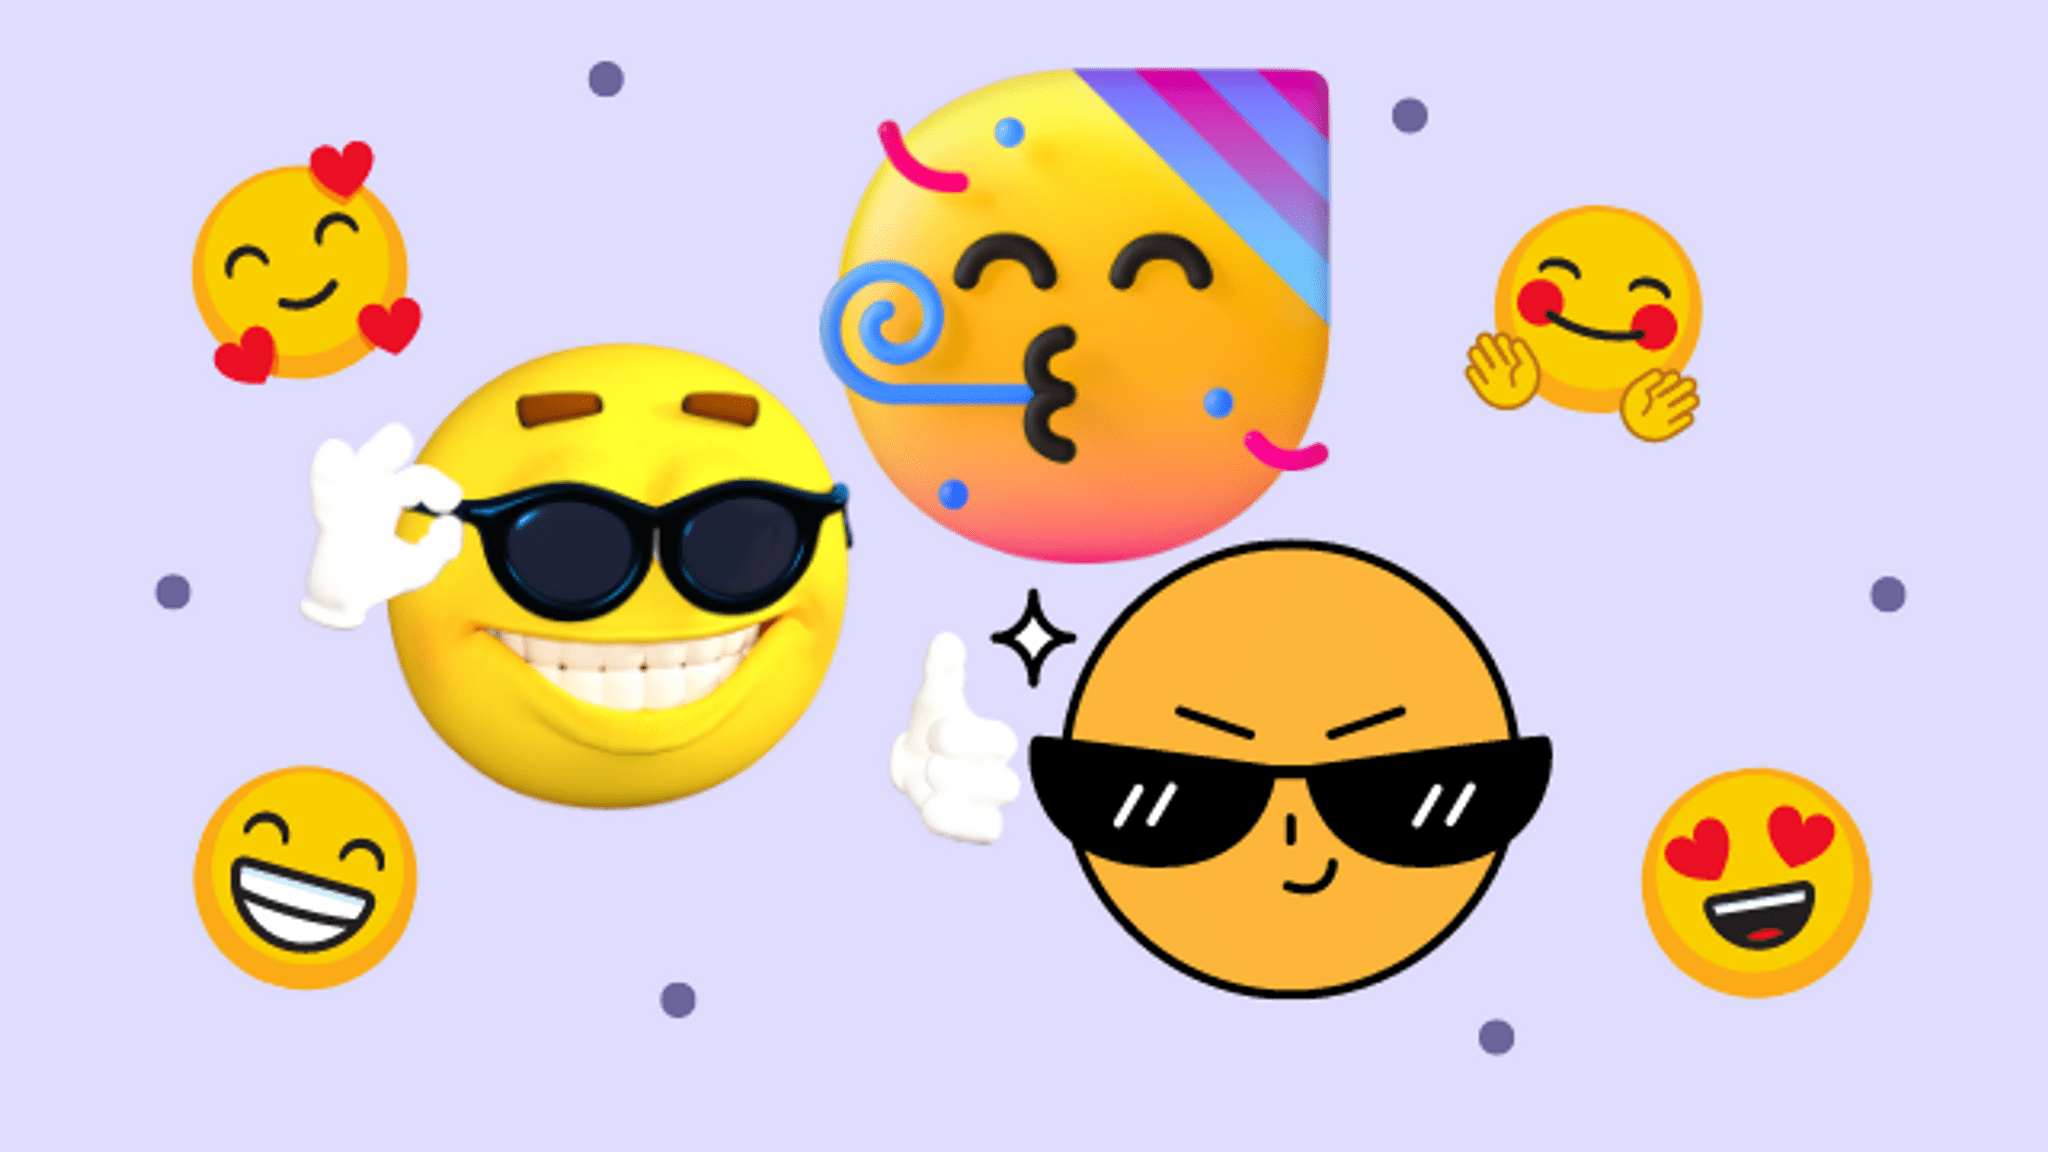
Pick two or three emojis you want to combine by thinking about which eyes mouth or accessories you like.
Step 3
Lightly draw a big circle face on a clean sheet of paper with your pencil.
Step 4
On scrap paper draw the eyes mouth and any accessories you want to steal from the chosen emojis.
Step 5
Color each drawn part with your markers to make them bold and fun.
Step 6
Carefully cut out each colored part from the scrap paper with your scissors.
Step 7
Arrange the cut parts on the big face to try different funny or cool combinations.
Step 8
Glue each cut part onto the face one at a time to build your Franken-emoji.
Step 9
Add extra decorations like stitches scars sparkles or patterns with markers to make it unique.
Step 10
Write a fun name for your Franken-emoji below the face.
Step 11
Let the glue and marker details dry completely before moving your artwork.
Step 12
Share a photo of your finished Franken-emoji and its name on DIY.org
Help!?
What if I don't have markers, scissors, or glue?
Use crayons or colored pencils to color each drawn part, use child-safe scissors or carefully tear the scrap paper to cut out parts, and attach pieces with a glue stick or clear tape when you arrange them on the big face.
My cut pieces keep slipping when I try to glue them onto the face; how can I fix that?
Apply small dots of glue or use a glue stick on the back of each cut part, press it firmly into place and weight it with a clean book until the glue and marker details dry completely so the parts stay flat.
How can I adapt this activity for different ages?
For younger kids have an adult lightly draw the big circle face and pre-cut simple eyes and mouths or use stickers, while older kids can combine three emojis, add mixed-media extras in the decoration step, or create a whole gallery to photograph.
How can we make the Franken-emoji more special or longer-lasting?
Personalize and extend the project by adding movable parts with paper fasteners, gluing on felt, sequins, or sparkles as extra decorations, writing a creative name below the face, and laminating the finished artwork before sharing a photo on DIY.org.
Watch videos on how to make a Franken-emoji Makeover: Create the Coolest Emoji
How To Draw and Color Emoticons (Emoji)
3 Videos

How To Draw and Color Emoticons (Emoji)
🤪 How To Draw The Crazy Face Emoji 🤪
How To Draw The Party Emoji Face 🥳 + Spotlight
Facts about paper crafts and collage for kids
😀 The first emoji set was created in 1999 by Japanese designer Shigetaka Kurita for mobile phone messages.
📱 Unicode assigns a unique code to each emoji so they can appear across devices, but Apple, Google, and Samsung each draw them their own way.
✂️ The word "collage" comes from the French word for "glue" and artists like Picasso and Braque helped popularize the technique.
🧟♂️ The stitched-together Frankenstein look comes more from movies and posters than Mary Shelley's original novel.
🎉 There are thousands of emojis now and the Unicode Consortium keeps adding new ones every year so we can express even more ideas.
How do I make a Franken-emoji step by step?
What materials do I need for a Franken-emoji Makeover?
What ages is the Franken-emoji Makeover suitable for?
What are the benefits of making Franken-emojis?
