Time for Super Easy 3D Pop Up Buildings
Make super-easy 3D pop-up buildings from paper and cardstock, then cut, fold, decorate windows and doors, and assemble a fun pop-up city.


Step-by-step guide to make super-easy 3D pop-up buildings
Step 1
Gather all your materials and clear a flat workspace so you have room to build your city.
Step 2
Fold one sheet of plain paper or light cardstock in half like a book and press the crease to make the city base.
Step 3
Use your ruler and pencil to draw rectangle building shapes on the cardstock and add a narrow 1 cm tab along the bottom of each rectangle.
Step 4
Cut out each building shape carefully along the outside lines.
Step 5
Fold the 1 cm bottom tab back along the pencil line so the tab makes a right angle with the building.
Step 6
Lightly crease each building down the middle from top to bottom to give the front a little curve and extra dimension.
Step 7
Draw windows doors and roof details on the front of each building using your pencil.
Step 8
Color in your windows doors roofs and building walls with your coloring materials.
Step 9
Open your folded base and arrange the buildings along the center fold to choose where each one will go.
Step 10
Glue each building’s bottom tab to the inside pages near the center fold so the buildings stand up and pop out when you open the base.
Step 11
Let the glue dry completely before closing or moving your pop-up city.
Step 12
Share a photo of your finished pop-up city on DIY.org so everyone can see your awesome creation.
Help!?
What can I use if I don't have light cardstock or a ruler?
Use a cleaned cereal-box cardboard or a manila folder cut to size instead of light cardstock for the base and buildings, and use any straight edge like a book, a freezer box edge, or the side of a hardcover to draw the rectangles and the 1 cm tab.
Why won't my buildings stand up or why do tabs peel off, and how can I fix that?
If buildings flop or tabs lift, score the 1 cm tab with a blunt knife before folding, press the tab firmly to the inside pages near the center fold when you glue, and weigh each glued tab under a book until the glue dries completely so the pop-ups stay secure.
How can I change the activity to suit different ages?
For preschoolers, pre-cut the rectangle building shapes and pre-draw the 1 cm tabs and window outlines so they only color and glue, while older kids can use the ruler and pencil to design precise multi-story rectangles, crease curves for dimension, and add detailed roof or door flaps.
How can we extend or personalize the pop-up city once it's built?
Personalize and extend your city by gluing paper trees and street signs around the buildings, layering patterned scrapbook paper or magazine cutouts for textured walls, and taping small battery tea lights behind window cutouts before photographing and sharing the finished pop-up city on DIY.org.
Watch videos on how to make super-easy 3D pop-up buildings
3d Ladybug Pop Up Card - How to make easy pop up cards for kids - Paper Crafts
4 Videos
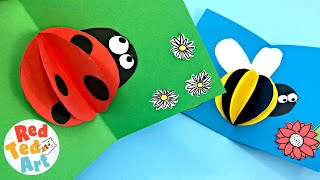
3d Ladybug Pop Up Card - How to make easy pop up cards for kids - Paper Crafts

3D Shapes for Kids | Homeschool Pop
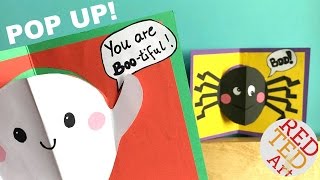
Easy Halloween Pop Up Cards (with Halloween Jokes for Kids) - Easy Paper Crafts DIY
Easy and Fun Crafts for Kids | Handmade Picture Frame | Simple Handmade Gifts
Facts about paper crafts for kids
📚 Pop-up books have roots in medieval movable paper tools called volvelles — people have been making interactive paper for centuries!
✂️ Kirigami is the art of cutting and folding paper (unlike origami which avoids cuts) — perfect for pop-up buildings.
🏙️ Model-makers often use common scales like 1:100 or 1:200 to build tiny cities — with cardstock you can make an entire skyline on one sheet!
🧩 A simple V-fold (one straight cut and two folds) is one of the easiest pop-up tricks to turn a flat page into a 3D house.
🖍️ Using tracing paper or colored vellum for windows makes them look like glowing glass when light shines through.
How do I make super-easy 3D pop-up buildings with paper and cardstock?
What materials do I need to make 3D pop-up buildings?
What ages is the 3D pop-up buildings activity suitable for?
What are the benefits, safety tips, and variations for 3D pop-up building crafts?
