Create a Pride Sticker
Design and create a Pride sticker using paper, markers, scissors, and tape; learn about rainbow colors, symbols, and respectful expression through hands-on crafting.


Step-by-step guide to Create a Pride Sticker
Step 1
Gather all your materials on a clean table so everything is ready to use.
Step 2
Choose the size and shape of your sticker and draw its outer outline on the paper with your pencil.
Step 3
Lightly draw the rainbow stripe layout or background lines inside your outline with your pencil.
Step 4
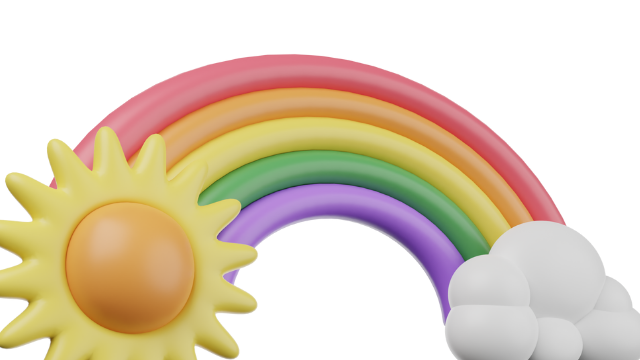
Color the stripes with markers in rainbow order using red orange yellow green blue indigo violet.
Step 5
Pick one pride symbol or a short supportive word and lightly sketch it inside your sticker with your pencil.
Step 6
Trace over your symbol or word with a marker to make it bold and clear.
Step 7
Ask an adult to help you cut out the sticker carefully along the pencil outline with scissors.
Step 8
Cover the front of your cut-out sticker with clear tape to protect the colors and make it shiny.
Step 9
Fold a small piece of tape so the sticky sides face out and press it onto the back of your sticker to make it adhesive.
Step 10
Share your finished Pride sticker on DIY.org so others can see and celebrate your creation.
Help!?
What can we use if we don't have markers or clear tape?
If you don't have markers, use crayons or colored pencils to color the rainbow stripes in the 'Color the stripes' step, and if clear tape is missing, protect the front with a clear laminating sheet or glossy packing tape in the 'Cover the front' step.
What should we do if the sticker tears or the scissors damage the edges during cutting?
If the sticker tears or scissors damage the edges during the 'Ask an adult to help you cut out the sticker' step, have an adult use sharp scissors and cut slowly just outside the pencil outline, then trim carefully for a smooth edge.
How can I adapt this activity for younger or older children?
For younger children, pre-draw the outline and rainbow lines and let them color with crayons in the 'Draw' and 'Color the stripes' steps, while older kids can freehand complex pride symbols and use fine-tip markers to 'Trace over your symbol' for detail.
How can we extend or personalize the finished Pride sticker?
To personalize and extend the activity, write a name or add glitter (sealed under the clear tape during the 'Cover the front' step) or attach a small magnet to the folded sticky tape on the back to turn it into a fridge magnet after the 'Fold a small piece of tape' step.
Watch videos on how to Create a Pride Sticker
DIY pride pins, charms, stickers
3 Videos

DIY pride pins, charms, stickers

Create Your Own Rainbow Stickers! 🌈✨ Easy Glue Fun!
7 METHODS FOR EASY DIY STICKERS | Using Items You Already Have At Home
Facts about inclusive arts and expression for kids
🏳️🌈 Gilbert Baker designed the original eight-color Pride flag in 1978.
🎨 The familiar six-color rainbow flag was standardized in 1979 to make production easier and is now the most widely used Pride flag.
🌟 Each color on the original flag had a special meaning — for example, red for life, orange for healing, and yellow for sunlight.
🏳️⚧️ There are many Pride flags for different communities, such as the transgender pride flag and the Progress Pride flag that adds inclusion stripes.
✂️ Kids can make paper stickers more durable by covering them with clear tape or ‘laminating’ them with household supplies.
How do I help my child design and make a Pride sticker?
What materials do I need to create a Pride sticker with my child?
What ages is designing Pride stickers suitable for?
What are the benefits and safety tips for making Pride stickers with kids?
