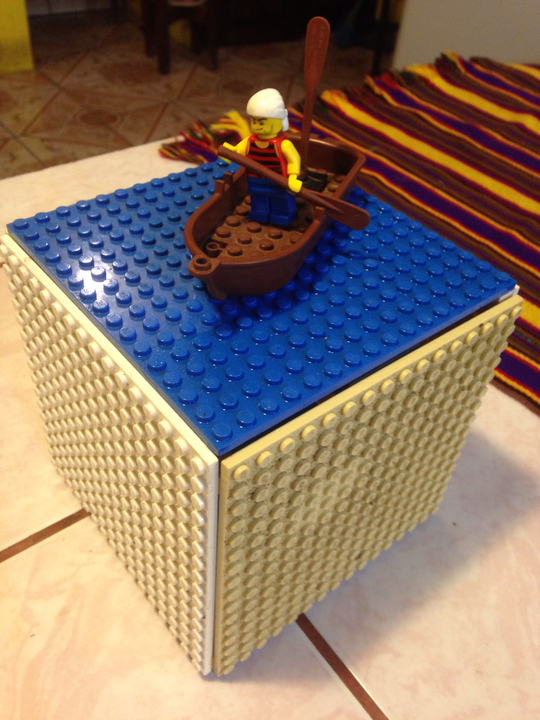
Use SNOT LEGO® bricks in a build
Build a small vehicle or house using SNOT LEGO bricks to attach studs sideways and create smooth details, learning new building techniques and problem solving.


Step-by-step guide to build a small vehicle or house using SNOT LEGO bricks
LEGO Tips & Tricks - SNOT Building
Step 1
Place all Materials Needed within arm's reach on your work surface.
Step 2
Decide whether you will build a small vehicle or a small house.
Step 3
Attach plates to the baseplate to create the footprint for your model.
Step 4
Attach SNOT bricks along the sides of the footprint where you want studs to face sideways so you can add side details.
Step 5
Build up walls or a chassis by stacking regular bricks on top of the footprint so your model has height.
Step 6
Press tiles and plates onto the sideways studs to make smooth side panels or decorative details.
Step 7
If you chose a vehicle attach wheels and axles under the chassis using axle holders or SNOT connections so it can roll.
Step 8
If you chose a house attach hinge pieces or doors into SNOT bricks to create sideways-opening doors or windows.
Step 9
Add tiles and slopes to the roof or hood using the sideways studs to make a smooth finished look.
Step 10
Gently push your model to test stability and see if anything wobbles.
Step 11
Replace or press in any loose pieces to make your model sturdy and ready to play with.
Step 12
Share a photo and a short description of your finished creation on DIY.org.
Help!?
What can we use instead of a baseplate or SNOT bricks if they aren't available?
Use a large flat LEGO plate or a stiff cardboard covered with tape as the footprint and substitute SNOT bricks with headlight bricks, inverted plates, or axle holders mounted sideways to provide studs facing sideways for side details.
My sideways tiles keep falling off or the model wobbles—how do I fix that?
Make sure you attached SNOT bricks along the footprint before building up, press tiles and plates firmly onto the sideways studs, reinforce the chassis by stacking regular bricks above the SNOT layer, and secure wheels with axle holders or extra plates so nothing wobbles.
How can I adapt this SNOT build for different age groups?
For younger kids simplify by using a bigger baseplate/plate footprint, fewer small tiles, and pre-built wheel assemblies with guided stacking, while older kids can add hinge doors, multiple SNOT layers, slopes for a smooth roof/hood, or motorized wheels for complexity.
What are easy ways to enhance or personalize the finished vehicle or house before sharing it on DIY.org?
Personalize by adding stickers or printed tiles as signs, use tiles and slopes on the roof/hood for a smooth finish, attach sideways-opening doors with hinge pieces and build a tiny interior with minifigs, or add compact LED lights to highlight details before photographing and describing your model.
Watch videos on how to build a small vehicle or house using SNOT LEGO bricks
LEGO Star Wars: Brickorama - How to Build SNOT
3 Videos
LEGO Star Wars: Brickorama - How to Build SNOT
LEGO SNOT Using Only Plates, Bricks, and Tiles.

Building an Upside Down LEGO creation with SNOT-build techniques!
Facts about SNOT (Studs Not On Top) and LEGO building techniques
🧱 SNOT stands for "Studs Not On Top" — a clever LEGO technique for attaching studs sideways.
🚗 SNOT is great for making smooth vehicle sides and realistic house exteriors without visible studs.
🔩 Special parts like brackets, headlight bricks, and hinge plates are SNOT’s best friends.
🧠 Practicing SNOT builds spatial reasoning and creative problem-solving skills as you plan connections.
🏆 Many advanced LEGO sets and fan MOCs use SNOT to achieve professional-looking details.
How do I build a small vehicle or house using SNOT LEGO bricks?
What materials and SNOT LEGO pieces do I need for this build?
What ages is SNOT LEGO building suitable for?
What are the benefits of using SNOT techniques for kids, and are there safety concerns?
