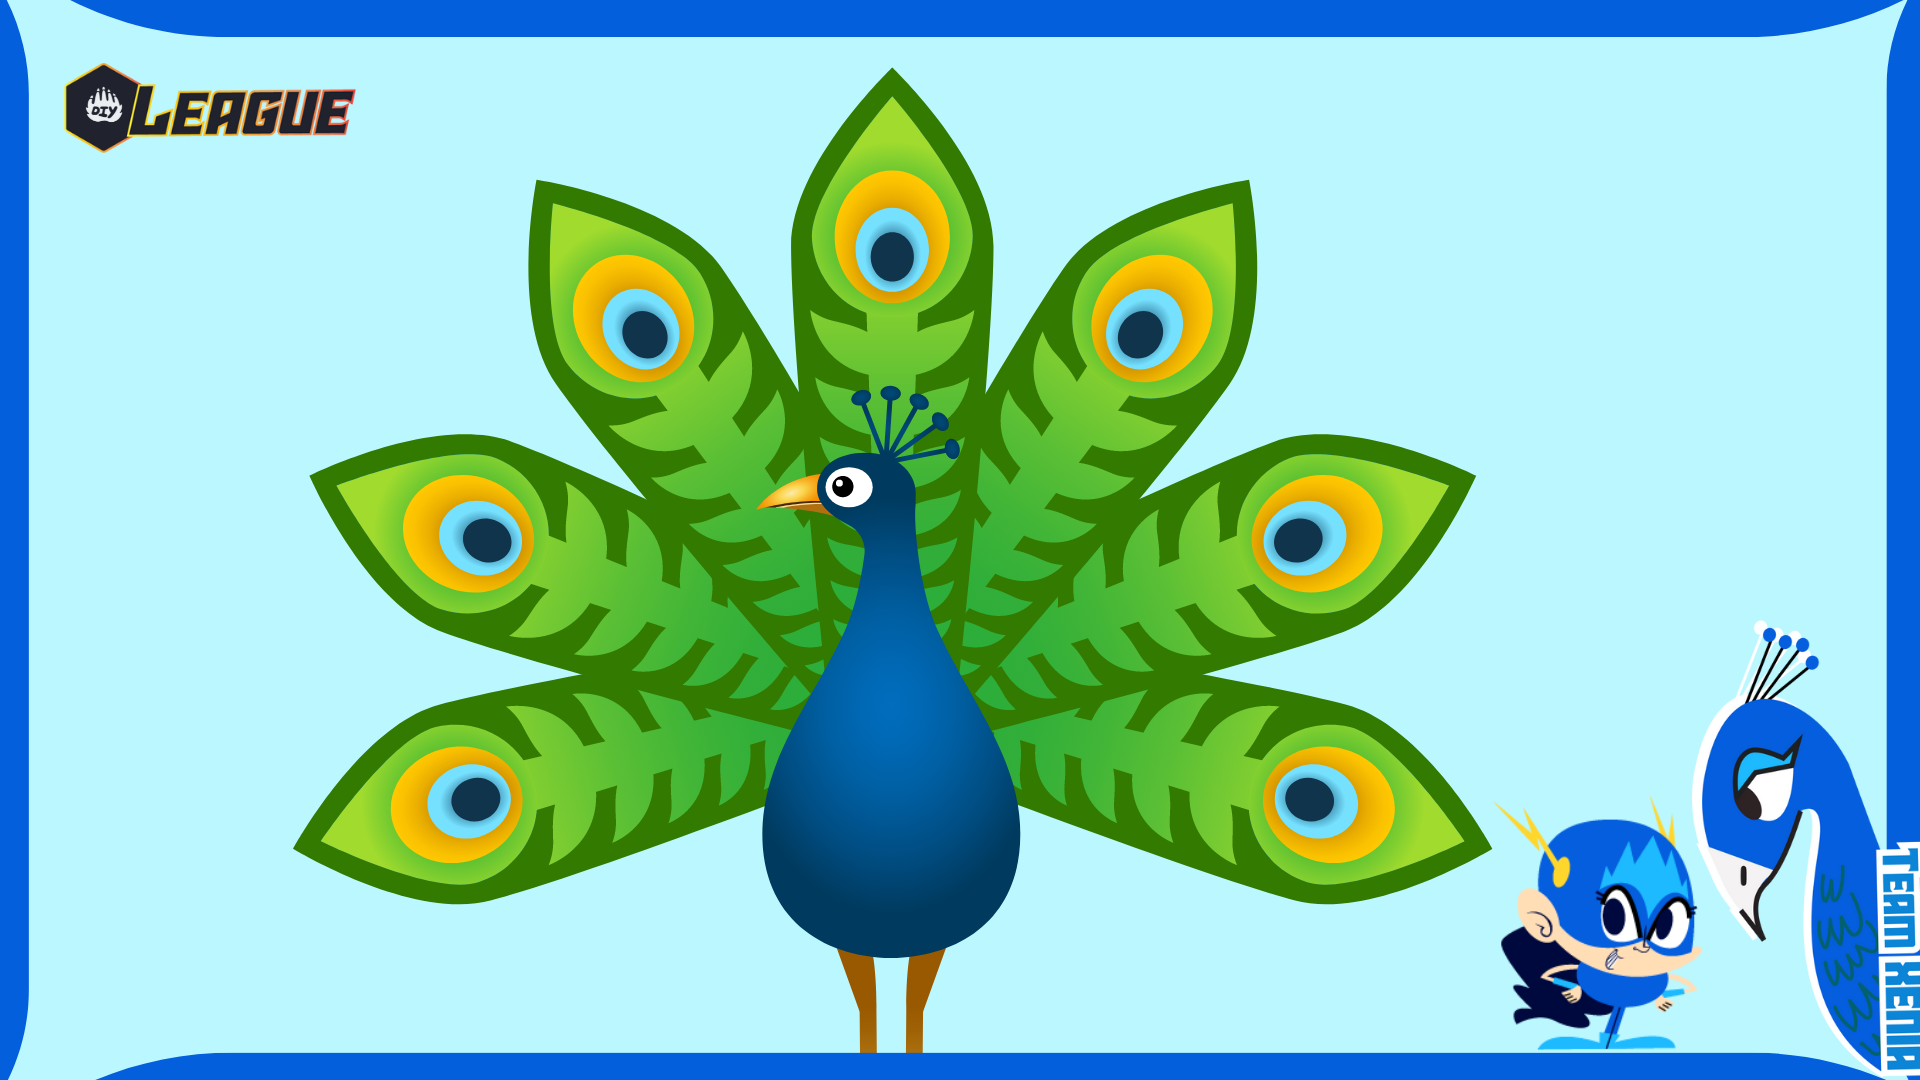
DTIYS Mod Xenia's Peacock w/ Jr Mod Lululemontree
Draw and color your own stylized peacock inspired by Xenia's design with Jr Mod Lululemontree, practice patterns and color mixing, then show it to family.

Drawing Apps
Step-by-step guide to DTIYS Mod Xenia's Peacock w/ Jr Mod Lululemontree
Step 1
Gather all the materials from the list.
Step 2
Find a clean flat workspace to work at.
Step 3
Place your reference image of Xenia's peacock where you can clearly see it.
Step 4
Lightly sketch the peacock's basic body shape with your pencil.
Step 5
Sketch large tail-feather shapes extending from the body.
Step 6
Draw simple repeating patterns inside each tail feather using your pencil.
Step 7
Trace over your pencil lines with a black pen or fineliner.
Step 8
Wait for the ink to dry completely.
Step 9
Gently erase the remaining pencil lines with your eraser.
Step 10
Decide which colors you want to use for the body and for each part of the tail.
Step 11
Test color mixes on scrap paper until you like the new shades.
Step 12
Color the peacock's body first using light layers of your chosen colors.
Step 13
Color the tail feathers and fill in the patterned details using your mixed shades.
Step 14
Add small highlights or accents and let your artwork dry if needed.
Step 15
Show your finished peacock to a family member and tell them one thing you practiced.
Step 16
Share your finished creation on DIY.org.
Help!?
What can I use if I don't have the black pen/fineliner or the exact coloring materials listed?
If you don't have a fineliner, trace your pencil lines with a sharp-tipped black marker or a sharpened black colored pencil, and replace the listed paints/markers/colored pencils with whatever coloring tools you have while still testing color mixes on scrap paper.
My ink smudged or the pencil lines won't fully erase—how do I fix that without ruining the drawing?
Let the black pen/fineliner dry completely before touching it, put a scrap sheet under your hand while you gently erase remaining pencil lines with a clean eraser, and use light pencil strokes when sketching the body and tail feathers to make erasing easier.
How can I make this activity easier for younger kids or more challenging for older kids?
For younger children, pre-sketch the peacock body and large tail-feather shapes and let them color with thick markers or crayons, while older kids can add intricate repeating patterns, practice advanced color mixing on scrap paper, and use layered light washes or fineliner detailing.
What are some ways to extend or personalize the finished peacock beyond the basic steps?
Personalize your peacock by adding a painted or collaged background, gluing on textured materials or metallic accents for highlights, creating multiple versions with different color mixes, and then share your finished creation on DIY.org as instructed.
Watch videos on how to DTIYS Mod Xenia's Peacock w/ Jr Mod Lululemontree
HOW TO MAKE 3D PEACOCK | PEACOCK CRAFT IDEAS
4 Videos
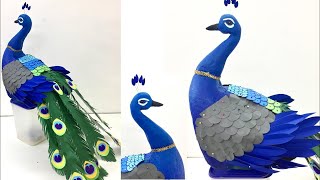
HOW TO MAKE 3D PEACOCK | PEACOCK CRAFT IDEAS
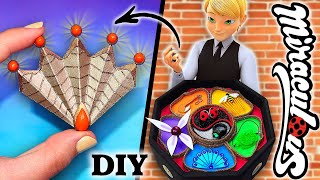
DIY New Felix's Peacock Miraculous || Strike Back Final from Miraculous Ladybug
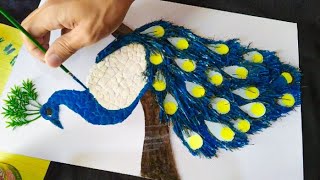
HOW I MADE A PEACOCK DESIGN USING INDIGENOUS MATERIALS | MOSAIC
How To Draw A Peacock (realistic)
Facts about drawing and coloring for kids
🦚 Male peafowl (peacocks) fan out trains up to 6 feet long covered in eye-like spots to impress peahens.
🪶 The brilliant blues and greens in peacock feathers come from tiny feather structures that bend light (structural color), not just pigments.
🎨 Mixing paints is subtractive—combine cyan, magenta, and yellow (or simpler blue, red, yellow) to make new hues like purples and greens.
🔁 Repeating patterns and symmetry (like a peacock's tail) make designs feel organized and eye-catching — try repeating a simple motif for big impact.
👨👩👧 Sharing finished art with family can boost confidence and invites fun feedback — showing your work is part of the creative adventure!
How do I do DTIYS Mod Xenia's Peacock with Jr Mod Lululemontree?
What materials do I need for DTIYS Mod Xenia's Peacock with Jr Mod Lululemontree?
What ages is this DTIYS activity suitable for?
What are the benefits of doing the Xenia-inspired peacock activity?
