Show us your drawing book!
Make your own drawing book by folding and stapling paper, designing a decorated cover, then filling pages with themed sketches and drawing prompts.


Step-by-step guide to make your own drawing book
Step 1
Gather all your materials and ask an adult to stay nearby to help with the stapler.
Step 2
Pick 6 to 12 sheets of plain paper and stack them neatly so the edges line up.
Step 3
Place one piece of cardstock on top for the cover and one on the bottom for the back.
Step 4
Fold the whole stack in half along the short side to make a book shape and hold the edges together.
Step 5
Run your finger or a ruler along the folded edge to make a crisp crease.
Step 6
With an adult helping, staple two staples along the folded spine about an inch from each end.
Step 7
Trim any uneven edges with scissors so all the pages line up smoothly.
Step 8
On the front cover, lightly sketch a big title and your book theme with a pencil.
Step 9
Color and decorate the cover with colouring materials and stickers to make it pop.
Step 10
On the first inside page write a list of drawing prompts or a table of contents for each page.
Step 11
On each page write its prompt at the top and then draw a themed sketch below the prompt.
Step 12
Take a photo of your finished drawing book and share your creation on DIY.org
Help!?
What can we use if we don't have cardstock or a stapler?
If you don't have cardstock, use a flattened cereal box or thin cardboard for the top and bottom covers, and if you lack a stapler ask an adult to punch two holes in the folded spine and tie yarn or secure the fold with strong tape instead of stapling.
My pages keep slipping or the crease isn't crisp—what should we do?
Restack and square the 6–12 sheets, hold the edges tightly while folding along the short side, run your finger or a ruler along the folded edge to make a crisp crease, then have an adult staple near each end of the spine and trim uneven edges with scissors before decorating.
How can this activity be adapted for different ages?
For younger kids use 4–6 pages, simpler prompts, help with folding, cutting, and stapling, and offer large stickers, while older kids can use 12 pages, write a detailed table of contents on the first inside page and experiment with more advanced materials like watercolour or collage on each prompt page.
How can we extend or personalize the finished drawing book?
Make the cover pop by lightly sketching a big title, adding stickers or fabric, number pages to match the table of contents, glue in pockets or photos, and then take a photo of the finished drawing book to share on DIY.org.
Watch videos on how to make your own drawing book
Easy HOUSE Drawing for Kids! Step by Step Lessons
4 Videos
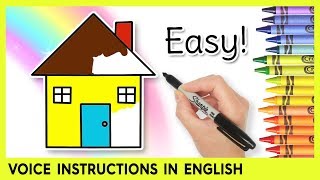
Easy HOUSE Drawing for Kids! Step by Step Lessons
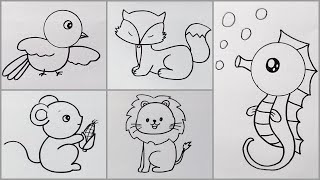
Easy drawings step by step for beginners | Cool Things to Draw: Easy, Cool, Cute and Fun Ideas
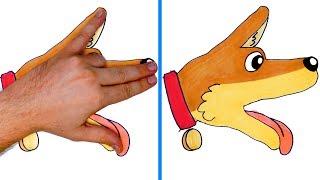
32 Fun and Simple Drawing Tricks Easy Tips on How to Draw and Doodle
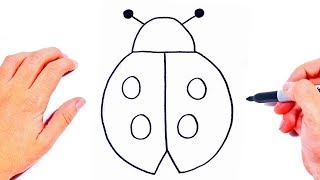
Easy Drawings for Kids | How to draw a cute Ladybud
Facts about bookmaking for kids
🎨 Artists like Leonardo da Vinci and Vincent van Gogh filled sketchbooks with ideas—some of their sketchbooks contain thousands of drawings.
📝 You can make a small booklet from just one sheet of paper by folding it into a mini zine—no staples needed!
✂️ Stapling and folding to make books is a simple form of bookbinding called a pamphlet or saddle-stitch.
🧠 Drawing regularly helps your brain by improving fine motor skills, observation, and creativity.
📚 The word "sketchbook" comes from the Dutch word "schets," and people have carried sketchbooks for centuries to capture quick ideas.
How do I make a simple drawing book at home?
What materials do I need to make a homemade drawing book?
What ages is the 'Show us your drawing book' activity suitable for?
What are the benefits of making and using a drawing book?
