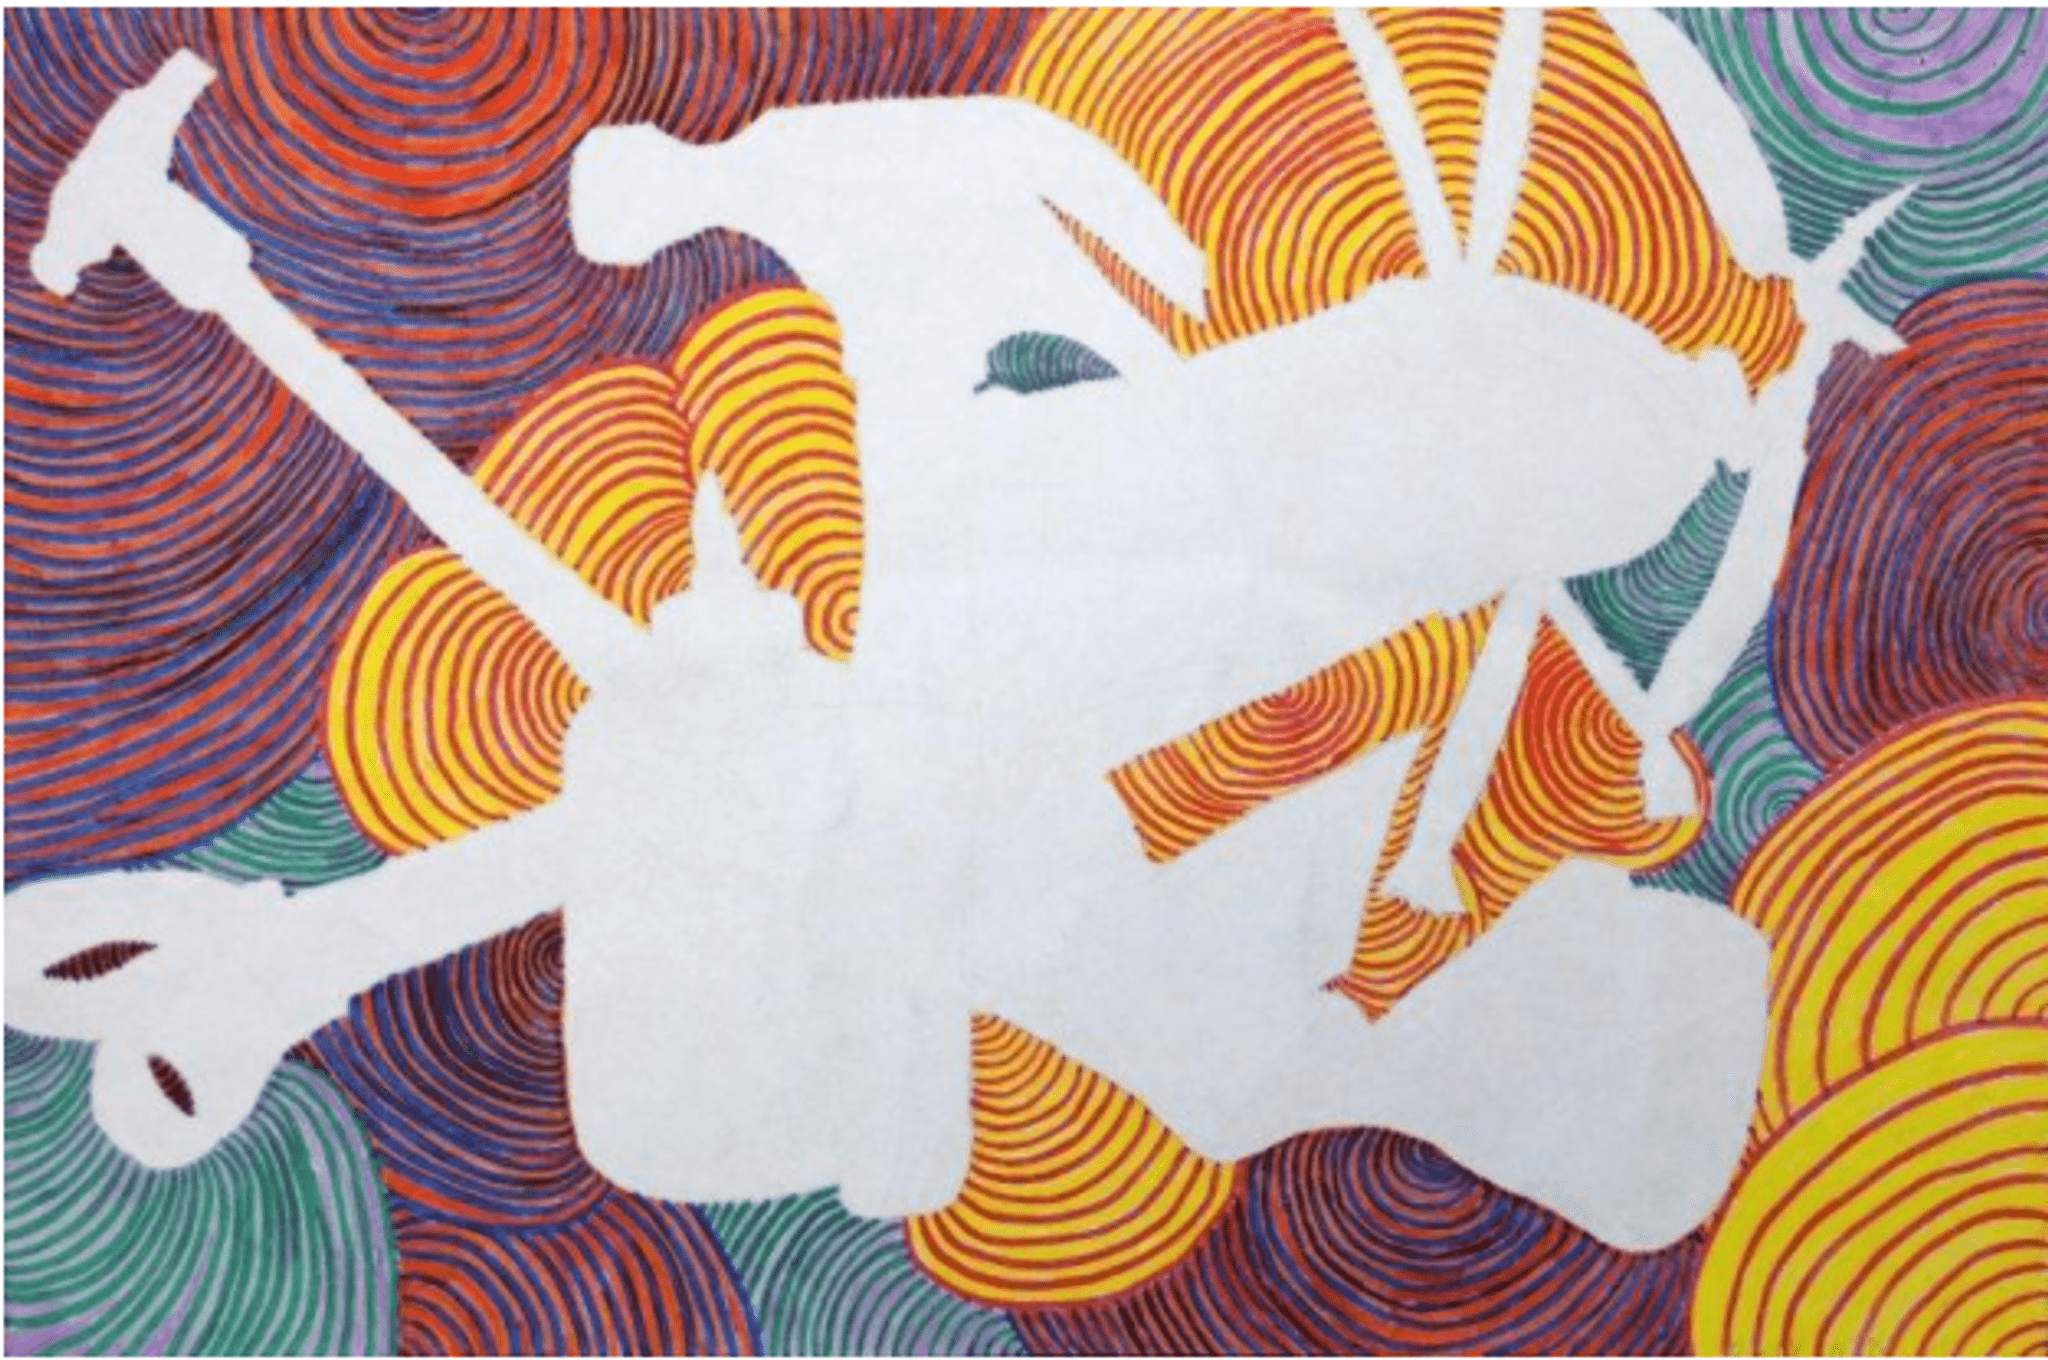
Art Technique - Negative Space Drawing
Create negative-space drawings by arranging simple objects, tracing their outlines, shading surrounding areas, and revealing shapes made by empty space to study composition.

Step-by-step guide to create negative-space drawings
Positive & Negative Space in Art for Kids, Teachers and Parents
Step 1
Choose a clean flat workspace to work on.
Step 2
Place one sheet of plain white paper on the workspace.
Step 3
Pick 3 to 6 small everyday objects to use in your composition.
Step 4
Arrange the objects on the paper until the shapes look interesting to you.
Step 5
Trace the outline of each object lightly with a pencil.
Step 6
Carefully lift each object off the paper so only the pencil outlines remain.
Step 7
Decide which areas around the outlines you will shade as the negative space.
Step 8
Shade only the chosen negative-space areas using your shading materials.
Step 9
Keep your shading smooth by making even strokes in the same direction.
Step 10
Darken the shading close to the outlines to help the empty shapes stand out.
Step 11
Add simple textures or patterns inside the shaded areas if you want more contrast.
Step 12
Write your name and a title on the drawing to show it is yours.
Step 13
Share your finished creation on DIY.org.
Final steps
You're almost there! Complete all the steps, bring your creation to life, post it, and conquer the challenge!


Help!?
What can we use instead of plain white paper or a pencil if those are not available?
Use printer paper or the back of a magazine for the plain white paper in step 2 and substitute a soft pen, chalk stick, or a charcoal pencil to trace outlines in step 4 if you don't have a regular pencil.
My shading looks blotchy or my outlines smudge when I lift objects—how can I fix that?
To prevent smudging when you lift objects in step 5 and keep shading smooth in steps 7–9, place a scrap sheet under your hand, lift objects straight up, use light even strokes in the same direction, and gently blend with a tissue or blending stump.
How can I change the activity for different ages?
For younger children use 1–2 large objects and crayons to color negative space after tracing in step 4, while older kids can choose 4–6 small objects and practice graphite shading with layering and blending in steps 7–9 for more detail.
What are some ways to extend or personalize our negative space drawing?
After completing the shaded negative spaces in steps 6–9, personalize the piece by adding colored patterns or collage inside the shaded areas, inventing a creative title in step 10, and then sharing the finished work on DIY.org as suggested in step 11.
Watch videos on how to create negative-space drawings
Learn to see Negative Space and draw everything better: How to Draw #7
4 Videos
Learn to see Negative Space and draw everything better: How to Draw #7
Easy Negative Space Drawing High School Art Lesson Idea
How to Draw Using Negative Space - This Will Improve Your Drawings
The Negative Space Technique for Better Sketches | Learn to Draw in 2-minutes | Episode 08
Facts about drawing techniques and visual composition
✏️ Contour drawing exercises — where you trace the outline without looking at your paper — train your eyes to notice true edges.
🖼️ Artists such as M.C. Escher and Henri Matisse used positive and negative space creatively to hide surprises and create strong designs.
🧠 Figure–ground illusions (like Rubin's vase) show how your brain can flip between seeing foreground shapes and background shapes.
🔍 Moving an object a little bit can totally change the negative shapes you see, so composition is like solving a visual puzzle.
🎨 Negative space is the "empty" area around and between objects — artists treat it like a second subject to balance a picture.
How do I teach a child to make a negative-space drawing?
What materials do I need for a negative-space drawing activity?
What ages is negative-space drawing suitable for?
What are the benefits, safety tips, and variations for negative-space drawing?


One subscription, many ways to play and learn.
Only $6.99 after trial. No credit card required