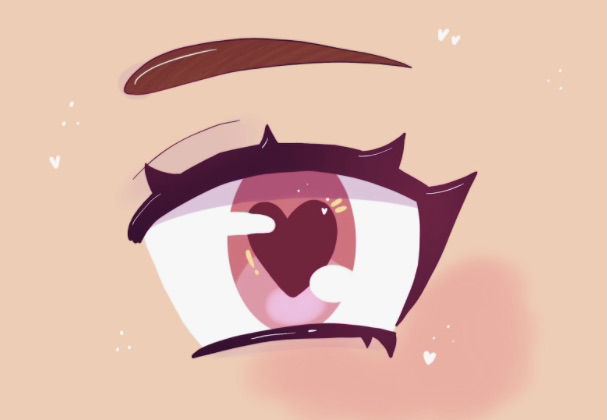
Design Anime Eyes w/ DIY Star LongLeggedLucy
Design and draw anime-style eyes on a DIY Star LongLeggedLucy character template, learning shading, highlights, and expressive features using safe art supplies.


Step-by-step guide to design anime eyes with DIY Star LongLeggedLucy
Step 1
Find a clean well lit table to work on.
Step 2
Place the DIY Star LongLeggedLucy template flat on the table.
Step 3
Decide what expression you want the eyes to show like happy surprised or shy.
Step 4
Lightly sketch the basic outer eye shapes on the template with your pencil.
Step 5
Draw an iris and a pupil inside each eye shape using light pencil lines.
Step 6
Sketch small highlight shapes inside each iris where the light will reflect.
Step 7
Draw thin curved lines for the upper and lower eyelids.
Step 8
Shade each iris with a light base color using a colored pencil.
Step 9
Add a darker tone along the top edge of each iris to create depth.
Step 10
Gently blend the iris colors with a cotton swab or blending stump.
Step 11
Carefully trace the main eye outlines and eyelid lines with the fine tip black marker.
Step 12
Add eyelashes with short curved strokes on the upper lids.
Step 13
Draw eyebrows above the eyes that match the expression you chose.
Step 14
Use a white gel pen or tiny brush with opaque white paint to fill the highlight shapes and add sparkles.
Step 15
Share your finished DIY Star LongLeggedLucy with anime eyes on DIY.org
Help!?
What can I use instead of a fine-tip black marker, blending stump, or white gel pen?
Use a sharpened mechanical pencil or a thin black acrylic paintbrush to trace the main eye outlines instead of a fine-tip black marker, substitute a cotton swab for a blending stump when you 'Gently blend the iris colors', and replace the white gel pen highlights with a tiny dab of opaque white acrylic or correction fluid applied with a toothpick.
The marker smudged or my pencil lines still show after tracing—how do I fix this?
If ink smudges or pencil lines show after you 'Carefully trace the main eye outlines', let the marker dry completely, gently erase leftover pencil from the 'Lightly sketch' step with a soft eraser, and touch up smudges with another thin pass of the marker or a small brush of black acrylic.
How can I adapt this activity for preschoolers, elementary kids, and teens?
For preschoolers, pre-draw bold outer eye shapes and have them color the 'Shade each iris with a light base color' step with crayons; for elementary kids, follow the full sequence but use washable markers and guided cotton-swab blending; for teens, add layered colored-pencil shading, a darker tone along the top edge of each iris, finer eyelashes, and more expressive eyebrow shapes before inking and highlighting.
How can we extend or personalize the finished DIY Star LongLeggedLucy with anime eyes?
Personalize the piece by experimenting with iridescent or metallic colored pencils when you 'Shade each iris', adding tiny star stickers or glitter around the white-gel-pen 'sparkles', varying eyebrow and eyelash styles from the 'Draw eyebrows' and 'Add eyelashes' steps, and scanning the final artwork to create digital stickers to share on DIY.org.
Watch videos on how to design anime eyes with DIY Star LongLeggedLucy
HOW TO COLOR ANIME EYES WITH MARKERS - Easy Step by Step Tutorial for Beginners
4 Videos
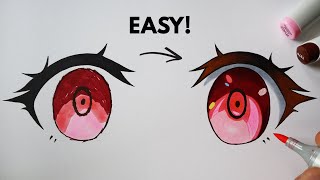
HOW TO COLOR ANIME EYES WITH MARKERS - Easy Step by Step Tutorial for Beginners

Blender: How to Make Anime Eyes | FULL Method Explained
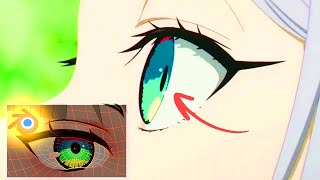
This changed how I make eyes. | Blender Anime 3D
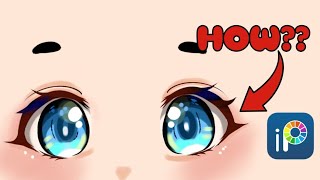
How to draw ANIME EYES (chibi) | easiest eye tutorial for YOU ! | IBIS PAINTX
Facts about anime drawing and character design for kids
👀 Anime eyes are often exaggerated—some artists make them take up almost half the character's face to make expressions super readable.
🎨 Two highlights is a classic trick: a big white shine plus a tiny sparkle can make an eye look glossy and alive.
✨ Osamu Tezuka helped popularize the big-eye style in manga after being inspired by early Western cartoons like Betty Boop.
🖌️ Shading the iris from dark at the edges to light at the center gives a round, 3D look that makes eyes pop on the page.
✅ Using non-toxic, washable markers and child-safe pencils keeps art time creative and safe for kids.
How do I design and draw anime-style eyes on the DIY Star LongLeggedLucy template?
What materials do I need to design anime eyes on the Star LongLeggedLucy template?
What ages is the Design Anime Eyes w/ DIY Star LongLeggedLucy activity suitable for?
What are the benefits of designing anime eyes and are there safety tips or variations?
