Make DIY Candles
Make simple DIY candles using wax pellets, wicks, safe molds, and crayons; practice measuring, melting with adult help, and decorating your homemade candles.


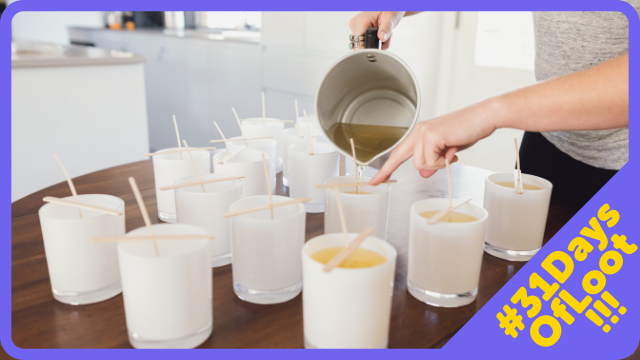
Step-by-step guide to make DIY candles
Step 1
Lay down newspaper on your workspace to protect the table.
Step 2
Pick a mold and press one end of a candle wick into the center of the mold bottom to anchor it.
Step 3
Place a pencil or chopstick across the top of the mold to hold the wick straight.
Step 4
Tape the pencil or chopstick to the mold sides so the wick stays upright and centered.
Step 5
Measure the amount of wax pellets you need with the measuring cup.
Step 6
Break a crayon into small pieces for color.
Step 7
Put the measured wax pellets and the crayon pieces into the heatproof pouring jar.
Step 8
With an adult, fill the saucepan with a few inches of water and place the pouring jar inside to make a double boiler.
Step 9
With an adult, heat the water gently and stir the wax mixture until the wax and crayon pieces are fully melted and smooth.
Step 10
With an adult using oven mitts, lift the pouring jar from the saucepan and set it on a heatproof surface.
Step 11
Wait 1–2 minutes for the wax to cool slightly until it is warm but not smoking.
Step 12
Carefully pour the melted wax into the mold while keeping the wick centered.
Step 13
Let the candle cool and harden completely for at least 30 minutes and then trim the wick to about 1/4 inch.
Step 14
Share a photo of your finished homemade candle and tell what colors and crayons you used on DIY.org.
Help!?
What can I use instead of wax pellets or a heatproof pouring jar if I can't find them?
If wax pellets or a heatproof pouring jar aren't available, melt chopped old candles or grated candle wax in a microwave-safe glass measuring cup and use that cup in the double-boiler step inside the saucepan.
My wick keeps leaning when I pour — how do I fix it?
If the wick shifts while pouring, stop and use the taped pencil or chopstick to re-center and steady the wick against the mold sides before continuing the pour.
How can I adapt this candle activity for different ages?
For younger children have an adult handle the double-boiler, heating, and pouring while the child presses the wick into the mold and breaks crayons, and for older kids let them measure wax pellets, melt with supervision, and experiment with color layering.
How can we personalize or extend the candles beyond the basic instructions?
To personalize the candles, stir a few drops of fragrance or essential oil into the melted wax after the 1–2 minute cool time or pour multiple colored layers by letting each crayon-colored layer harden before adding the next.
Watch videos on how to make DIY candles
Easy DIY Candle Making Tutorial for Beginners || Step-By-Step Guide || GIVEAWAY OVER
4 Videos
Easy DIY Candle Making Tutorial for Beginners || Step-By-Step Guide || GIVEAWAY OVER
How to Make a Candle | DIY Candle Making
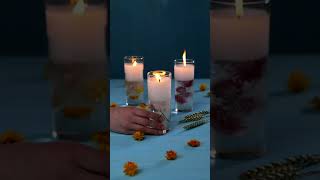
Cute DIY Candles You Can Make at Home 🕯️✨
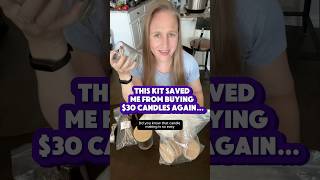
The Easiest Way to Make Candles for Beginners!
Facts about candle making and safety
🕯️ The earliest known candles go back over 2,000 years — Romans and other ancient peoples used tallow or beeswax to light their homes.
🐝 Beeswax candles burn cleaner, smell naturally sweet, and often last longer than paraffin candles.
🌡️ Most candle waxes melt between about 46–68°C (115–155°F) — hot enough to cause burns, so always have an adult help when melting.
✂️ Trimming your wick to about 6 mm (1/4 inch) before lighting keeps the flame steady and reduces smoke and soot.
🖍️ Crayons are mostly paraffin wax plus pigments, so small bits of crayon can be melted into candle wax to add color.
How do you make simple DIY candles step by step?
What materials do I need to make homemade candles with kids?
What ages are DIY candle activities suitable for?
What safety tips should parents follow when making candles with kids?
