Show us your fridge magnets!
Make colorful homemade fridge magnets using bottle caps, magnets, glue, and decorations; design patterns, learn about magnetism, and personalize your refrigerator.


Step-by-step guide to make colorful homemade fridge magnets
Step 1
Gather all your materials and put them on a flat table or tray so everything is easy to reach.
Step 2
Wash the inside of each bottle cap with soapy water to remove dirt and sticky residue.
Step 3
Dry each bottle cap completely with a paper towel.
Step 4
Choose the colors and decorations you want for each fridge magnet.
Step 5
Paint or color the inside of one bottle cap using your chosen color.
Step 6
Let the painted bottle cap dry completely before touching it.
Step 7
Put a small dab of glue into the bottom of a dried painted cap.
Step 8
Place your decoration pieces into the glue and press them down gently once.
Step 9
Put a small drop of glue onto the back of a small disc magnet.
Step 10
Stick the glued magnet to the outside back of the bottle cap and hold it in place for 10 seconds.
Step 11
Leave all the glued magnets to dry undisturbed for at least 30 minutes or follow the glue label time.
Step 12
Test each magnet by seeing if it sticks to the refrigerator surface.
Step 13
Try picking up a paperclip with your magnet to learn how magnetic attraction works.
Step 14
Share photos and a short description of your finished fridge magnets on DIY.org.
Help!?
What can we use if we don't have small disc magnets or strong craft glue?
If you don't have the small disc magnets from step 8 or a heavy-duty glue, substitute sticky magnetic tape or cut a magnetic sheet to fit the cap and use a strong craft adhesive or hot glue with adult supervision to attach it.
My decorations keep falling off or the magnet won't stay stuck—what should I check?
Check that caps were washed and completely dried (steps 2–3) and the paint is fully dry (step 5), lightly roughen the painted area before adding glue, press and hold the magnet longer than the 10 seconds in step 9, and allow the full undisturbed curing time in step 10 or per the glue label.
How can I adapt this activity for younger children or make it more challenging for older kids?
For toddlers, skip painting and use pre-painted caps or stickers with an adult applying glue and magnets in steps 6–9, while older kids can add tiny photos or intricate decorations and finish with clear epoxy after step 10 for a polished look.
How can we extend or personalize the finished fridge magnets?
Personalize by placing small photos or charms into the glue in step 7, then seal the decorated cap with clear-drying Mod Podge or epoxy after step 6 so the decorations are protected, and arrange themed sets to test magnet strength by picking up paperclips as in step 11.
Watch videos on how to make colorful homemade fridge magnets
Fridge Magnets: quick and easy to make
4 Videos
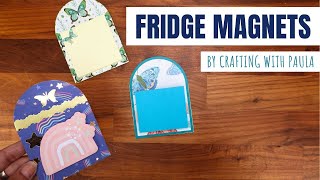
Fridge Magnets: quick and easy to make
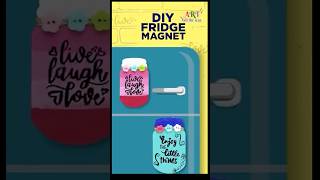
The Secret to Making ADORABLE Fridge Magnets at Home
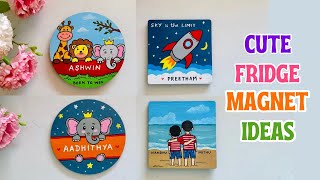
4 Cute fridge magnet ideas to try at home | Easy and Simple | Fun DIY Ideas for All Ages

DIY fridge magnets ideas | Cute fridge magnets | Best gift for loved ones | Home decoration ideas
Facts about magnetism and crafting for kids
🧲 Neodymium magnets are tiny but super-strong — they can hold many times their own weight on a fridge!
♻️ Turning bottle caps into magnets is a fun form of upcycling that helps keep waste out of landfills.
🎨 Refrigerator magnets are popular collectibles and souvenirs — you can design yours to tell a story about you!
🧩 A typical soda bottle cap is about 2.5 cm (1 inch) across — just the right size for tiny photos, stickers, or paint designs.
✨ Magnets have poles: opposite poles attract and like poles repel — flip two magnets to feel the push or pull!
How do I make colorful homemade bottle cap fridge magnets?
What materials do I need to make bottle cap fridge magnets?
What ages are bottle cap fridge magnets suitable for?
What are the benefits of making bottle cap fridge magnets?
