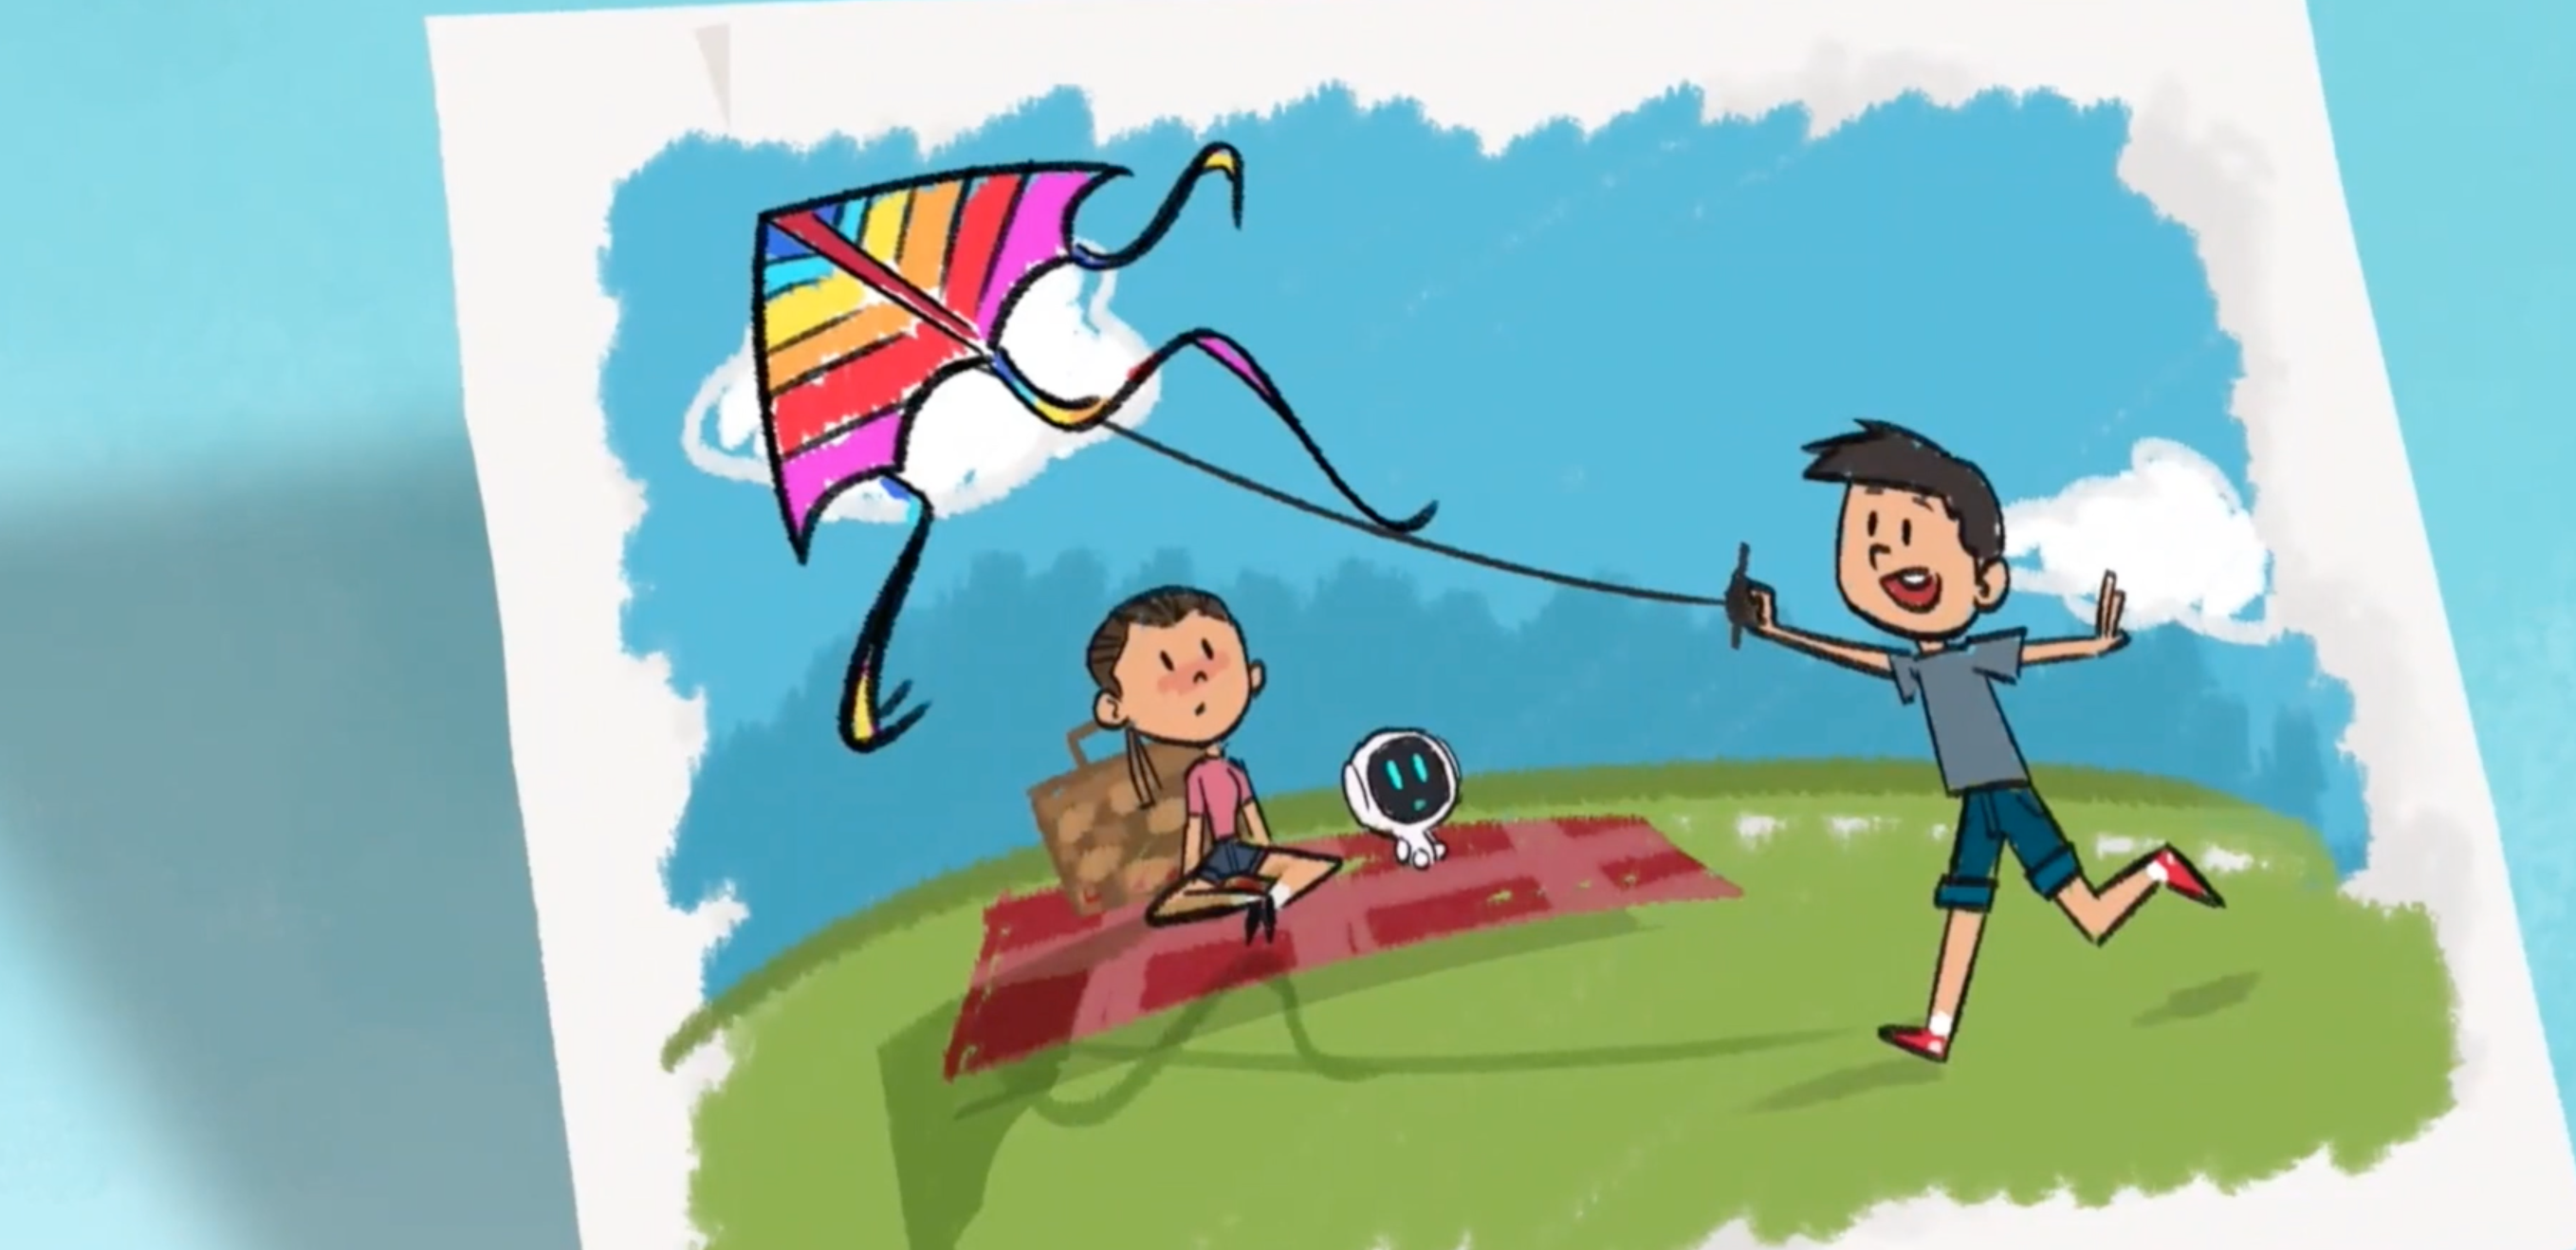
Design a Kite!
Design and build a colorful kite using paper, lightweight sticks, string, and tape, then decorate and test fly to explore wind and lift.


Step-by-step guide to design a kite
Step 1
Gather all the materials on a clean table so they are ready to use.
Step 2
Choose the kite shape and size you want and imagine how big the kite will be.
Step 3
Use the ruler and pencil to draw the kite outline on the paper.
Step 4
Cut out the kite shape carefully with scissors.
Step 5
Arrange two sticks in a cross on top of the paper so one stick is vertical and the other is horizontal.
Step 6
Tape the two sticks together where they cross so the frame is steady.
Step 7
Tape the ends of the sticks to the paper at the kite edges so the paper is snug on the frame.
Step 8
Cut a 60 centimeter piece of string to make the bridle.
Step 9
Tie each end of that string to the left and right ends of the horizontal stick.
Step 10
Tie a small knot in the middle of that string where it meets the vertical stick to make a bridle loop.
Step 11
Attach your flying line to the bridle loop with a secure knot.
Step 12
Tape ribbon or fabric strips to the bottom tip of the kite to make a tail for balance.
Step 13
Decorate your kite with colouring materials and glue any extra decorations you like.
Step 14
With adult supervision go to an open area and test fly your kite by holding it into the wind and slowly letting out the flying line while watching how it lifts.
Step 15
Share your finished kite on DIY.org.
Final steps
You're almost there! Complete all the steps, bring your creation to life, post it, and conquer the challenge!

Help!?
I don't have thin wooden sticks or dowels — what can I use instead?
Use bamboo skewers, straightened coat-hanger wire, or sturdy craft straws as substitutes for the sticks in the 'Arrange two sticks in a cross' step, and tape them well so the paper stays snug on the frame.
My kite paper is sagging or the kite won't lift — what should I check?
If the paper is loose or the kite won't lift, reinforce the taped ends where you 'Tape the ends of the sticks to the paper,' add extra tape at the cross joint, and adjust the bridle loop knot location along the vertical stick until the kite balances.
How can I adapt this kite activity for younger or older children?
For younger kids, pre-draw and pre-cut the kite shape and let them tape sticks, attach the tail, and decorate, while older children can measure with the ruler, cut their own outline, use lightweight fabric instead of paper, and experiment with bridle length and tail size during the 'test fly' step.
How can we extend or personalize the kite beyond the basic instructions?
To enhance and personalize the kite, reinforce the paper edges with extra tape, glue on lightweight decorations or stickers after coloring, add extra ribbon sections to the tail for stability, or attach small LED lights before the 'test fly' step and then share your finished kite on DIY.org.
Watch videos on how to design a kite
How To Make A Kite? Fun And Easy DIY Guide To Create A Colorful Flying Kite With Simple Materials
4 Videos
How To Make A Kite? Fun And Easy DIY Guide To Create A Colorful Flying Kite With Simple Materials
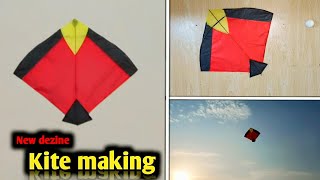
How to make a kite at home||step by step full making||New kite dezine making ||Easy kite making

How to Make a Kite at Home - Step-by-Step Guide
How to make a kite at home|step by step full making video
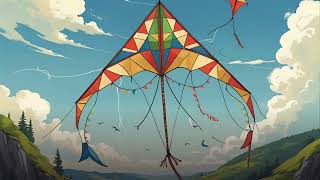
Facts about kite-making and basic aerodynamics
🌬️ A gentle steady breeze (about 5–20 km/h or 3–12 mph) is often perfect for flying most homemade paper kites.
🧪 Benjamin Franklin famously used a kite in 1752 to study electricity, making kite experiments part science history.
🎏 Kites were first invented in China over 2,000 years ago and started as simple tools before becoming toys and scientific instruments.
🪁 Modern kite festivals can feature giant kites as big as small houses — kites come in tiny to truly massive sizes!
📏 Traditional kite frames use lightweight, strong materials like bamboo — the lighter the frame, the easier the kite lifts.
How do I design and build a kite step-by-step?
What materials do I need to design and build a kite?
What ages is this kite activity suitable for?
What are the benefits of designing and flying a kite?


One subscription, many ways to play and learn.
Only $6.99 after trial. No credit card required