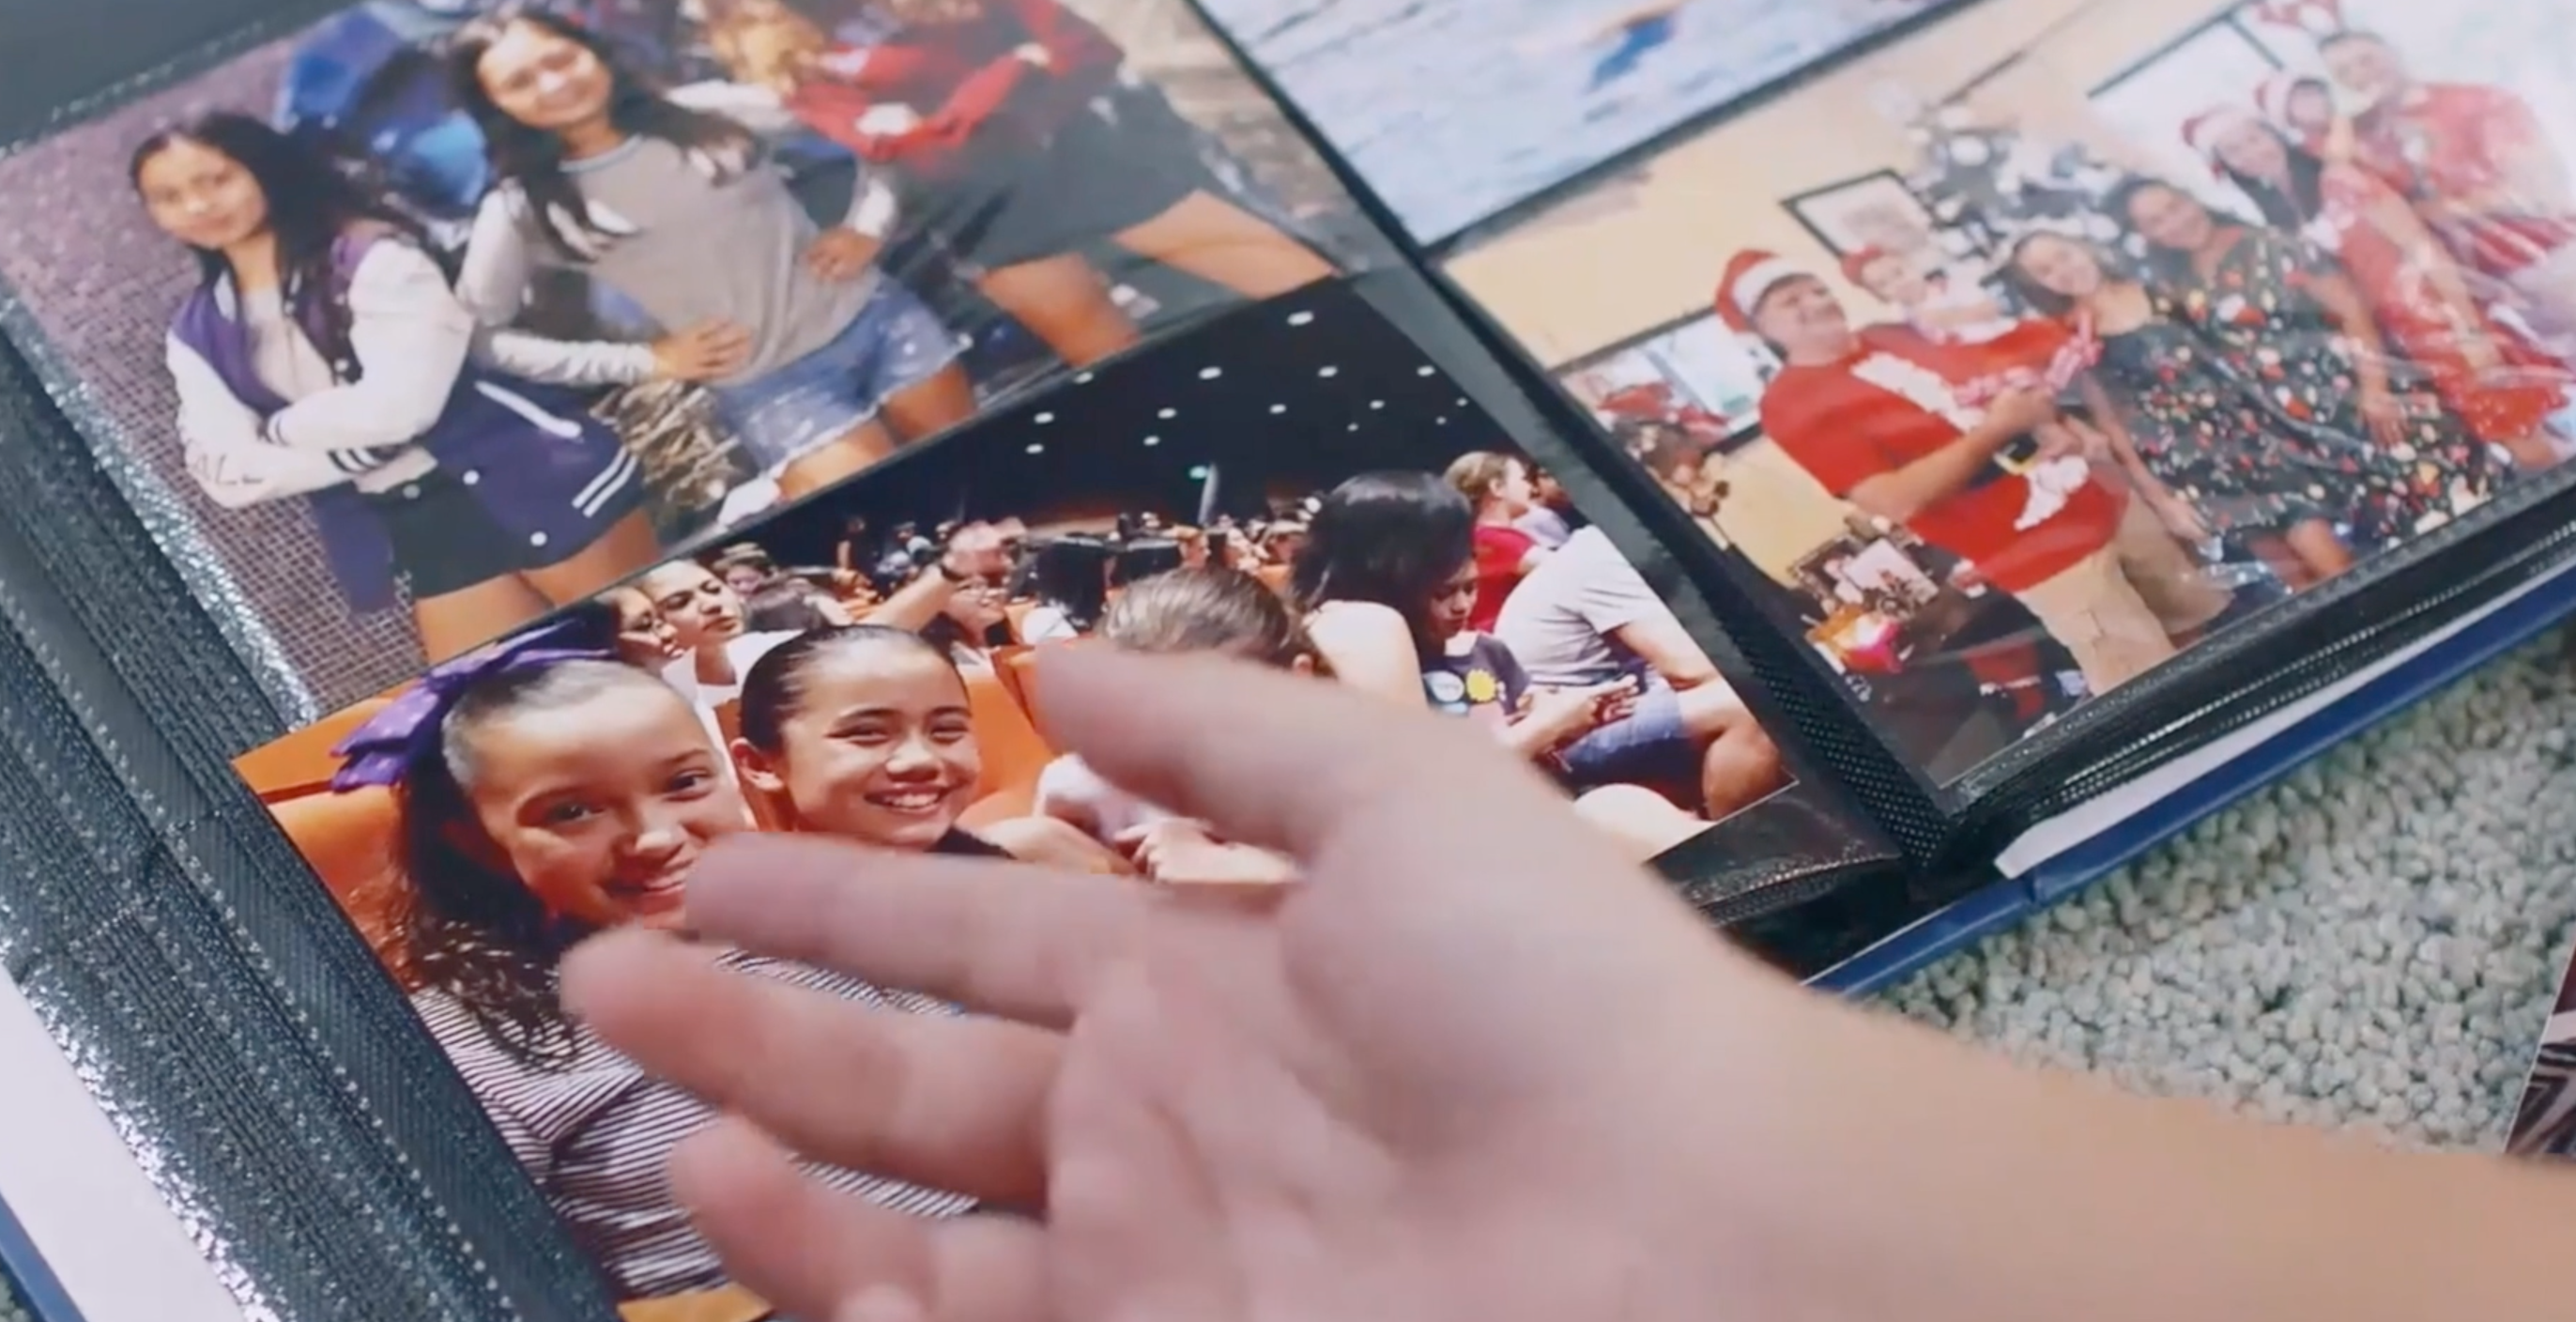
Make A Family Photo Album!
Create a family photo album using printed photos, paper, glue, and captions. Arrange, decorate, and learn storytelling while preserving memories safely.


Step-by-step guide to make a family photo album
Step 1
Gather all the materials and spread them out on a clear table or floor.
Step 2
Pick a theme for your album such as holidays birthdays pets or family adventures.
Step 3
Sort your printed photos into small piles for each page in the order you want them to appear.
Step 4
Choose a sheet of paper or cardstock for the first page or cover.
Step 5
Arrange the photos on that page without gluing so you can try different layouts.
Step 6
Glue the photos onto the page once you like the layout.
Step 7
Cut small strips of paper to use as caption tags.
Step 8
Write one short sentence or a few words on each caption strip explaining the photo.
Step 9
Glue each caption strip beneath its matching photo.
Step 10
Decorate the page with coloring materials and stickers to make it special.
Step 11
Stack all finished pages in order and bind them with a stapler or by punching holes and tying ribbon.
Step 12
Share your finished family photo album on DIY.org.
Help!?
What can I use if I don't have printed photos, cardstock, or a stapler?
If you don't have printed photos use phone screenshots or magazine cutouts, replace the 'Choose a sheet of paper or cardstock' base with cereal-box cardboard or construction paper, and bind the stacked pages with binder clips or a hole punch and yarn instead of a stapler.
How do I stop photos from sliding or the glue from wrinkling the page?
During the 'Arrange the photos' and 'Glue the photos onto the page' steps, use a glue stick or double-sided tape to prevent wet wrinkles, tack each photo with a tiny dot of glue first, and flatten the page under a heavy book until it dries.
How can I adapt the activity for different ages?
For preschoolers pre-sort and pre-cut the photo piles and let them glue and decorate with big stickers, for elementary kids have them write the 'one short sentence' captions themselves, and for teens ask them to design themed layouts, add small memorabilia, and bind a polished album to upload to DIY.org.
What are some ways to personalize or extend the album after it's finished?
Personalize pages by adding dated caption strips, gluing small mementos like ticket stubs into little pockets, using decorative-edge punches on the paper, or scanning the finished pages to create a digital slideshow to share on DIY.org.
Watch videos on how to make a family photo album
How to Make a Family Photo Album with Blurb Books
4 Videos
How to Make a Family Photo Album with Blurb Books
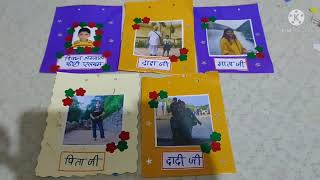
Family photo album|School project|Art and craft photo album project|How to make easy photo album|DIY
Scrapbook Album for Kids - Tutorial
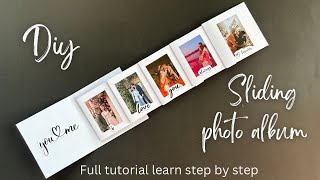
DIY Sliding Photo Album | Full Tutorial Learn Step By Step | Photo Album | Giftideas | Papercrafting
Facts about scrapbooking and photo preservation
📸 The first permanent photograph (a view from a window) was made in 1826 by Joseph Nicéphore Niépce — the exposure took about 8 hours.
📚 Scrapbooking goes back centuries: people in the Renaissance and later kept personal scrapbooks to collect memories, recipes, and clippings.
🧠 Looking at family photos can boost memory recall — images help people reconnect names, places, and feelings tied to events.
✍️ Adding a short caption turns a photo into a story — a line about who, where, or why helps future readers understand the moment.
🌬️ Store albums in cool, dry places away from sunlight and humidity — good care can preserve photos and paper for decades.
How do you make a family photo album with your child?
What materials do I need to create a family photo album?
What ages is making a family photo album suitable for?
What are the benefits of making a family photo album?
