Give us a procreate tour like a pro
Explore Procreate tools and create a simple digital illustration, practicing brushes, layers, color mixing, and basic workflow on a tablet.

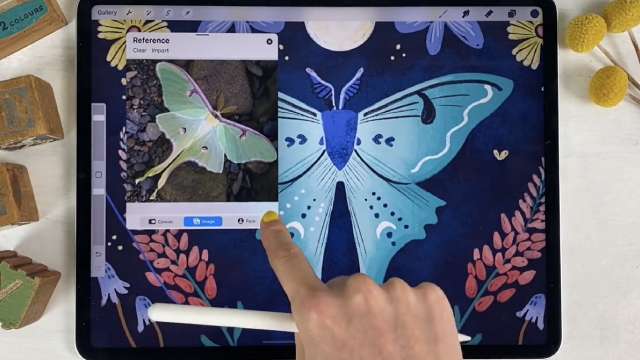
Step-by-step guide to giving a Procreate tour and creating a simple digital illustration
Step 1
Open the Procreate app on your tablet so you can start a new drawing.
Step 2
Tap the + button in the Gallery and choose a canvas size you like to make a new canvas.
Step 3
Tap the Brush icon and pick a soft sketch brush from the Sketching set to make light marks.
Step 4
Draw a simple light pencil sketch of a subject you love like a pet a plant or a fruit.
Step 5
Tap the Layers icon and add a new layer on top of your sketch for cleaner work.
Step 6
Lower the sketch layer’s opacity until the sketch is faint so you can trace easily.
Step 7
Select an inking brush and draw clean line art on the new top layer tracing your sketch.
Step 8
Add another new layer beneath the line art layer to hold your flat colors.
Step 9
Tap the Color circle and choose a base color for one area of your drawing.
Step 10
Paint flat color areas inside the lines on the flats layer to block in shapes.
Step 11
Add one more new layer above the flats layer to use for shadows and highlights.
Step 12
Change the new layer’s blend mode to Multiply for shadows or Overlay for light effects.
Step 13
Choose a soft low-opacity brush and paint shadows and highlights on that layer to add depth.
Step 14
Export your finished illustration to your Photos as a PNG using the Actions -> Share menu.
Step 15
Share your finished creation on DIY.org.
Help!?
I don't have an iPad or Procreate — what can I use instead?
Use a similar tablet app such as Autodesk SketchBook, MediBang Paint, or Procreate Pocket on your device and follow the same steps (new canvas, soft sketch brush, layers, flats, shadows/highlights, and export to Photos).
My line art is wobbly or messy when I trace the sketch — how do I fix it?
Select an inking brush and enable StreamLine in the brush settings before tracing, and also lower the sketch layer’s opacity so your top line-art layer is easier to draw cleanly on.
How can I adapt this Procreate tour for younger or older kids?
For younger kids use a larger canvas, big simple shapes, chunky inking brushes and ColorDrop to fill the flats layer, while older kids can add extra layers for texture, use Multiply/Overlay for shadows/highlights, tweak brush settings, and export PNGs to share on DIY.org.
How can we extend or personalize the finished illustration beyond the basic steps?
Add a background layer beneath the flats layer, use clipping masks for patterned fills, try texture brushes on a separate layer before switching to Multiply/Overlay for shading, or enable Animation Assist in Actions -> Canvas to make a short animation to export along with your PNG.
Watch videos on how to give a Procreate tour and create a simple digital illustration
PROCREATE Drawing for Beginners - EASY Step by Step Tutorial
4 Videos

PROCREATE Drawing for Beginners - EASY Step by Step Tutorial
PROCREATE Drawing Made EASY - Beginner Step-by-Step Tutorial
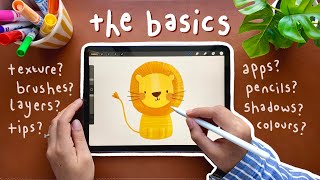
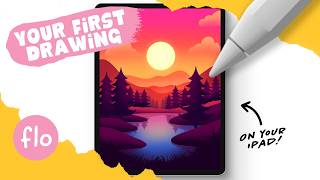
Digital art for beginners 🍃 the basics! How to get started + step-by-step Procreate tutorial
Procreate for Kids Tutorial // How to Use Procreate for Kids!
Facts about digital art and tablet illustration for kids
🎨 Procreate brings powerful digital painting tools to tablets so you can paint like a pro on an iPad.
✏️ The Apple Pencil senses pressure and tilt so your lines can be thin, thick, or shaded just like real pencils.
🧰 Layers in Procreate let you stack parts of your picture — move, erase, or recolor one layer without ruining others.
🖌️ You can make, tweak, and share custom brushes — some artists even sell whole brush packs!
⏱️ Procreate can record a time-lapse of your drawing so you can watch your artwork being created in fast motion.
How do I give a kid-friendly Procreate tour so they can create a simple digital illustration?
What materials do I need to explore Procreate tools and create a digital illustration?
What ages is this Procreate activity suitable for?
What are the benefits of doing a Procreate tour and digital illustration with a child?
