Tell Us About Energy Sources
Create a mini-exhibit or poster showing renewable and nonrenewable energy sources with simple models or drawings, then present findings to others.


Step-by-step guide to Tell Us About Energy Sources
Step 1
Gather all your materials and set them on a clear table so everything is easy to reach.
Step 2
Choose 3 or 4 renewable energy sources and 3 or 4 nonrenewable energy sources to show on your mini exhibit.
Step 3
Fold or draw a straight line down the poster paper to make two sections and write the headings RENEWABLE and NONRENEWABLE at the top of each side.
Step 4
For each renewable source make a simple drawing or quick model using paper cardboard or recyclable bits to show what it looks like.
Step 5
For each nonrenewable source make a simple drawing or quick model using paper cardboard or recyclable bits to show what it looks like.
Step 6
Write a short label on an index card or sticky note for each source with its name and one sentence about where the energy comes from.
Step 7
Colour code each label green for renewable and brown or gray for nonrenewable so people can tell them apart at a glance.
Step 8
Arrange your drawings models and labels on the poster until you like the layout and then glue or tape them down.
Step 9
Add one or two fun facts under each source such as how long it lasts or if it makes pollution using simple words.
Step 10
Decorate the title and edges with colours or small drawings to make your exhibit bright and eye catching.
Step 11
Rehearse a 1 minute presentation out loud that explains the difference between renewable and nonrenewable and one fact about each source.
Step 12
Present your mini exhibit to family friends or classmates and invite them to ask one question each.
Step 13
Share your finished creation on DIY.org
Help!?
What can we use instead of poster paper, index cards, or colored markers if we can't find them?
Flattened cereal boxes or cut-up cardboard can replace poster paper, torn printer paper or sticky notes can stand in for index cards, and crayons, colored pencils, or bits of painted paper can provide the green and brown/gray color coding.
My little models keep falling off the poster—how can we keep them attached and neat?
Mount lightweight recyclable bits on small cardboard bases first, use a strip of strong tape or craft glue to secure them to the poster, and press under a heavy book until the glue dries to stop them from falling off.
How should we change this activity for a 5‑year‑old versus a 12‑year‑old?
For a 5‑year‑old pick 2 renewables and 2 nonrenewables with big simple drawings and prewritten labels to copy, while a 12‑year‑old can choose 3–4 of each, build small models from cardboard, write one‑sentence labels and two fun facts, and rehearse a full 1‑minute presentation.
What are some ways to extend or personalize the mini exhibit after it's finished?
Add a small LED to show which sources produce electricity, include a local energy source with a map label, glue a QR code linking to a video about one source, or invite classmates to add one question card before sharing the final exhibit on DIY.org.
Watch videos on how to Tell Us About Energy Sources
Sources Of Energy For Power Generation | Basic Concepts | Power Systems Engineering
3 Videos
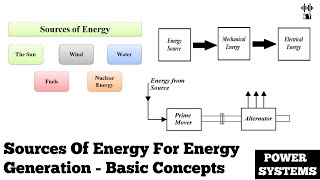
Sources Of Energy For Power Generation | Basic Concepts | Power Systems Engineering
How Electricity Generation Really Works
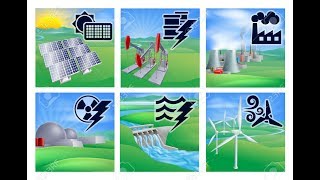
Types of Power Plants and how they Produce Electricity - Electrical Energy?
Facts about renewable and nonrenewable energy
🌞 In one hour, the Sun beams more energy to Earth than all humans use in an entire year!
🌬️ A single large wind turbine can generate enough electricity to power hundreds of homes each year.
⛽ Fossil fuels like coal, oil, and natural gas formed over millions of years — once they're used up, they can't be quickly replaced.
⚛️ Nuclear power produces a huge amount of electricity from a tiny bit of fuel and emits almost no CO2 while generating power.
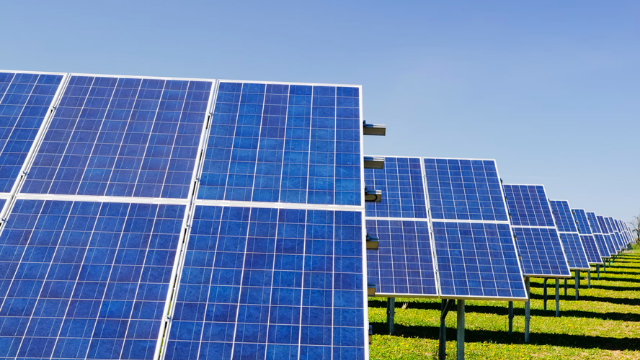
🌱 Renewable sources (solar, wind, hydro) produce far less air pollution and help reduce greenhouse gas emissions.
How do I create a mini-exhibit or poster about renewable and nonrenewable energy sources?
What materials do I need to make a mini-exhibit on energy sources?
What ages is the 'Tell Us About Energy Sources' activity suitable for?
What are the benefits of doing a mini-exhibit about energy sources with my child?
