Soulwriting & Scrapbooking
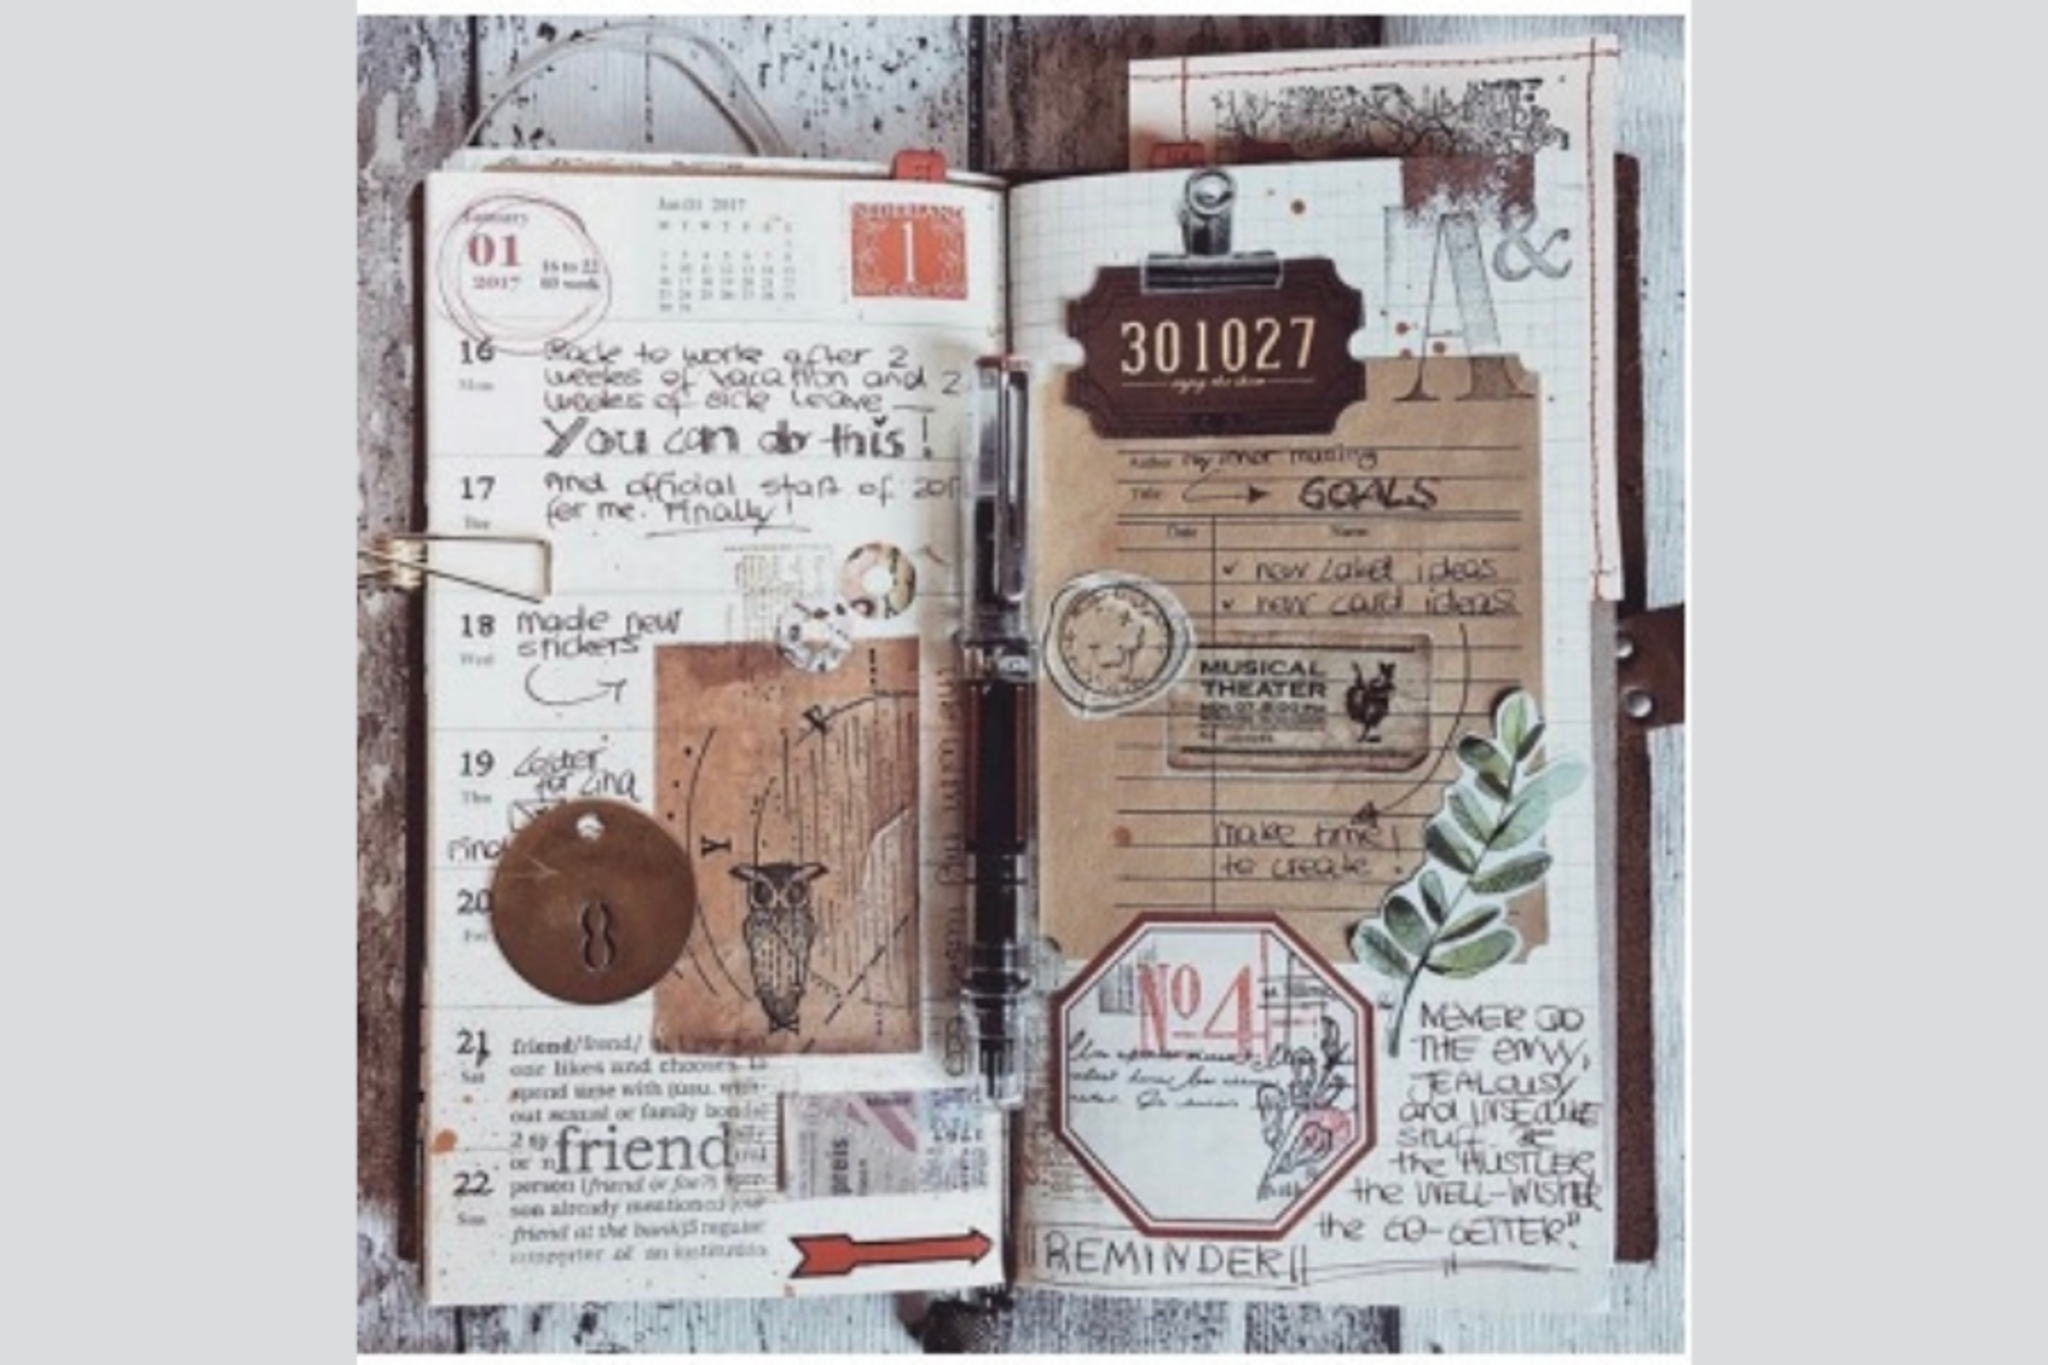
Write short personal journal entries called soul notes and assemble a decorated scrapbook with photos, drawings, and captions to capture memories and feelings.


Step-by-step guide to Soulwriting & Scrapbooking
251015-MIM Ep 20: The Write Way to Your True Self #WritingHeals #Journaling #SoulWriting
Step 1
Gather your materials.
Step 2
Choose 5 to 8 photos or small mementos that make you feel happy or thoughtful.
Step 3
Open your scrapbook to the first blank page where you'll start.
Step 4
Lay out your photos and mementos on the page without gluing to plan the design.
Step 5
Write a short soul note (one or two sentences) for each photo on a scrap piece of paper.
Step 6
Use colouring materials to add a border or a small drawing to the page.
Step 7
Trim any photos or paper to fit the page using safety scissors.
Step 8
Glue the photos and mementos onto the page in your chosen layout.
Step 9
Write your soul notes next to each photo as captions using a pen.
Step 10
Write a short title and the date for the page.
Step 11
Place stickers or decorative tape to finish the page design.
Step 12
Repeat this process for more memories until you have several scrapbook pages.
Step 13
Flip through your finished pages to enjoy your scrapbook.
Step 14
Share your finished scrapbook and a favorite soul note on DIY.org.
Help!?
What can we use if we don't have a scrapbook, printed photos, or photo-safe glue?
Use a plain bound notebook or taped-together construction-paper pages as a scrapbook substitute, draw or print screenshots instead of printed photos, and replace the glue in the 'Glue the photos and mementos' step with double-sided tape or photo corners.
What should we do if photos slide around or glue wrinkles when laying out the page before gluing?
When you 'Lay out your photos and mementos on the page without gluing', secure pieces temporarily with small pieces of masking tape or paperclips, use a glue stick or photo corners to avoid wrinkling, and press the page under a heavy book after you 'Glue the photos' to dry flat.
How can I adapt this activity for younger children or older kids?
For ages 3–6 choose 2–4 photos and have an adult pre-cut mementos and help with 'Trim any photos or paper to fit the page using safety scissors' and writing the soul notes, while older kids can use 5–8 items, longer captions, layered decorations, and experiment with 'stickers or decorative tape'.
How can we make the scrapbook more creative or ready to share on DIY.org?
Enhance the project by adding pockets or envelopes for extra mementos, using your 'colouring materials' for custom borders and small drawings, dating and titling each page, scanning pages into a digital album, and choosing one favorite soul note to upload when you 'Share your finished scrapbook and a favorite soul note on DIY.org'.
Watch videos on how to create Soulwriting & Scrapbooking projects
Embrace Authenticity: Personal Growth
4 Videos

Embrace Authenticity: Personal Growth

✍️ How Writing Keeps Me Sane

How to Heal Your Emotional Trauma & Past Wounds | Healing Workshop 💖

Why is Writing Therapeutic? Find Out How Writing Helps Anxiety, Depression and PTSD
Facts about journaling and scrapbooking for kids
✍️ Writing for just 15–20 minutes of expressive journaling can reduce stress and help sort feelings — ideal for quick soul notes.
📸 Scrapbooking mixes photos, ticket stubs, drawings, and captions to make a personalized keepsake — it’s a creative photo album you design yourself.
🧠 Memories tied to emotions are stronger, so noting how you felt next to a picture helps the memory stick.
🗓️ People have kept personal journals for centuries — famous diarists include Anne Frank and Samuel Pepys.
🎨 Doodling and adding color while you write can boost creativity and memory, making your scrapbook pages more vivid.
How do you do Soulwriting & Scrapbooking with kids?
What materials do I need for Soulwriting & Scrapbooking?
What ages is Soulwriting & Scrapbooking suitable for?
What are the benefits of Soulwriting & Scrapbooking for children?
