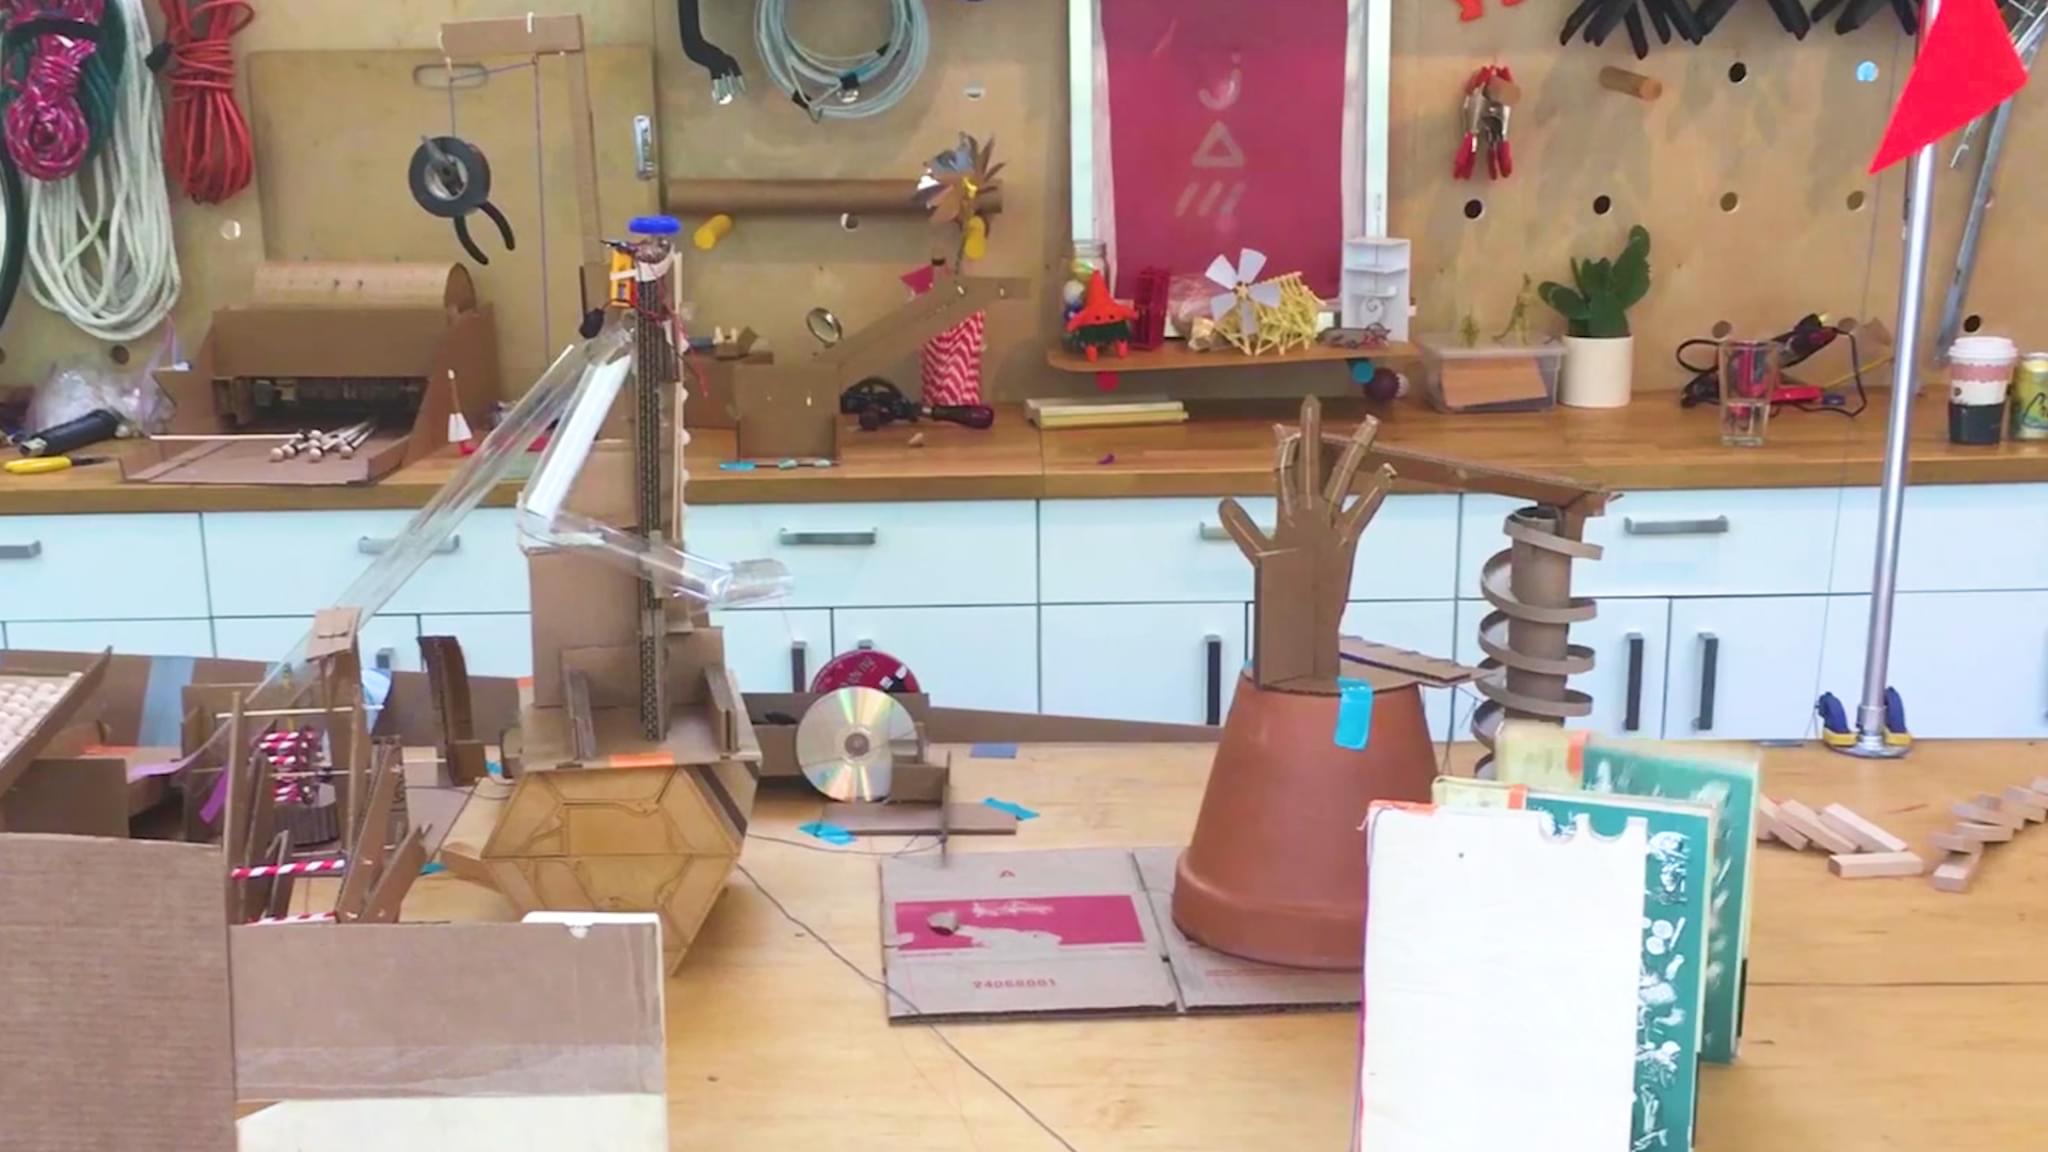
Build a Rube Goldberg machine
Design and build a Rube Goldberg machine using safe household items to complete a simple task while exploring chain reactions, creativity and problem solving.


Step-by-step guide to build a Rube Goldberg machine
Easy Rube Goldberg Ideas: Easy Rube Goldberg Machine for Kids
Step 1
Choose one simple final task your machine will complete such as tipping a cup or pushing a toy across a finish line.
Step 2
Gather the Materials Needed and clear a flat area to build on.
Step 3
Draw a simple plan showing the start the middle and the finish so you know how parts will connect.
Step 4
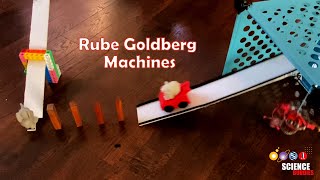
Make a starting ramp by taping a piece of cardboard to a book so a marble or toy car can roll smoothly down.
Step 5
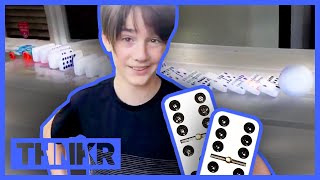
Line up dominoes or blocks in a path that the ramp’s rolling object can hit to continue the chain.
Step 6
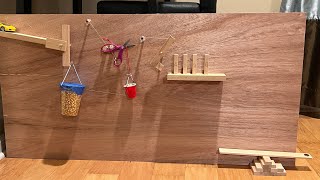
Tie one end of a piece of string to a clothespin.
Step 7
Position the clothespin so a falling domino or rolling object will move the string and trigger the next part.
Step 8
Set up a second action such as a toy car launch point or a rolling ball path that the clothespin will release or push.
Step 9
Place the target object such as a plastic cup where the arriving object will tip it to finish the task.
Step 10
Test the whole machine once by triggering the start and watching which parts succeed or fail.
Step 11
Make one small change to a part that failed and test that part again.
Step 12
When your machine reliably completes the task share your finished Rube Goldberg creation on DIY.org
Help!?
What can we use instead of hard-to-find items like a clothespin, marble, or dominoes?
Use a binder clip or hair clip instead of a clothespin, a small rubber ball or LEGO wheel instead of a marble, and stacked blocks or toy cars in place of dominoes while keeping the same ramp, string, and cup target steps.
My rolling object keeps stopping before it hits the dominoes—what should I try?
If the marble or toy car stops before the dominoes, raise the book to increase the ramp slope, smooth the cardboard with tape, or move the first dominoes closer to the ramp's end so the rolling object reliably makes contact.
How can I adapt this Rube Goldberg build for different age groups?
For younger kids use a shorter chain with big blocks, a toy car, and an adult to tape the cardboard and tie the string, while older kids can draw a more detailed plan, add extra stages like a second clothespin release or car launch point, and experiment with ramp angles.
How can we extend or personalize the machine once it works?
Decorate the cardboard ramp and plastic cup, add more stages such as another domino line or clothespin-triggered launcher, and film the final run to share your finished Rube Goldberg creation on DIY.org.
Watch videos on how to build a Rube Goldberg machine
How To Build a Rube Goldberg Machine | STEM Lesson Plan
4 Videos
How To Build a Rube Goldberg Machine | STEM Lesson Plan
Simple Rube Goldberg Machine setup for Science class
Simple Steps to Create a Rube Goldberg Machine | Kids Teaching Kids
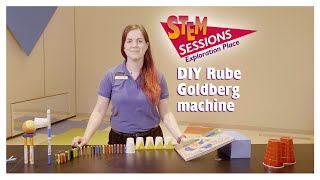
DIY Rube Goldberg machine | STEM Session
Facts about engineering and physics for kids
🖼️ Rube Goldberg was an American cartoonist whose drawings of wildly complicated machines gave their name to 'Rube Goldberg machines'.
🤖 Schools and makers hold Rube Goldberg-style contests to teach creativity, teamwork, and basic engineering through playful challenges.
⚙️ A Rube Goldberg machine works by chaining small transfers of energy — motion, gravity, or momentum — from one step to the next.
🧩 Builders often use safe household items like marbles, dominoes, toy cars, cups, string and ramps to create clever reactions.
🎯 The goal is a tiny, specific task (popping a balloon, flipping a switch, or watering a plant), which makes every design choice matter.
How do you design and build a Rube Goldberg machine at home?
What materials do I need to build a safe household Rube Goldberg machine?
What ages is a Rube Goldberg machine activity suitable for?
What are the benefits and safety tips for doing Rube Goldberg machines with kids?
