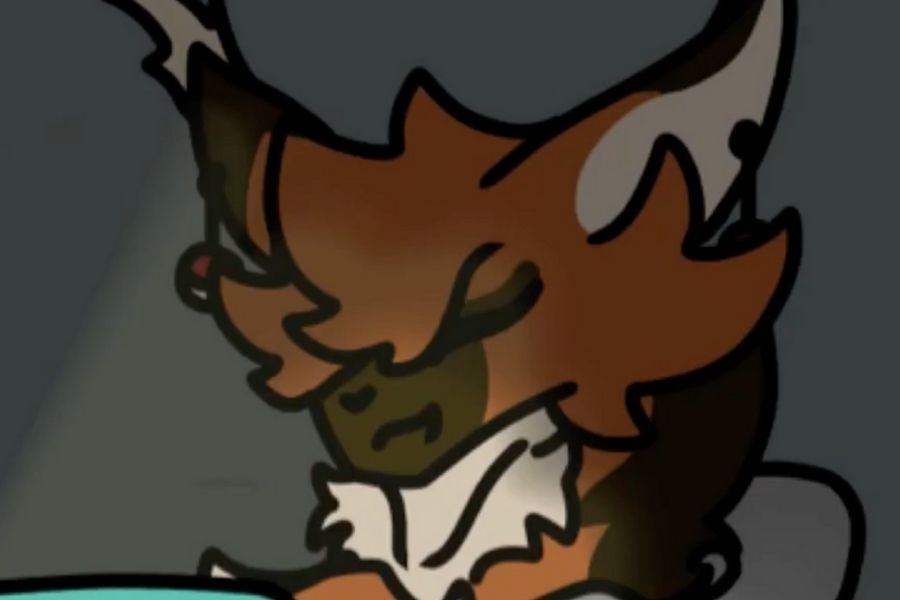
Draw A Wolf With MysticDragons!
Draw a mystical wolf step by step with MysticDragons' guidance, practicing shapes, fur textures, and simple shading to create your own illustrated wolf.

Step-by-step guide to draw a wolf with MysticDragons
Step 1
Lightly draw a big circle for the wolf's head so you have a friendly guide to build on.
Step 2
Draw one vertical and one horizontal guideline that cross in the middle of the circle to help place the face.
Step 3
Add a long narrow oval overlapping the lower part of the circle to make the wolf's snout.
Step 4
Draw two tall pointed triangles on top of the head for the wolf's ears.
Step 5
Sketch a curved line down from the snout to make the jaw and a smooth neck line to join the head.
Step 6
Draw two almond-shaped eyes along the horizontal guideline to give your wolf its gaze.
Step 7
Add small filled pupils and leave tiny white sparkles inside each eye for bright looks.
Step 8
Draw a teardrop-shaped nose at the tip of the snout.
Step 9
Draw a simple curved mouth line under the snout to show a calm expression.
Step 10
Lightly sketch the wolf's body and a big fluffy tail with one flowing outline so the wolf looks natural.
Step 11
Add short jagged strokes around the face and ear edges to create fluffy fur tufts.
Step 12
Draw short directional fur lines along the body and tail to show fur texture and flow.
Step 13
Shade lightly under the chin and inside the ears with soft pencil strokes and blend gently with a tissue or blending stump.
Step 14
Share your finished wolf drawing with MysticDragons on DIY.org
Final steps
You're almost there! Complete all the steps, bring your creation to life, post it, and conquer the challenge!


Help!?
I don't have a blending stump or tissue — what can I use to blend the light shading under the chin and inside the ears?
Use a folded tissue, a cotton swab, or a clean fingertip to gently blend the soft pencil strokes when shading under the chin and inside the ears.
My snout and eyes look off-center — how do I fix their placement without ruining the head circle?
Lightly erase and reposition the long narrow oval for the snout and the two almond-shaped eyes using the vertical and horizontal guidelines that cross the middle of the head circle to keep everything aligned.
How can I adapt this wolf drawing for younger or older kids?
For younger kids simplify to the big circle, two triangle ears, a teardrop nose, and a simple mouth line, while older kids can add the short jagged fur strokes, directional fur lines, and the light shading under the chin and inside the ears before blending for more detail.
What are some fun ways to enhance or personalize my finished wolf drawing before sharing it with MysticDragons?
Add color to the big fluffy tail and body, draw a forest background, change the mouth line for a different expression, emphasize the tiny white sparkles in each eye with a white gel pen, then share your finished wolf drawing with MysticDragons on DIY.org.
Watch videos on how to draw a wolf with MysticDragons
How To Learn To Draw A Wolf Head
4 Videos
How To Learn To Draw A Wolf Head
How To Draw A Wolf
How to Draw a Cartoon Wolf easy

How To Draw A Wolf (or Husky) - Preschool
Facts about animal drawing and illustration
✍️ The oldest known drawings are over 40,000 years old—people have been sketching animals since the Stone Age!
🎨 Chiaroscuro is the art technique of using strong light-versus-dark contrast to make shapes appear 3D—great for adding depth to fur.
🐉 Dragon myths appear in cultures all around the world, giving endless ideas for mystical markings and accessories for your wolf.
🖉 Graphite pencils range from hard (H) to soft (B); softer pencils (2B–6B) make darker, fluffier fur textures and easy shading.
🐺 Wolves have a reflective layer called the tapetum lucidum that boosts night vision—perfect inspiration for mysterious, shadowy eyes!
How do I draw a mystical wolf step by step with MysticDragons?
What materials do I need to draw a mystical wolf with MysticDragons?
What ages is the Draw A Wolf With MysticDragons activity suitable for?
What are some creative variations to try when drawing a mystical wolf?


One subscription, many ways to play and learn.
Only $6.99 after trial. No credit card required