Make a Video Collab on DIY
Work with friends to plan, film, and edit a short DIY video showing a simple craft or experiment, learning teamwork and basic filming skills.


Step-by-step guide to make a DIY video collab
Mind-Blowing DIY Crafts Your Kids Will Actually Love
Step 1
Gather two or three friends and agree on one simple craft or experiment to show in your video.
Step 2
Decide who will be the host camera helper materials manager and editor so each person has one job.
Step 3
Use the notebook and pencil to write a short title and a one-paragraph plan listing the scenes you will film.
Step 4
Make a list of all craft materials in the notebook and assign who will bring each item.
Step 5
Gather all materials into a single box or tray so everything is ready and easy to reach.
Step 6
Practice the craft or experiment once together without filming so everyone knows the steps.
Step 7
Clear a table and set up a bright well-lit filming area near a window or lamp.
Step 8
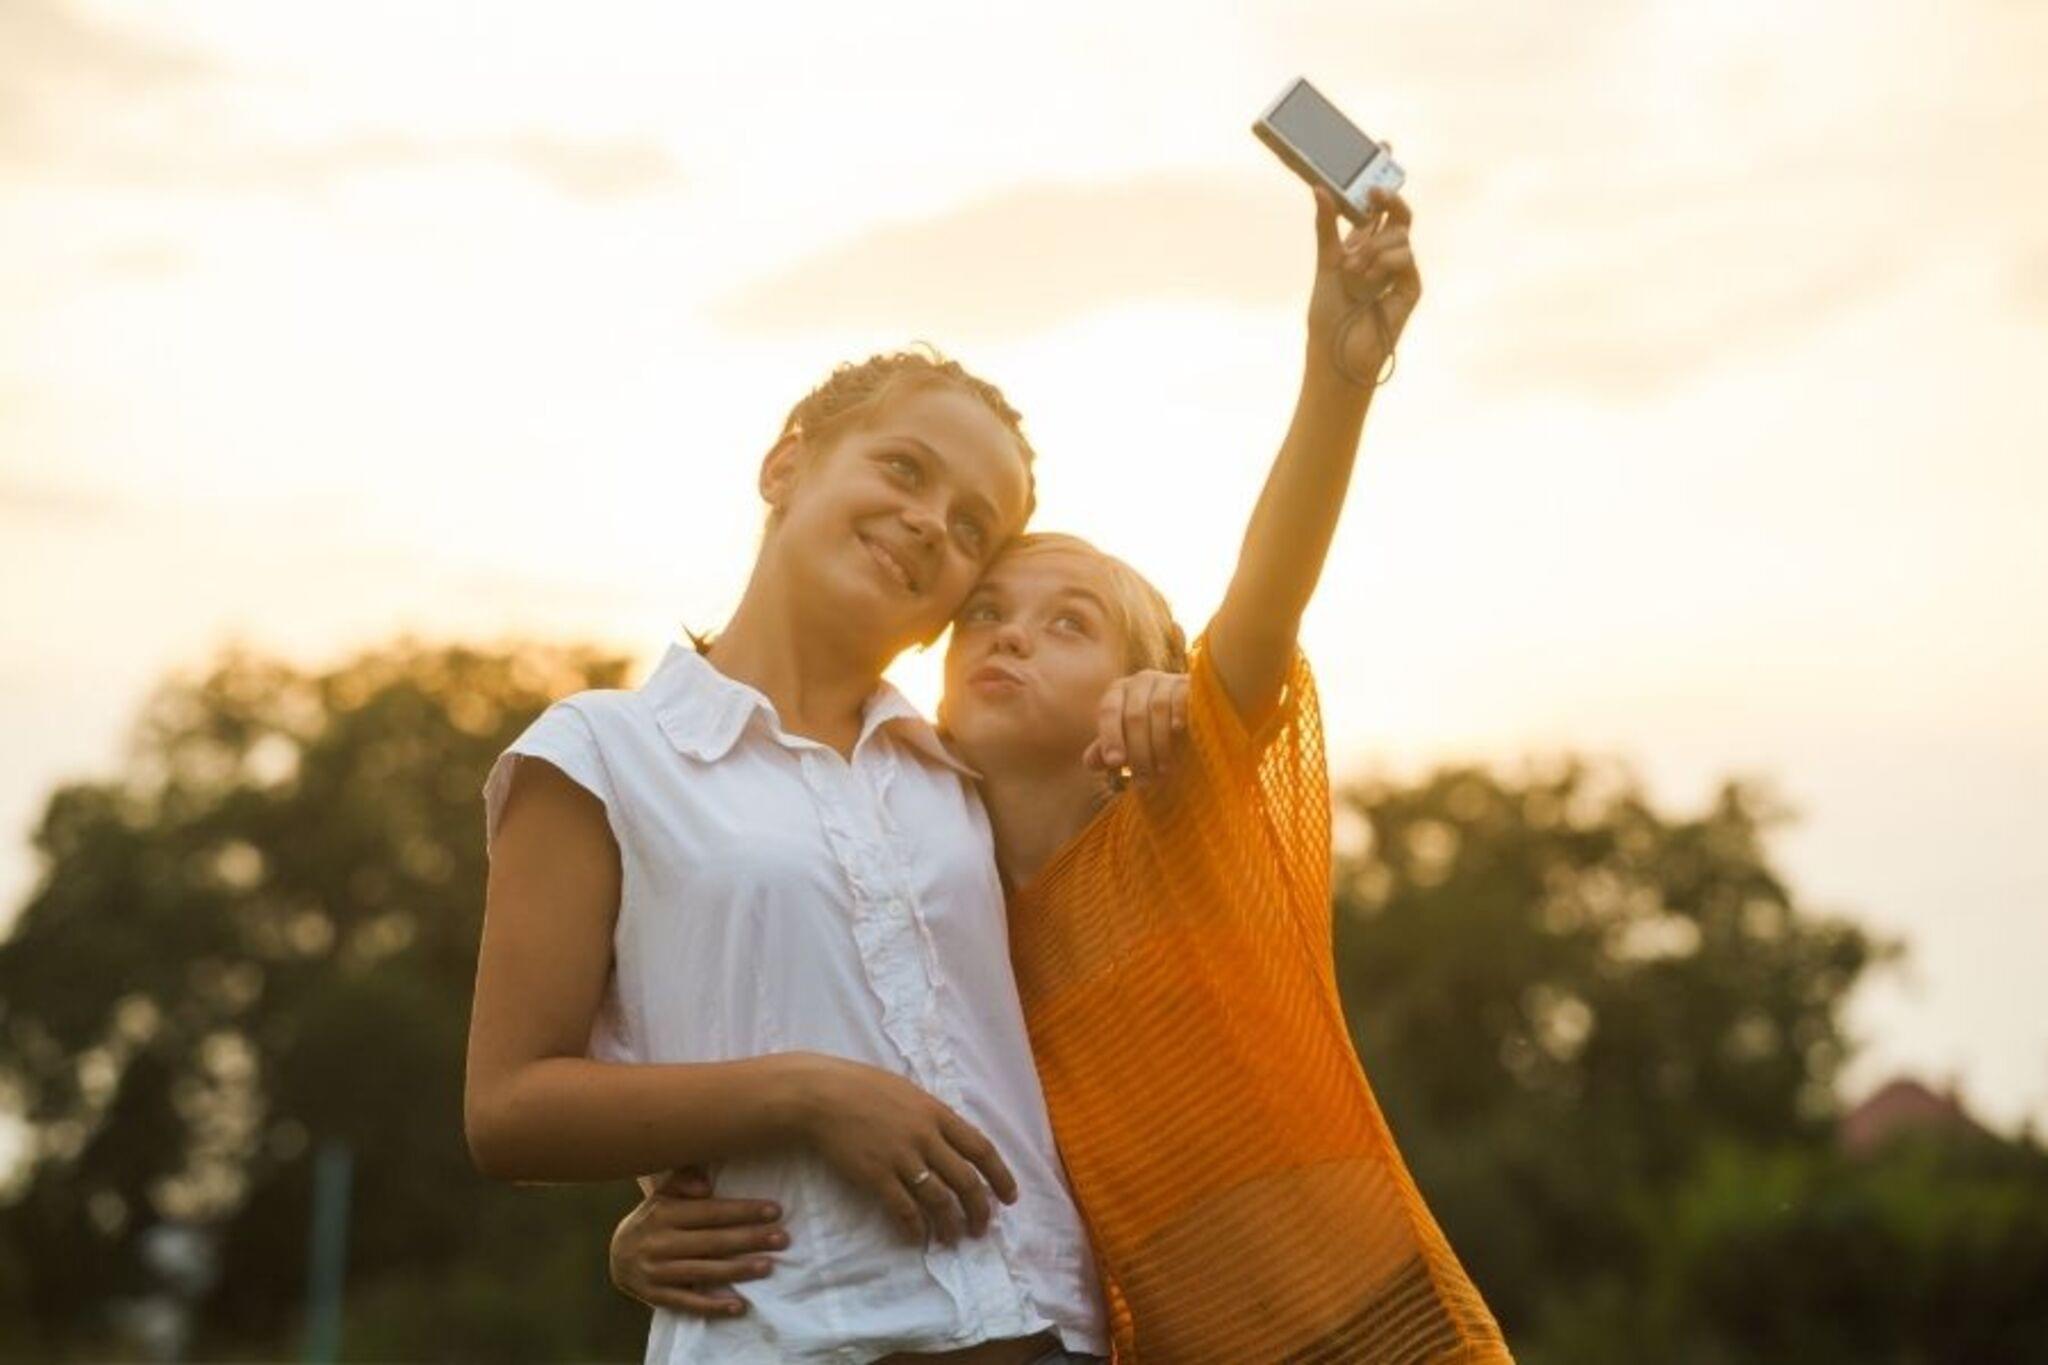
Place the camera or phone on a stable surface or tripod and frame the shot so the project and hands are visible.
Step 9
Record a 5-second test clip and play it back to check that the picture and sound are clear.
Step 10
Film the intro and each main step one scene at a time following your written plan.
Step 11
Film extra B-roll close-ups and different angles to show details and make the video more fun.
Step 12
Watch all the clips together and pick the best take for each scene.
Step 13
Edit the chosen clips into a short clear video that shows the whole project from start to finish.
Step 14
Add a title card and simple captions then export or save the final video file.
Step 15
Share your finished creation on DIY.org.
Help!?
What can we use instead of a tripod, notebook, or a storage box if we don't have them?
Use a stack of books or a chair as the stable surface instead of a tripod, use a phone notes app in place of the notebook and pencil when writing your title and one-paragraph plan, and swap a shoebox or laundry basket for the single box or tray where you gather materials.
Our footage is shaky and the audio is quiet—what should we fix first?
Follow the step to place the camera or phone on a stable surface or tripod and record the 5-second test clip near a window or lamp to check framing, picture, and sound, then re-film with the camera stabilized and the microphone or phone closer to the host.
How can we adapt this activity for younger kids or older tweens?
For younger children simplify the craft, give them jobs like materials manager or host cues and have an adult help clear the table and set up the camera, while older tweens can write a longer plan in the notebook, practice multiple takes, film extra B-roll, and handle the editing and captions themselves.
What are quick ways to make our finished video more engaging or unique?
Film extra B-roll close-ups and different angles to show details, add a custom title card and simple captions during the edit, include upbeat royalty-free music, and personalize the project box or the notebook title before exporting and sharing on DIY.org.
Watch videos on how to make a DIY video collab
10 Creative and Easy Kids Craft | Fun Crafts for Kids | Handmeyd Treasures
4 Videos
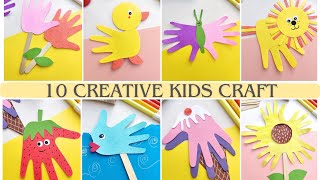
10 Creative and Easy Kids Craft | Fun Crafts for Kids | Handmeyd Treasures
10 AMAZING DIY Paper Crafts You Need To Try
🤩LIVE: WOW! 100 DIY Easy Crafts To Surprise Your Friends🎨
🐙 FUN COLORFUL DIYs 🎨💖 Cute & Easy Crafts You Can Make!
Facts about filmmaking and DIY projects for kids
🎬 Walt Disney popularized the modern storyboard in the early 1930s to help teams plan scenes before filming.
🎥 Many modern smartphones can record in 4K, so kids can capture crisp, pro-looking footage with just a phone and good lighting.
🤝 Working in a team helps split tasks—planning, filming, and editing—so projects finish faster and spark more creative ideas.
✂️ The Kuleshov effect shows how editing two simple shots together can create new emotions and meanings.
📺 YouTube launched in 2005 and now has over 2 billion logged-in monthly users sharing millions of DIY and how-to videos.
How do you make a DIY video collab with friends?
What materials do I need for a DIY video collab?
What ages is a DIY video collab suitable for?
What are the benefits of making a DIY video collab?
