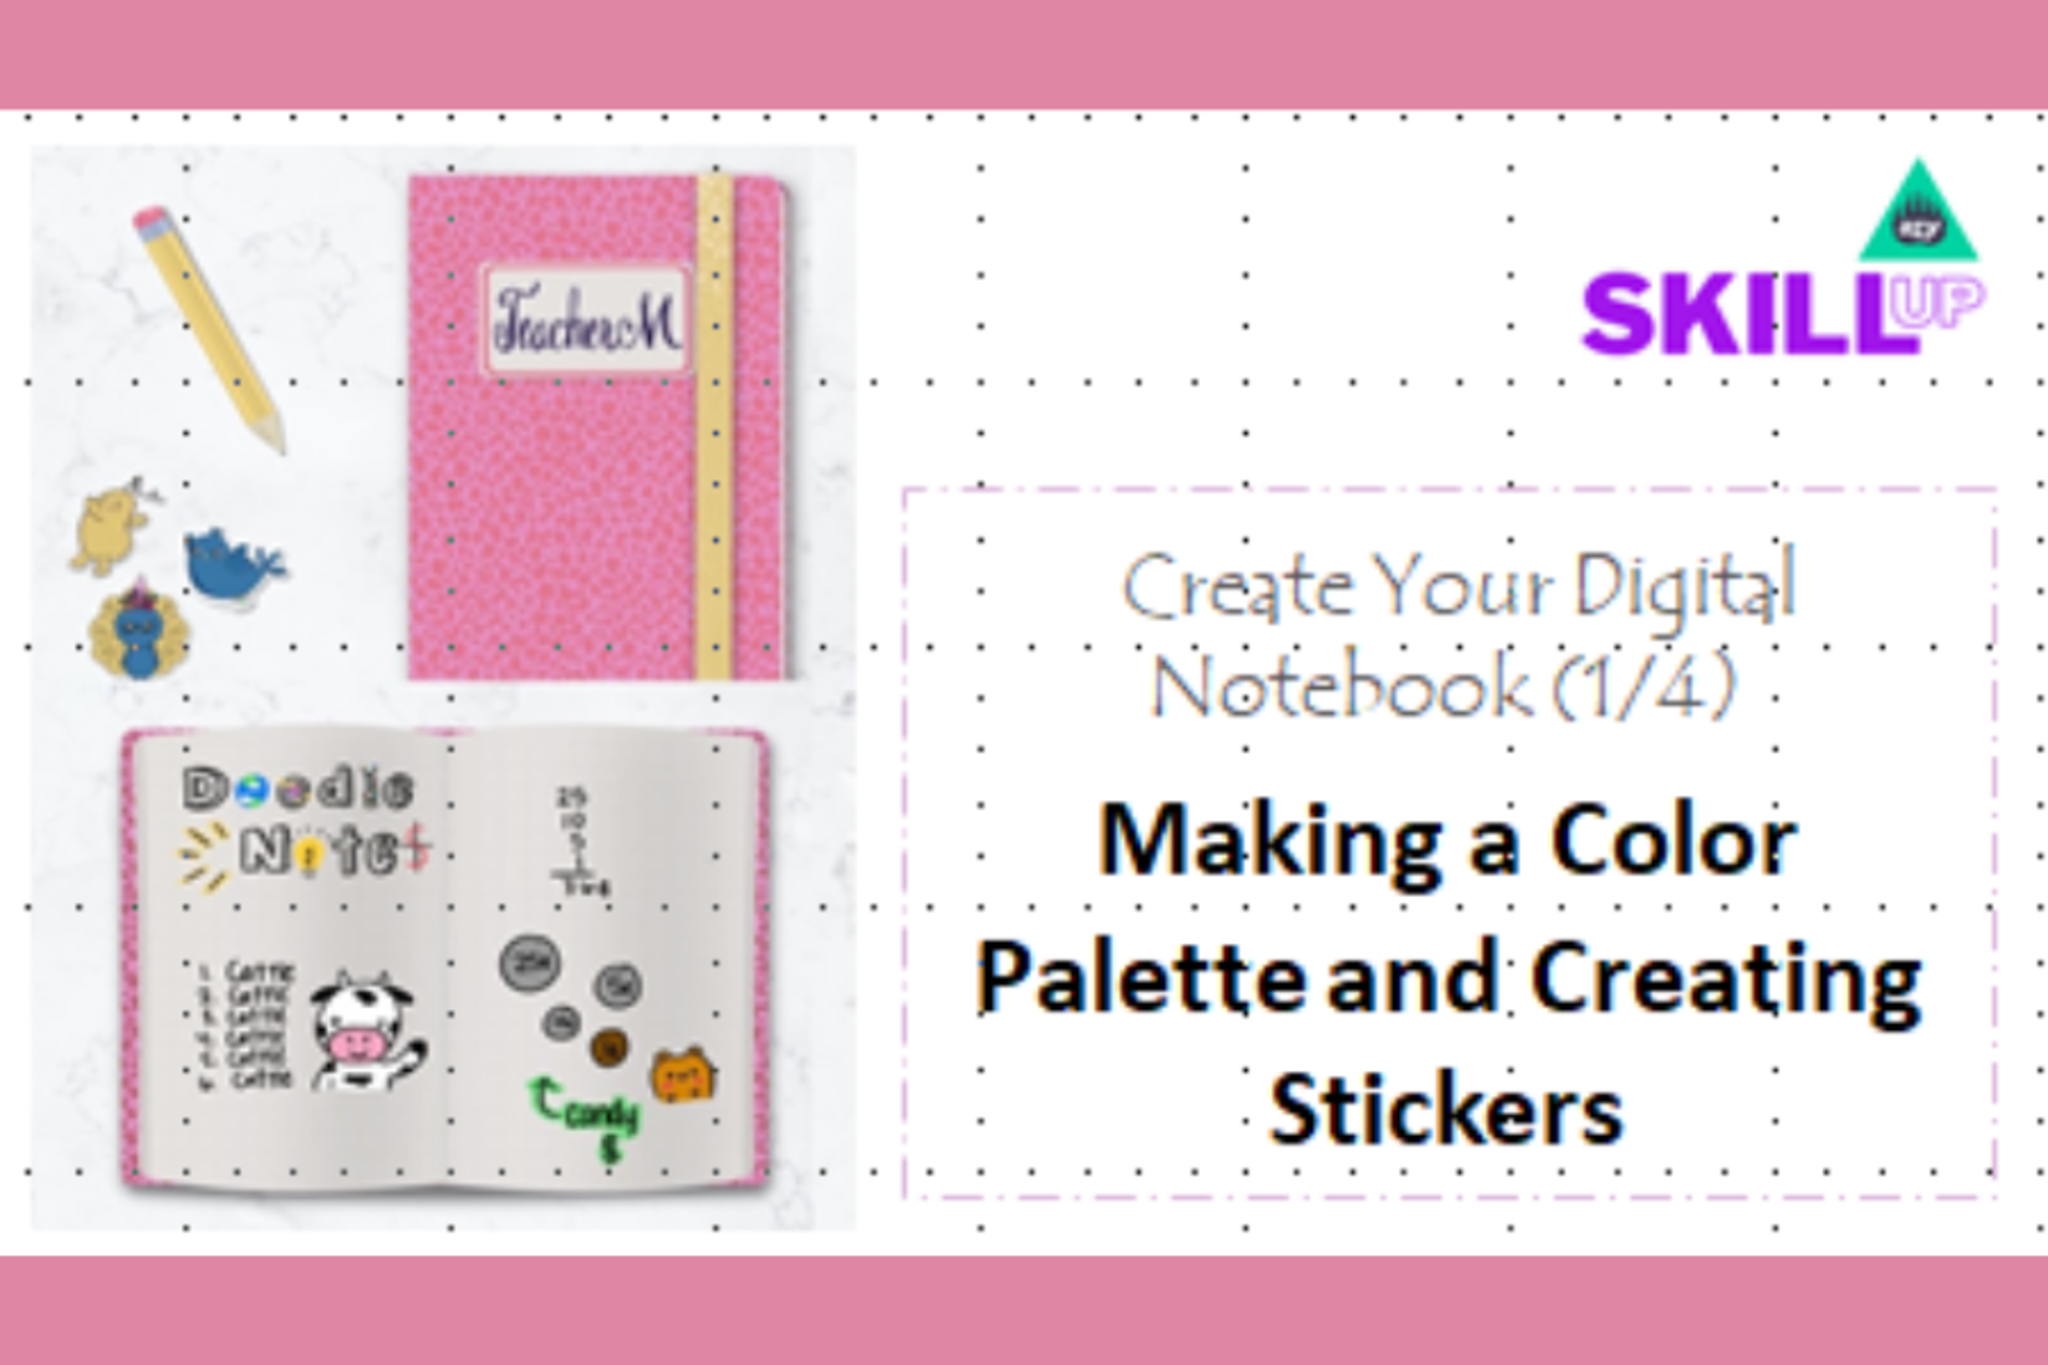
SkillUp on Creating a Digital Notebook
Create a simple digital notebook using a tablet or computer app, add typed notes, drawings, and organized pages to learn digital organization skills.


Step-by-step guide to create a digital notebook
How to Make INTERACTIVE NOTEBOOK using PDF pages - interactive notebooks for the classroom!
Step 1
Turn on your tablet or computer and open your note-taking or notebook app.
Step 2
Create a new notebook or document and type a name for it.
Step 3
Add a first page and give it the title "Welcome" or "My Notebook".
Step 4
Type your name and today's date on the first page.
Step 5
Make three new pages and name them "School" "Fun" and "Projects".
Step 6
On the "School" page type three things you want to remember for school.
Step 7
Switch to the drawing tool or drawing mode in your app.
Step 8
Draw a small picture on the "Fun" page using your finger stylus or mouse.
Step 9
Find an image or take a screenshot and insert it onto the "Projects" page.
Step 10
Rearrange the pages by dragging them into the order you like or by moving them into sections.
Step 11
Pick a cover color or image for your notebook to make it look awesome.
Step 12
Save or export your digital notebook so you have a copy you can open later.
Step 13
Share your finished digital notebook on DIY.org.
Final steps
You're almost there! Complete all the steps, bring your creation to life, post it, and conquer the challenge!

Help!?
What can we use if we don't have a tablet, stylus, or a specific note-taking app?
Use a smartphone or any computer with free apps like Google Docs, Google Keep, or Microsoft OneNote and draw with a mouse or your finger to create a new notebook, add pages, type titles, and draw on the "Fun" page.
My drawing tool won't work or I can't insert a screenshot — how do we fix that?
If the drawing tool is unresponsive or screenshots won't insert on the "Projects" page, restart the app, check that the app has permission to access storage/camera, save the image to your device and use the app's Insert/Upload option, or switch to a different app to finish the insert and draw steps.
How should we change the activity for younger kids or older kids?
For younger children, have an adult type the name and date and help insert images while the child chooses a cover color and draws on the "Fun" page, and for older kids add extra pages or sections, include screenshots on the "Projects" page, rearrange pages into sections, and export a PDF to share.
How can we make the notebook more fun or advanced after finishing the basic steps?
Enhance the notebook by picking a custom cover image or color, inserting more photos on the "Projects" page, adding voice notes or links on the "Welcome" page, creating sections when rearranging pages, and then save/export and share the finished digital notebook on DIY.org.
Watch videos on how to create a digital notebook
Digital Interactive Notebooks - A how-to Guide!
4 Videos

Digital Interactive Notebooks - A how-to Guide!

How to Create Digital Notebooks for Goodnotes from Canva

How to make Digital Notebook and earn passive income (Step-by-step Tutorial)

Nation Skillup by GeeksforGeeks | 15+ Tech Courses for FREE!
Facts about digital note-taking and organization
✍️ Styluses (like Apple Pencil or Wacom pens) sense pressure and tilt so drawings can have thin light lines and thick dark strokes.
📚 A digital notebook can store hundreds or thousands of pages without taking up shelf space, and it's easy to search your notes.
💾 Digital notebook apps can sync across devices so your pages appear on your tablet, phone, and computer.
📝 Handwriting your notes can help you remember and understand ideas better than just re-reading them.
🎨 Many notebook apps let you type, draw, add photos, and move pages around—like a magic paper that never runs out.
How do I help my child create a simple digital notebook?
What materials do I need to make a digital notebook?
What ages is creating a digital notebook suitable for?
What are the benefits of making a digital notebook?


One subscription, many ways to play and learn.
Only $6.99 after trial. No credit card required