Draw Fantasy Characters w/ DIY Star WishedStars
Create DIY paper "WishedStars" prompts, then draw and design fantasy characters inspired by each star, practicing imagination, shapes, and color techniques.

Drawing Apps
Step-by-step guide to draw fantasy characters with DIY Star WishedStars
Step 1
Gather all your materials and set them on a clear workspace.
Step 2
Draw six to eight star shapes on your paper leaving room around each one.
Step 3
Carefully cut out each star shape using scissors.
Step 4
Write a short fantasy prompt on each star such as forest dragon starlight wizard space fox sea princess moon knight or mischief sprite.
Step 5
Mix the cut stars face down in a small pile so you cannot read them.
Step 6
Pick one star from the pile without looking.
Step 7
Turn your chosen star over and read the prompt loud or in your head.
Step 8
Write three special features for your character on a blank area of your paper inspired by the prompt.
Step 9
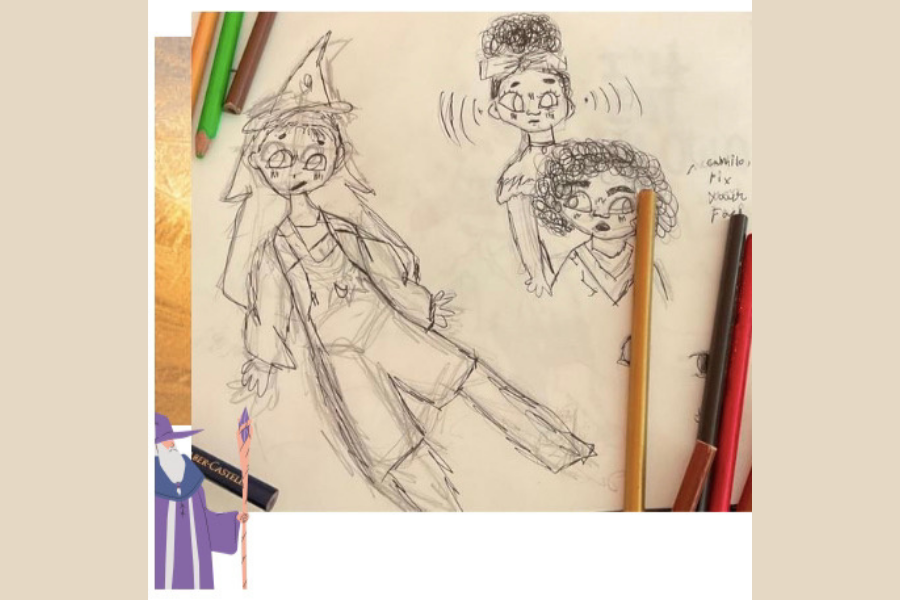
Sketch your character using simple shapes like circles rectangles and triangles to build the body.
Step 10
Add details such as eyes wings clothing scales horns or magical items to make your character unique.
Step 11
Color your character using your coloring materials and try blending or layering for extra magic.
Step 12
Create a fun name and write one short sentence that tells something about your character.
Step 13
Decorate the paper star with stickers metallic pen or glitter glue to make it sparkle.
Step 14
Glue the decorated star onto your drawing as a label for your character.
Step 15
Share your finished creation on DIY.org
Help!?
What can we use if we don't have glitter glue, metallic pens, or stickers to decorate the paper star?
Use aluminum foil pieces, metallic craft tape, colored pencils, sequins glued with white glue, or small magazine cutouts to decorate the paper star in step 11 as substitutes for glitter glue, metallic pens, or stickers.
My child keeps ripping the stars when cutting—how can we avoid or fix torn star shapes?
If scissors tear the paper in step 3, switch to heavier cardstock or pre-cut star shapes with a craft punch, or redraw the star on thicker paper and recut slowly with sharp scissors to prevent ripping and then re-mix the clean stars face down in step 5.
How can I adapt this drawing activity for different age groups?
For preschoolers, pre-cut the stars and use single-word prompts and basic shapes in step 8; for elementary kids, keep steps 4–10 with guided blending in step 9; and for teens, add complex prompts, require three-feature backstories in step 7, and challenge them to design full character sheets before gluing the star in step 12.
What are simple ways to extend or personalize the finished character beyond gluing the star?
After gluing the decorated star in step 12, bind several characters into a handmade storybook, create a small diorama or cardboard stand for the sketch, add mixed media like fabric or beads to the drawn costume, and then share the gallery on DIY.org to further personalize the outcome.
Watch videos on how to draw fantasy characters with DIY Star WishedStars
Design your own unique CREATURES with these methods!
4 Videos
Design your own unique CREATURES with these methods!
Paper Star Lanterns with Cut-Outs and Snowflakes!
⭐3D Paper Star 🌟 Easy DIY Lucky Stars You Can't Stop Making! | How to Make Cute Origami LUCKY STAR
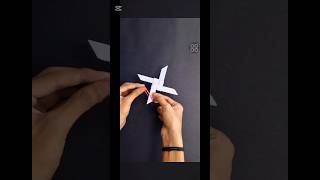
DIY Star Tutorial🥷 #shortsfeed #diy ##status #statusvideo #standoff2
Facts about drawing and paper crafts for kids
🌟 Making a small paper "wished star" can turn a scrap of paper into a treasured keepsake — many kids make dozens once they start!
🎨 Using complementary colors (opposites on the color wheel) makes characters pop — try purple with yellow or blue with orange.
✂️ Paper folding traditions like origami became widely practiced in Japan by the 17th century and inspired many papercraft styles.
🧠 Drawing from creative prompts helps kids build storytelling and problem-solving skills — imagination practice boosts cognition.
🧚 Dragons, fairies, and trickster spirits appear in myths worldwide, giving endless inspiration for fantasy character design.
How do you do Draw Fantasy Characters with DIY WishedStars?
What materials do I need for WishedStars and drawing?
What ages is this activity suitable for?
What are the benefits of making WishedStars and drawing fantasy characters?
