Doodle a Fantasy Owl
Draw and decorate a fantasy owl doodle using simple shapes, patterns, and colors, adding magical features like sparkly eyes and whimsical wings.

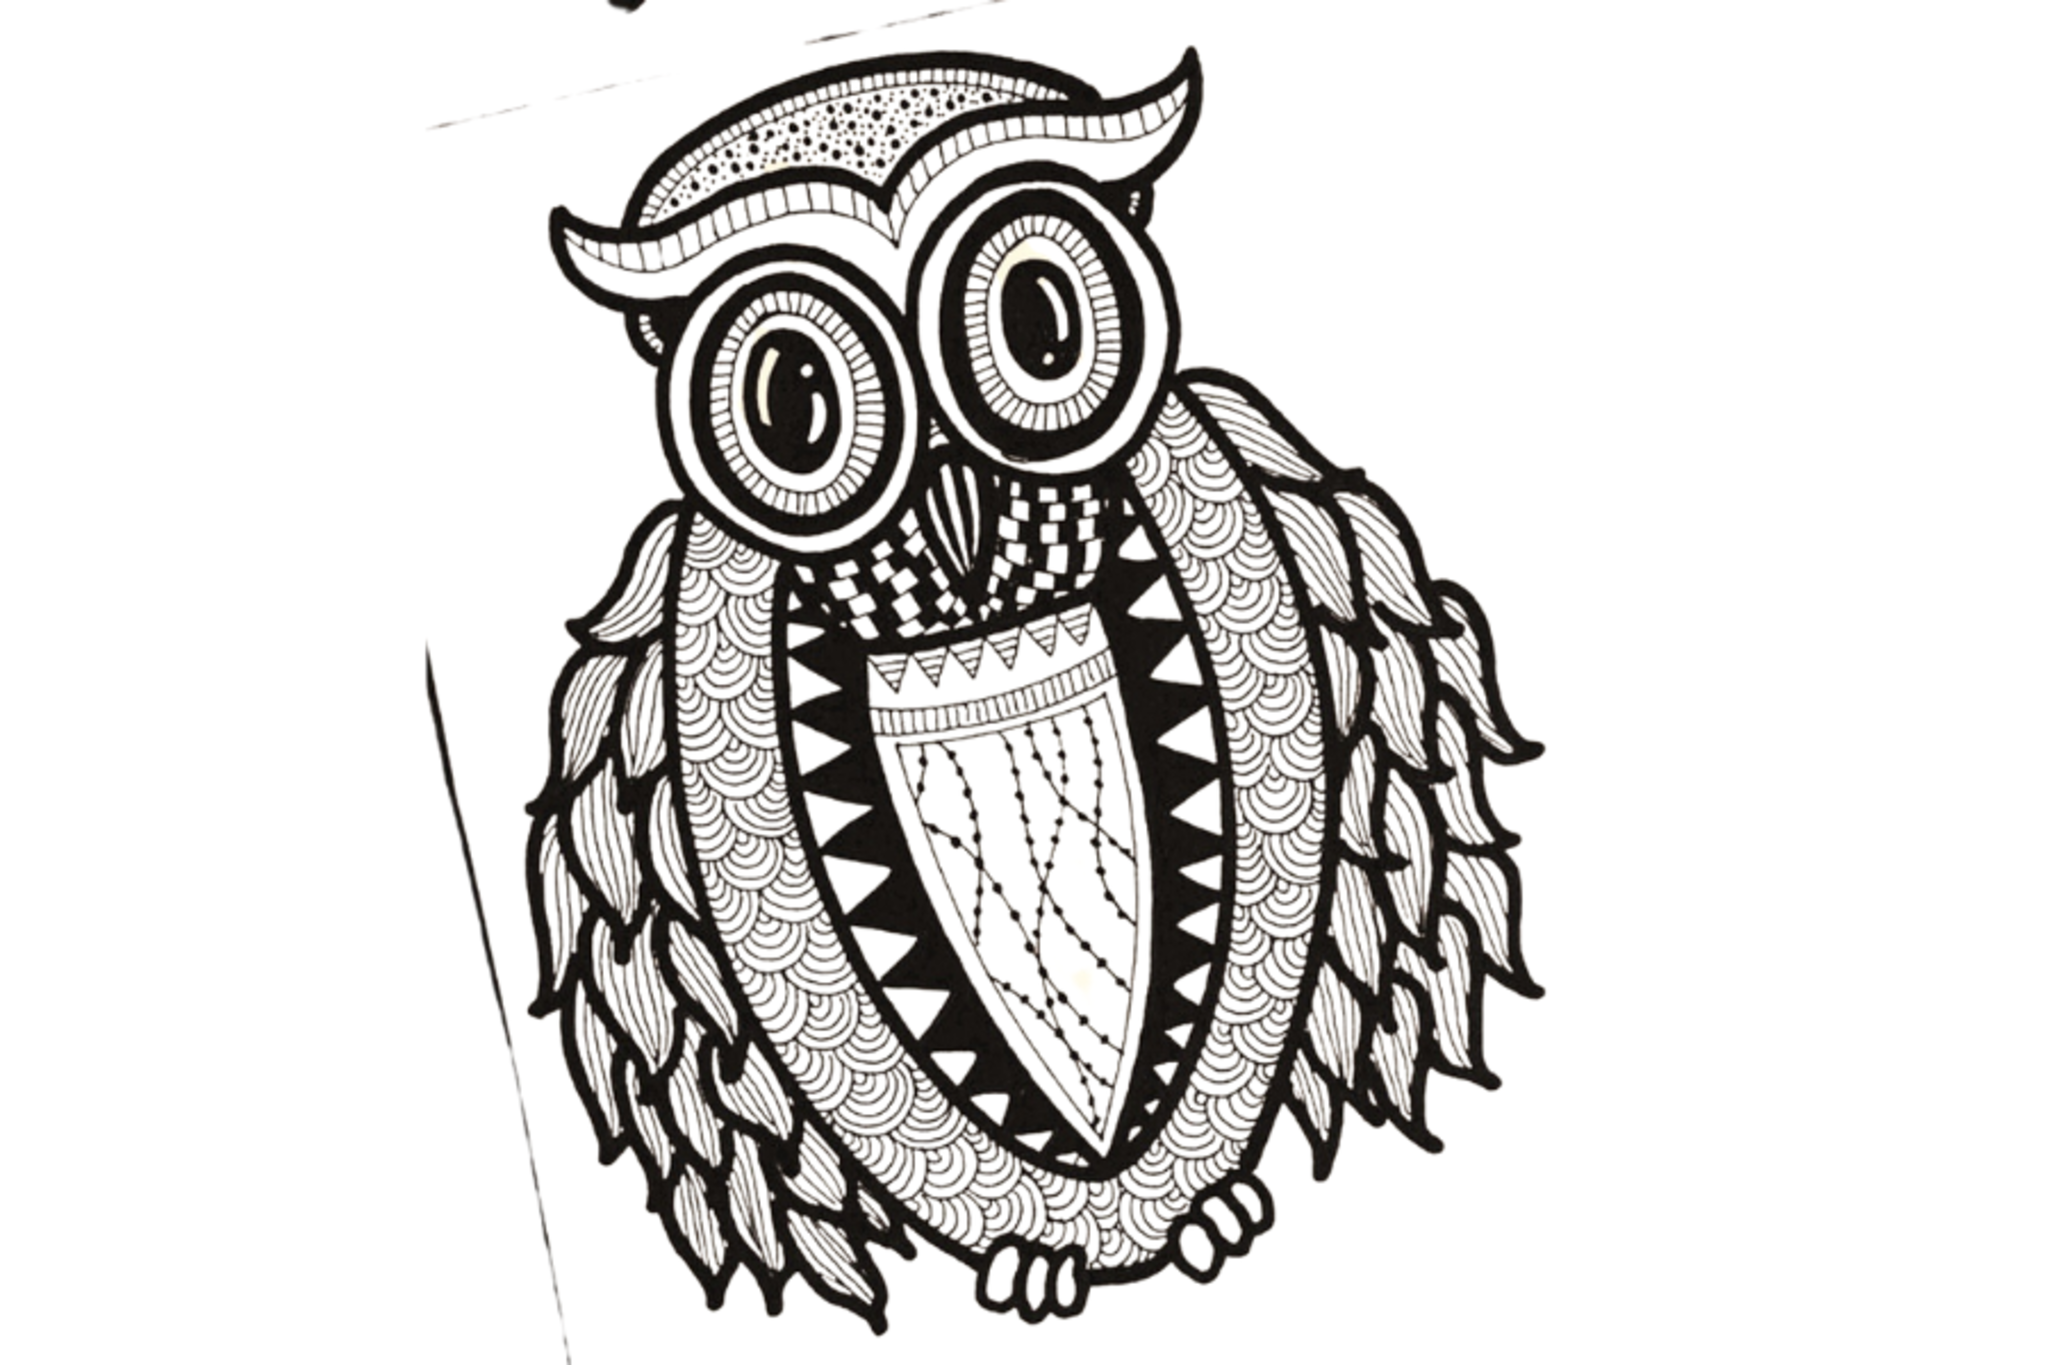

Step-by-step guide to doodle a fantasy owl
How to Draw an Owl Step by Step | Easy Owl Drawing Tutorial for Beginners
Step 1
Gather all Materials Needed.
Step 2
Place your paper on a flat surface.
Step 3
Lightly draw a large oval near the center for the owl's body.
Step 4
Draw a smaller circle overlapping the top of the oval for the owl's head.
Step 5
Draw two big circles on the head for the owl's eyes.
Step 6
Draw pupils and tiny sparkle highlights inside each eye.
Step 7
Draw a small triangle beak under the eyes.
Step 8
Draw two curved feet at the bottom of the body.
Step 9
Draw two whimsical wings with wavy outlines on each side of the body.
Step 10
Add magical features like a tiny horn a crown or extra tail feathers.
Step 11
Add fun patterns on the body and wings such as scallops swirls or stars.
Step 12
Trace the lines you want to keep with a black marker or pen.
Step 13
Gently erase any leftover pencil lines.
Step 14
Colour your owl with colouring materials and add stickers or glitter glue for extra sparkle.
Step 15
Share your finished Fantasy Owl on DIY.org.
Help!?
What can we use instead of a black marker or glitter glue if we don't have them?
If you don't have a black marker, trace with a dark ballpoint pen or fine-tipped felt pen, and replace glitter glue by spreading white glue and sprinkling loose glitter, using metallic colored pencils, or adding stickers for sparkle.
My owl's head and body look uneven and my lines smudge when I trace—how can I fix this?
Redraw the large oval and smaller circle lightly until the head sits centered over the body, use a light touch with pencil so excess marks erase easily, let ink from the marker dry fully before erasing leftover pencil lines, and place a scrap paper under your hand to prevent smudging while tracing.
How can I adapt this Doodle a Fantasy Owl for different ages?
For younger children pre-draw the oval, head, eyes, and feet and give chunky markers and stickers to decorate, while older kids can freehand whimsical wings, add detailed scallops, swirls, a tiny horn or crown with fine liners, and experiment with layering glitter glue and colored pencils before sharing on DIY.org.
What are simple ways to extend or personalize the finished Fantasy Owl?
Create a family of owls with different-sized ovals and unique crowns or extra tail feathers, paint a watercolor night-sky background, glue on sequins or stickers to the scallops and stars for extra sparkle, or turn the drawing into a greeting card and post a photo on DIY.org.
Watch videos on how to doodle a fantasy owl
How to Draw an Owl Step by Step / Drawing an Owl Face / Easy Drawing Tutorials / Shorts
4 Videos
How to Draw an Owl Step by Step / Drawing an Owl Face / Easy Drawing Tutorials / Shorts
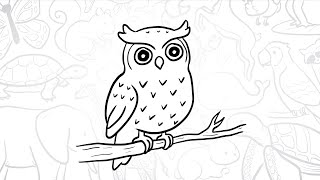
🦉How To Draw a Simple Owl | Step-by-Step Lesson 🌙

Easy Owl Drawing for Kids | Step-by-Step Animal Drawing Tutorial
How To Draw An Owl (Step By Step)
Facts about drawing and doodling for kids
🦉 Owls can swivel their heads about 270° thanks to extra neck vertebrae — perfect inspiration for dramatic doodle poses!
✨ Artists often add a tiny white dot or crescent to an eye to create an instant sparkle that makes characters look magical.
🎨 Doodles are built from simple shapes: combine circles, triangles, and ovals to make countless whimsical owl designs.
🖍️ Using contrasting colors (like teal and coral) makes wings and patterns pop — a handy trick for fantasy creatures.
🌀 Repeating small patterns (feathers, stars, swirls) creates texture and a magical rhythm in your doodle.
How do I doodle a fantasy owl?
What materials do I need to doodle a fantasy owl?
What ages is doodling a fantasy owl suitable for?
What are the benefits of doodling a fantasy owl?
