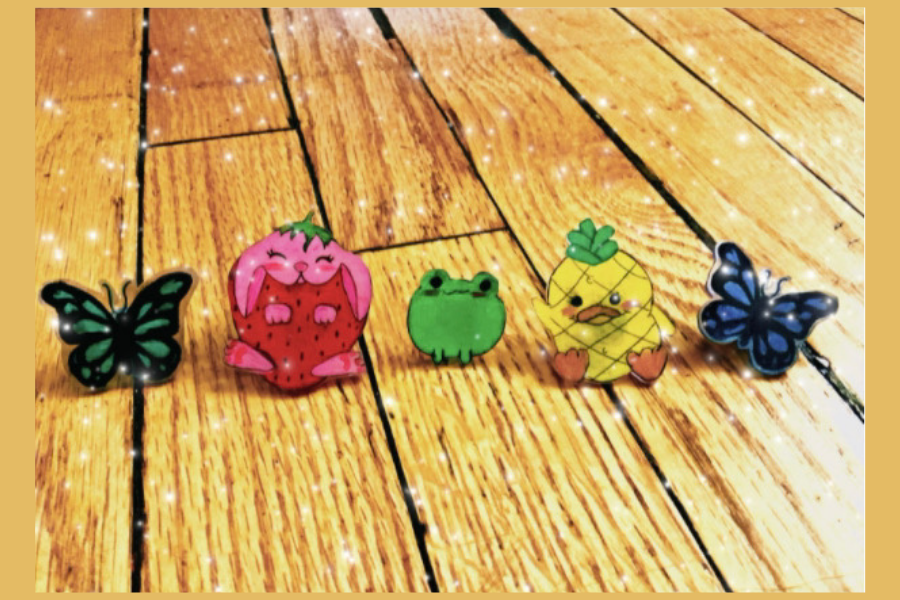
Make DIY Charms w/ Jr Mod Tigerlily9
Make colorful DIY charms with beads, shrink plastic, and safe basic tools, following Jr Mod Tigerlily9's simple steps to design and assemble keepsakes.


Step-by-step guide to make DIY charms with Jr Mod Tigerlily9
Step 1
Gather all the materials listed and set them on a clean flat workspace.
Step 2
Ask an adult to preheat the oven to 325°F (163°C).
Step 3
Draw your design on the rough side of a shrink plastic sheet using a pencil.
Step 4
Colour your drawing with your colouring materials to make it bright and fun.
Step 5
Cut out the coloured design carefully leaving a small border around the shape.
Step 6
Punch a small hole near the top of your cut-out so you can hang it later.
Step 7
Put a sheet of parchment paper on the baking tray and place your cut-outs on it spaced apart.
Step 8
Ask an adult to put the tray in the oven and watch until each piece curls and then flattens again about 2 to 3 minutes.
Step 9
Ask the adult to remove the tray and let the charms cool completely on the tray.
Step 10
Brush a thin layer of clear sealer or clear nail polish on both sides of the cooled charms and let them dry.
Step 11
Cut a length of cord about as long as you want your necklace or keychain to be.
Step 12
Slide the cooled charm onto the cord through the hole you made.
Step 13
Thread beads onto the cord and tie a secure knot to hold the charm and beads in place.
Step 14
Share your finished DIY charm creation on DIY.org.
Help!?
What can we use if we don't have shrink plastic or parchment paper?
If you can't find shrink plastic sheets, make charms from oven-bake polymer clay shaped and baked per package instructions instead of preheating the oven to 325°F for shrink plastic, and use a silicone baking mat or a lightly greased baking tray if you don't have parchment paper.
What should I do if my cut-outs stay curled or the hole closes after baking?
Have an adult watch the pieces 'until each piece curls and then flattens again about 2 to 3 minutes,' remove the tray as soon as they flatten, press each warm charm flat under a heatproof book on the parchment, and make the punched hole slightly larger before baking so it doesn't shrink closed.
How can I adapt this activity for younger or older kids?
For younger kids, have an adult pre-cut shapes and handle the oven steps while the child colors and threads beads, and for older kids try finer drawings with permanent markers, add layered shrink-plastic pieces, and finish with jump rings and pliers when attaching to cord.
How can we personalize or improve the finished charms?
After brushing clear sealer or clear nail polish on the cooled charms as instructed, personalize by sanding edges, adding a second smaller shrink-plastic layer before baking for a raised design, or attach a metal split ring and clasp to the cord to make a professional keychain before sharing on DIY.org.
Watch videos on how to make DIY charms with Jr Mod Tigerlily9
Easy Charms For Beginners│5 in 1 Polymer Clay Tutorial
4 Videos
Easy Charms For Beginners│5 in 1 Polymer Clay Tutorial
Easy Charms For Beginners #5 │ 5 in 1 Polymer Clay Tutorial
Easy Charms For Beginners #3│5 in 1 Polymer Clay Tutorial
DIY Custom Bling Crocs & DIY Charms (Step by Step Tutorial & Easy for Beginners) - BlackPink Themed
Facts about kids' jewelry making
🎨 Shrinky Dinks shrink to about one-third of their original size and become thicker and sturdier—perfect for tiny charms!
🔬 Archaeologists have found beads over 100,000 years old, making beadwork one of humanity’s oldest crafts.
🧿 Charms and amulets have been used worldwide for thousands of years to symbolize protection, luck, or identity.
✍️ Drawings on shrink plastic shrink and darken—always reverse text or directional images before baking so they read correctly on the finished charm.
🧠 Making jewelry and small crafts boosts fine motor skills, concentration, and creative problem-solving in kids (and it’s super fun!).
How do I make DIY charms with Jr Mod Tigerlily9?
What materials do I need for Make DIY Charms with Jr Mod Tigerlily9?
What ages is this DIY charms activity suitable for?
What safety precautions should I follow when making DIY charms?
