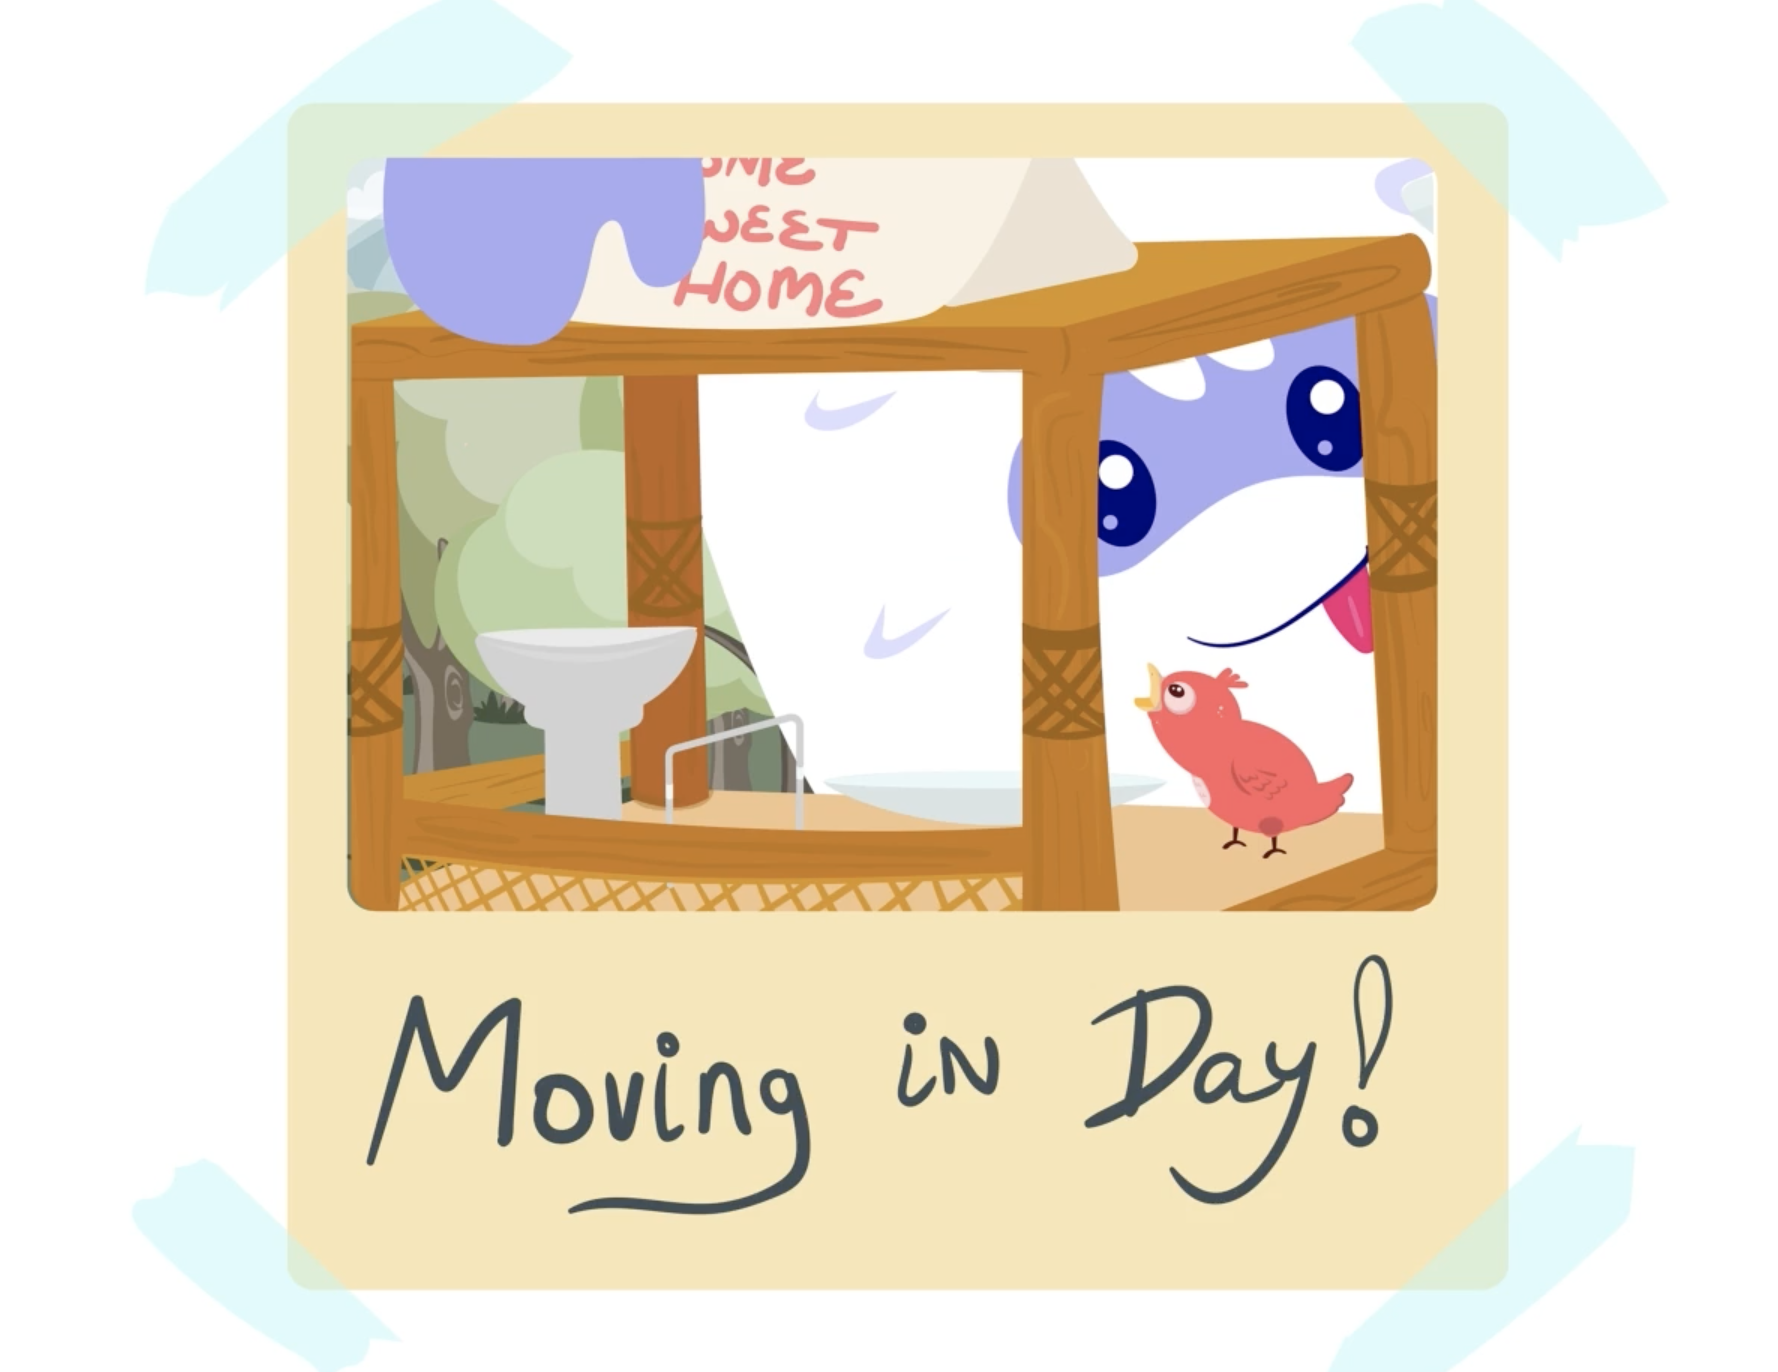
DTYIS Friend for Yowie
Design and build a small handmade friend for Yowie using craft foam, felt, glue, and markers; customize features and test durability while learning design choices.


Step-by-step guide to design and build a handmade friend for Yowie
Step 1
Clear a flat workspace and lay out all your materials so you can reach them easily.
Step 2
Pick the shape and size of your Yowie friend and choose one or two main colors.
Step 3
Draw a simple outline of your friend on the paper to make a template.
Step 4
Place the paper template on a foam sheet and trace around it with the pencil.
Step 5
Cut out the foam shapes carefully with scissors.
Step 6
Cut smaller felt pieces for arms legs or clothing using the foam cutouts as guides.
Step 7
Glue the felt pieces onto the foam body and press them gently to stick.
Step 8
Glue two matching foam cutouts together leaving a small gap for stuffing.
Step 9
Push a small cotton ball or scrap foam into the gap to give your friend a bit of padding.
Step 10
Glue the gap closed and hold the edges together until they stick.
Step 11
Draw eyes a mouth and other facial features with your colouring materials.
Step 12
Glue on any extra decorations like felt patches or small foam shapes.
Step 13
Gently test durability by squeezing the body and tugging lightly on arms and decorations.
Step 14
Add more glue to any loose parts and let your friend dry completely.
Step 15
Share your finished Yowie friend on DIY.org
Help!?
What can I use if I can't find foam sheets or felt for the Yowie body and clothes?
If foam sheets or felt aren't available, substitute thick cardstock or construction paper for the foam body and scrap fabric or colored paper for arms and clothing, then follow steps 3–11 using extra glue or clear tape where cutting and stuffing are described.
The seam keeps opening or the stuffing falls out — how do I fix that?
If the glued gap in step 8 won't hold or the cotton ball/scrap foam slips out, push a little extra glue into the gap, press and hold with clothespins or clips until dry, or add a few small stitches along the seam for more durability.
How can I adapt this activity for younger or older kids?
For younger children have an adult pre-cut the foam shapes and use sticker eyes and non-toxic glue for steps 4–6, while older kids can freehand more complex templates, hand-stitch the stuffed seam in step 7, and add detailed colouring in step 11.
What are some fun ways to personalize or upgrade my Yowie friend?
To personalize your Yowie, glue on googly eyes or buttons in step 12, add Velcro or tiny snaps for removable felt clothing made in step 6, or attach a ribbon loop before sealing the seam in step 8 to turn it into a keychain or ornament.
Watch videos on how to design and build a handmade friend for Yowie
Safe and Unsafe Situations | Safety Tips for Kids!
3 Videos
Safe and Unsafe Situations | Safety Tips for Kids!

Personal Safety for Kids: Fun Tips to Stay Safe | Animated Story for Children (Ages 3-10)

Safety Tips for Kids | What are safety rules for kids? Video for Kids
Facts about toy-making for kids
🧸 Teddy bears were named after U.S. President Theodore "Teddy" Roosevelt — toys often come with fun backstories!
🐑 Felt is one of the oldest textiles and has been used by people for clothing and shelter for thousands of years.
🩴 Many craft foam sheets are made from EVA (ethylene-vinyl acetate) — the same squishy material used in shoe soles and play mats.
🔥 Hot glue sets quickly and bonds foam and felt well, but the glue gun gets hot so always use it with adult supervision.
✏️ Markers behave differently on foam vs. fabric — testing on a scrap piece helps avoid color bleeding or unexpected results.
How do you make a DTYIS Friend for Yowie?
What materials do I need for a DTYIS Friend for Yowie?
What ages is the DTYIS Friend for Yowie activity suitable for?
What are some fun variations and safety tips for DTYIS Friend for Yowie?
