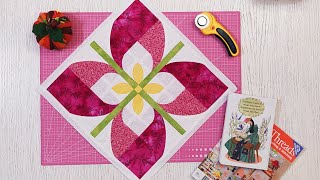
Show us your patchwork!
Create a colorful patchwork square using fabric scraps, paper, or felt; cut shapes, arrange patterns, and sew or glue them together.


Step-by-step guide to create a colorful patchwork square
Step 1
Gather all the materials and bring them to your workspace.
Step 2
Choose a base square about 8 inches wide to be your patchwork canvas.
Step 3
Decide whether you will make your patchwork with fabric scraps paper or felt.
Step 4
Sort your scraps into piles by color or pattern so choices are easy.
Step 5
Use the ruler and pencil or fabric marker to draw simple shapes on your chosen scraps.
Step 6
Cut out the shapes carefully along your pencil lines.
Step 7
Arrange the cut shapes on the base square until you like the pattern and colors.
Step 8
Pin or clip each piece to the base to hold your design in place.
Step 9
Choose whether you will sew the pieces on or glue them down.
Step 10
If you chose to sew then stitch each piece onto the base with small even stitches; if you chose to glue then spread glue on the back of each piece and press it firmly onto the base.
Step 11
Trim any pieces that hang over the edge so the square looks neat.
Step 12
Add extra decorations like buttons ribbons or extra stitched lines if you want.
Step 13
If your patchwork is fabric ask an adult to press it with a warm iron or if it is paper place it under a heavy book until the glue is dry.
Step 14
Share your finished patchwork on DIY.org.
Help!?
What can I use instead of a fabric marker or special sewing pins if I can't find them?
Use tailor's chalk or a soft pencil with your ruler to draw shapes on scraps, and replace sewing pins with small binder clips or fabric clips to hold pieces on the base square.
My cut shapes keep slipping when I try to sew or glue them—how can I stop that?
Pin or clip each piece to the base as instructed and either apply a thin layer of fabric glue and press firmly to tack pieces in place before stitching, or sew a few tacking stitches at key points to stabilize the design.
How should I change the steps for different ages so the activity is safe and fun?
For preschoolers use pre-cut felt and glue to skip the cutting and needlework steps, elementary kids can cut simple shapes and glue or use plastic needles for basic stitches, and older kids can follow the full cutting, pinning and sewing instructions and press with an adult-assisted iron.
What are easy ways to improve or personalize the patchwork once the basic square is done?
Add buttons, ribbons or extra stitched lines from the decorations step, trim the edges neatly, or layer batting and a backing to make a padded coaster you can press with an adult's iron before sharing on DIY.org.
Watch videos on how to create a colorful patchwork square
Ultimate Beginners guide to making a Quilt | Step by step tutorial
4 Videos
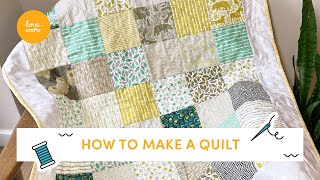
Ultimate Beginners guide to making a Quilt | Step by step tutorial
How to Make a Patchwork Baby Quilt - Easy Quilting for Beginners Part 1
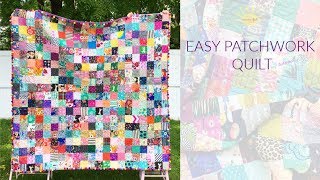
Easy Patchwork Quilt tutorial
Patchwork tutorial: sewing a very amazing quilt model with very easy technic
Facts about sewing and fabric crafts for kids
🧵 Sewing is one of the oldest crafts — people have been stitching clothing and decorations for thousands of years!
🪡 Patchwork began as a clever way to reuse fabric scraps and grew into colorful folk art around the world.
🧶 Felt is made by matting and pressing fibers together instead of weaving, so it’s sturdy and great for gluing or sewing.
✂️ Appliqué comes from the French word appliquer and means attaching little shapes onto a bigger fabric base — perfect for patches!
🔥 Quilts and patchwork can trap warm air between layers, so they’re both cozy and beautiful.
How do I make a colorful patchwork square with fabric scraps?
What materials do I need to make a patchwork square?
What ages is this patchwork activity suitable for?
What are the benefits of making patchwork squares?
