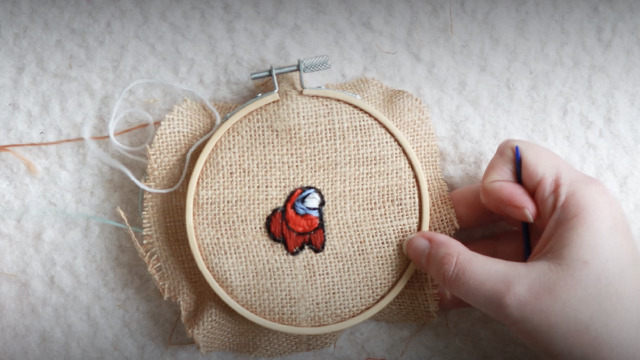
Stitch your favorite game character!
Sew a small felt plush of your favorite game character with a blunt plastic needle, simple stitches, stuffing, and basic embroidery details.


Step-by-step guide to stitch your favorite game character
Step 1
Choose your favorite game character and draw a simple front facing outline on the paper.
Step 2
Cut out your paper outline to make a paper pattern.
Step 3
Lay the paper pattern on the felt and trace around it with the fabric marker or tailor's chalk.
Step 4
Cut two identical felt shapes from the traced outlines using child safe scissors.
Step 5
Thread the blunt plastic sewing needle with embroidery thread and tie a small knot at the end.
Step 6
Place the two felt shapes together with the right sides facing out and clip or hold the edges so they match.
Step 7
Sew around the edge with a running stitch leaving a small 2 cm gap for stuffing.
Step 8
Push small handfuls of stuffing polyfill into the gap until your plush is soft and plump.
Step 9
Continue the running stitch to close the gap and tie a secure knot to finish the seam.
Step 10
Use simple straight stitches or a backstitch to embroider eyes mouth and costume details on the plush.
Step 11
Trim any extra thread and tidy the edges so your plush looks neat.
Step 12
Take a photo and share your finished game character plush with a short description on DIY.org.
Help!?
What can I use if I don't have felt or a fabric marker?
Use scrap cotton, fleece, or an old t-shirt instead of felt and trace your paper pattern with a pencil or washable marker if you don't have a fabric marker or tailor's chalk.
My running stitches are uneven and the plush looks lumpy — what should I do?
Tie a small knot at the end of the embroidery thread, make evenly spaced running stitches around the edge, stuff small handfuls of polyfill through the 2 cm gap and push the filling into corners before finishing the seam.
How can I adapt this activity for different ages?
For preschoolers, have an adult cut the two felt shapes and thread the blunt plastic sewing needle, while older kids can draw more detailed paper patterns, practice backstitch for costume details, and sew and stuff the plush independently.
How can we personalize or enhance the finished game character plush?
Embroider unique facial expressions and costume details with backstitch, add small felt appliqués stitched onto the surface, trim extra thread neatly, and take a photo with a short description to share on DIY.org.
Watch videos on how to stitch your favorite game character
Minecraft Fox Mascot Costume 🦊 | Game Character for Events ✅
4 Videos
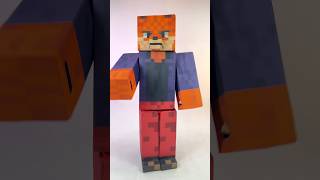
Minecraft Fox Mascot Costume 🦊 | Game Character for Events ✅
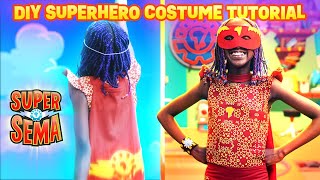
Make Your Own SUPERHERO COSTUME! 🦸🏿 The Power of Imagination ⚡ Super Sema
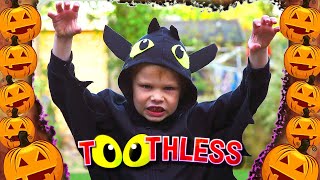
DIY Halloween Costumes For Kids
🎃 Amazing Kids' Halloween Costume Ideas That Worked Like Magic! 🧙♀️ | Happy And Fun
Facts about sewing and plush toy making for kids
🪡 Running stitch, backstitch, and blanket stitch are simple hand stitches perfect for sewing small plush seams and adding embroidered details.
🧵 Blunt plastic needles are kid-safe — they’re dull, easy to grip, and push through felt without the risk of sharp pokes.
🐻 The modern plush toy trend kicked off after the "teddy bear" appeared in 1902, inspiring generations of cuddly character toys.
🧶 Felt is one of the world’s oldest textiles — nomads in Central Asia used felt for clothing and yurts thousands of years ago.
🧸 Polyester fiberfill (polyfill) is the most common stuffing for plushies because it’s lightweight, washable, and keeps shape well.
How do I stitch a small felt plush of my favorite game character?
What materials do I need to sew a felt plush game character?
What ages is sewing a felt plush suitable for?
What are the safety tips and benefits of stitching game character plushes with kids?
