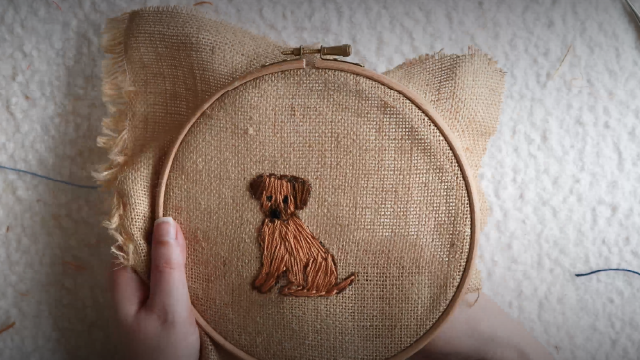
Embroider a pet dog
Embroider a simple fabric portrait of your pet dog using basic stitches, tracing a pattern, choosing colors, and practicing patience and creativity.


Step-by-step guide to embroider a pet dog
Step 1
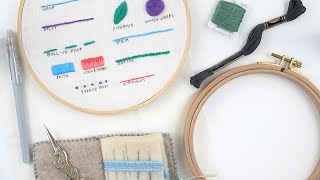
Pick a clear photo of your dog and choose 2 to 4 thread colors that match its fur and features.
Step 2
Place your fabric tightly in the embroidery hoop and tighten the screw so the fabric is smooth and flat.
Step 3
Lay tracing paper over the photo and trace a simple outline of the head ears eyes nose and collar with your pencil.
Step 4
Put the traced paper under the fabric against a sunny window or light box and gently retrace the lines onto the fabric with your pencil or fabric pen.
Step 5
Cut an 18 inch length of embroidery floss separate it into two strands thread the needle and tie a small knot at the end of the thread.
Step 6
Use a backstitch to sew the traced outline by bringing the needle up at the start then making small stitches that move backward to form a continuous line.
Step 7
Fill one small fur area like an ear or cheek using satin stitch by making parallel stitches close together to cover the space.
Step 8
Make French knots for the eyes and nose by wrapping the thread around the needle twice then pushing the needle back down near the same spot.
Step 9
Stitch the collar with a chain stitch or a row of straight stitches to add a pop of color and personality.
Step 10
Tie off each thread at the back with a small knot and trim the excess thread with your scissors.
Step 11
Remove the fabric from the hoop and gently press it with an iron on low if needed to flatten any creases (ask an adult to help).
Step 12
Share a photo of your finished embroidered dog portrait on DIY.org so everyone can see your cozy creation.
Help!?
I don't have an embroidery hoop or tracing paper—what can I use instead?
Stretch your fabric taut over a clean picture frame or taped cardboard as a hoop substitute and use tracing vellum, thin printer paper, or baking parchment to trace the outline before retracing onto fabric at the window.
My fabric is puckering and my French knots keep slipping—what should I check or fix?
Loosen the hoop screw, re-center and pull the fabric smooth before retightening, make your backstitch stitches small and even, and hold the working thread taut while wrapping the needle twice for French knots so they sit snug on the surface.
How can I adapt this embroidered dog project for a 5-year-old or for a teen?
For younger kids pre-trace the dog on fabric and use thick yarn with a large plastic needle and glue-on beads for eyes, while teens can separate floss into two strands, practice satin and long-and-short stitches for shading, and add more color detail to the collar.
What's a simple way to personalize or extend the finished embroidered dog portrait?
Stitch your dog's name on the collar, add a stitched background like grass or a heart, swap French knot eyes for small beads for extra shine, or mount the hoop in a frame and share the photo on DIY.org.
Watch videos on how to embroider a pet dog
Hand embroidered dog portrait from start to finish!
4 Videos
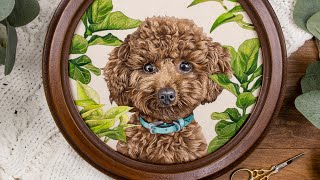
Hand embroidered dog portrait from start to finish!
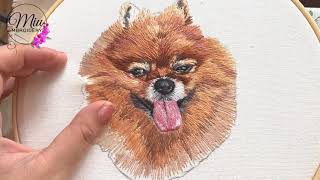
The Making of Pet Portrait 🐕 Hand Embroidery
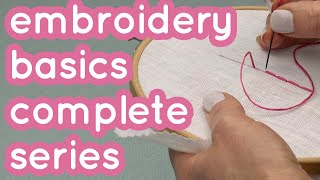
Embroidery for beginners - Stitches, knots, needle threading & more - Complete Basics Series
How to Embroider by Hand for Beginners
Facts about embroidery for kids
🧵 Embroidery has been practiced for thousands of years and appears in many ancient cultures around the world.
🐶 A dog's nose print is unique — some people compare it to a human fingerprint for identification!
🎨 Standard embroidery floss usually has 6 strands you can split to make thin or thick stitches for different effects.
🪡 A simple backstitch creates a clean outline that looks like a drawn line — perfect for tracing pet portraits.
🌈 Combining 2–3 strands of different colors lets you blend shades to mimic fur without complicated techniques.
How do I embroider a simple portrait of my pet dog with basic stitches?
What materials do I need to embroider a pet dog?
What ages is embroidering a pet dog suitable for?
What are the benefits of embroidering a pet dog for kids?
