Show us the traced image
Trace a favorite image onto tracing paper, refine outlines, add shading and color, then display the traced picture and explain your techniques.

Drawing Apps
Step-by-step guide to trace and refine a favorite image
Step 1
Gather all the materials listed and sit at a comfortable well lit workspace.
Step 2
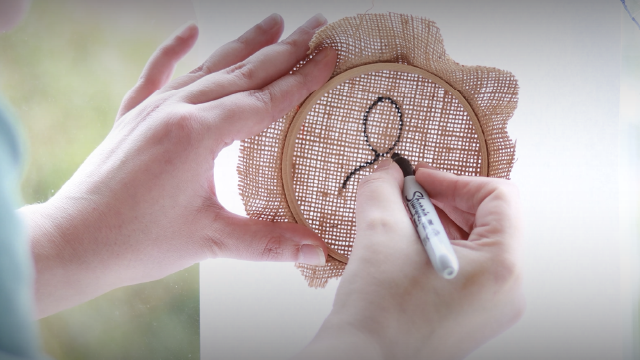
Place your favorite image face up on the clipboard or flat surface.
Step 3
Lay a sheet of tracing paper over the image and tape two opposite corners to hold it steady.
Step 4
Lightly trace the main outlines of the image with your pencil.
Step 5
Trace smaller shapes and important details with a slightly firmer pencil line.
Step 6
Remove the tape and lift the tracing paper to check for any missing lines.
Step 7
Flip the tracing paper back and darken the outlines you want to keep.
Step 8
Use the eraser to clean up stray marks and to create tiny highlights if needed.
Step 9
Add shading with your pencil using short gentle strokes where shadows fall.
Step 10
Soften shaded areas by lightly blending with a tissue or cotton swab.
Step 11
Apply color in light layers using colored pencils or your chosen coloring materials.
Step 12
Mount your finished tracing onto plain paper or card with small pieces of tape to make a neat display.
Step 13
Write a short note describing which tracing techniques and shading or coloring choices you used.
Step 14
Share a photo of your finished traced picture and your explanation on DIY.org.
Help!?
What can we use if we don't have tracing paper, tape, or a clipboard?
Use lightweight baking/parchment paper or vellum taped over the image, secure corners with masking tape or scotch tape, and substitute a hardcover book or stiff cardboard for the clipboard.
My traced lines become smudged or too light—what should we do during tracing and when flipping the paper?
Keep tape on only two opposite corners while you 'lightly trace the main outlines' to prevent shifting, retrace important lines when you 'flip the tracing paper back and darken the outlines', and clean smudges with a kneaded eraser before blending with a tissue or cotton swab.
How can we adapt this tracing activity for younger kids or older kids?
For younger children choose a simple, high-contrast image and have them trace large outlines and color with crayons while an adult handles the taping and mounting, and for older kids challenge them to trace finer details, add shading with short gentle strokes and tissue blending, and write a more detailed note about techniques used.
How can we enhance or personalize the finished tracing before mounting and sharing?
Outline chosen areas with a fine-tip ink pen, add layered color and tiny highlights with colored pencils or a white gel pen after shading, mount on colored card using small pieces of tape, write your descriptive note, and photograph the result to share on DIY.org.
Watch videos on how to trace and refine a favorite image
Tracing a photo in Procreate (how To step by step Tutorial)
4 Videos

Tracing a photo in Procreate (how To step by step Tutorial)
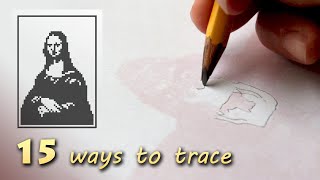
15 ways how to trace or transfer a photo, image, or drawing ■ Tracing Masterpieces
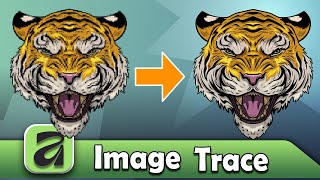
Affinity | How to Use Image Trace | New Update | Digital Art Vector Tutorial
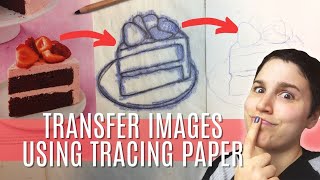
TRANSFER ANY IMAGE WITH TRACING PAPER: Tracing Paper tricks to easily transfer drawings onto canvas
Facts about drawing and tracing techniques
🧾 Tracing paper is semi-transparent so light passes through and makes copying images easy!
✏️ Pencil grades run from H (hard) to B (soft/black) — B pencils are great for dark, smooth shading.
🎨 Layering light washes of color builds richer hues and prevents streaks compared with one heavy coat.
🌗 Chiaroscuro is the fancy word for using strong light and shadow to make drawings look 3D.
🖼️ Leonardo da Vinci filled thousands of sketchbook pages and often copied images to study form and shading.
How do I guide my child to trace and refine a favorite image onto tracing paper, add shading and color, and present the finished piece?
What materials do we need to trace, shade, color, and display a traced image?
What ages is tracing, refining outlines, shading, coloring, and explaining techniques suitable for?
What are the benefits of tracing and what safety tips should I follow?
