Show us your long and short stitches!
Make a small embroidered patch using long and short stitches on fabric, practicing stitch length, direction, and filling simple shapes with needle and thread.


Step-by-step guide to make a small embroidered patch using long and short stitches
Step 1
Gather all your materials and sit at a clean flat table so you can work comfortably.
Step 2
Place your fabric in the embroidery hoop and tighten it so the fabric is held smooth and snug.
Step 3
Use the pencil or washable marker to draw a simple shape like a leaf teardrop or heart on the fabric.
Step 4
Pull a comfortable length of embroidery floss and thread it through the needle.
Step 5
Tie a small knot at the end of the thread so your stitches won’t pull out.
Step 6
Make long stitches along one side of your shape by bringing the needle up near the edge and down farther across the shape.
Step 7
Make short stitches next to the long stitches by bringing the needle up and down a short distance to create contrast.
Step 8
Fill the rest of the shape by alternating long and short stitches and follow the curve of the shape as you work.
Step 9
Change the stitch direction when needed so your stitches lay smoothly along the shape’s curve.
Step 10
Secure your thread on the back by tying a small knot and trim the extra thread close to the knot.
Step 11
Stitch an outline around your shape using a running stitch or backstitch to make the edges stand out.
Step 12
Place your embroidered patch face down on the felt backing so it lines up with your shape.
Step 13
Attach the felt backing around the edges using fabric glue or small stitches to make it into a patch.
Step 14
Trim around your shape leaving a small fabric border so your patch looks neat.
Step 15
Share your finished embroidered patch on DIY.org.
Help!?
What can we use if we don't have an embroidery hoop or embroidery floss?
If you don't have an embroidery hoop, stretch the fabric over a small picture frame rim or plastic lid and secure it with tape or clothespins for Step 2, and if you don't have embroidery floss, use thin yarn or doubled sewing thread threaded through the needle for Step 4.
My fabric keeps puckering or my stitches look uneven — what should I try?
If the fabric puckers in Step 2, loosen and re-center then retighten the hoop so it's smooth and snug, and make your stitches more consistent in Steps 6–7 by keeping a steady stitch length and changing direction gradually as described in Step 9.
How can I adapt this activity for younger or older kids?
For younger children, use a blunt plastic needle, thick yarn, larger pre-drawn shapes and adult help tying the knot in Step 5, while older kids can use finer embroidery floss, smaller long and short stitches in Steps 6–7, and try a backstitch outline in Step 11.
How can we make the patch more special or long-lasting?
Personalize and strengthen your patch by using multiple floss colors and adding small beads as you fill the shape in Steps 6–8, embroider initials with a backstitch in Step 11, and reinforce the felt backing in Step 13 with a small hand-sewn running stitch plus fabric glue before trimming in Step 14.
Watch videos on how to make a small embroidered patch with long and short stitches
Learn How to Sew by Hand: Six Basic Hand Stitches
4 Videos
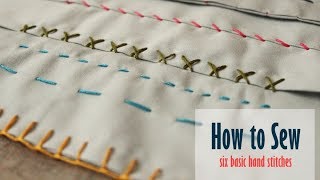
Learn How to Sew by Hand: Six Basic Hand Stitches
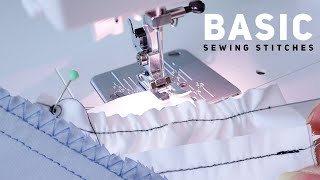
5 Basic Sewing Stitches for Beginners!
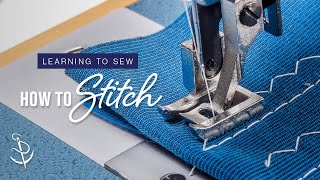
Learning to Sew Part 2: How to Stitch
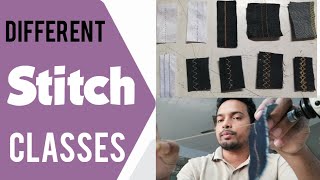
Different stitch classes|| Types of stitches used in garments making|| Tex wahid
Facts about hand embroidery and basic needlework
🪡 Long and short stitch is a favorite for silk shading because varying stitch lengths creates smooth color blends like painting with thread.
🧵 Most embroidery floss has six strands you can separate — fewer strands = finer detail, more strands = bolder coverage.
🎨 Long and short stitch is perfect for filling shapes and adding realistic texture to flowers, leaves, and animal fur.
🕰️ Embroidered samplers were once used to teach and record stitches — some surviving samplers are hundreds of years old!
🌿 Beginner-friendly fabrics like linen and cotton help stitches sit neatly because their weave holds needlework in place.
How do I make a small embroidered patch using long and short stitches?
What materials do I need to make a long and short stitch embroidered patch?
What ages is this long and short stitch patch activity suitable for?
What are the benefits and safety tips for practicing long and short stitches?
