Make a circle!
Make a perfect circle using a simple string and pencil compass, cut it from paper, and decorate to learn geometry and measurement basics.


Step-by-step guide to make a circle
Step 1
Gather all the materials listed.
Step 2
Cut a length of string about 25 to 30 cm using the scissors.
Step 3
Tie one end of the string tightly around the pencil so it will not slip.
Step 4
Lay the string along the ruler and mark the distance you want the radius to be on the string with the pencil.
Step 5
Place your paper on a flat surface and stick the free end of the string at the center point with a small piece of tape.
Step 6
Pull the string so the pencil tip rests exactly at the mark you made on the string.
Step 7
Hold the string taut with one finger at the taped center so it cannot move.
Step 8
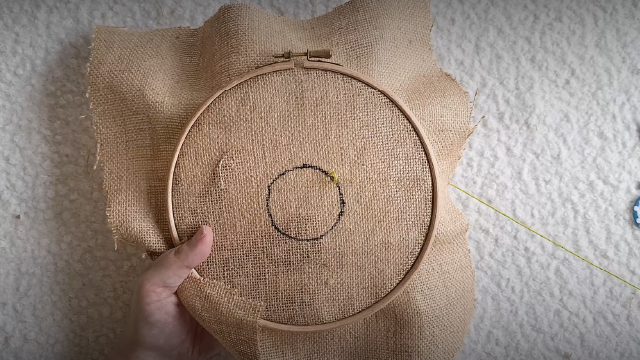
Move the pencil all the way around the taped center while keeping the string tight to draw a perfect circle.
Step 9
Carefully peel the tape off the paper to free the circle drawing.
Step 10
Cut out the circle carefully along the pencil line.
Step 11
Make a crease by folding the cut-out circle in half.
Step 12
Unfold the circle so the crease shows the diameter.
Step 13
Use coloring materials to label the center point the radius and the diameter on your circle.
Step 14
Decorate your circle with colors patterns or stickers to make it look amazing.
Step 15
Share a photo of your finished circle and what you learned on DIY.org.
Help!?
I don't have string, tape, or scissors — what can I use instead?
If you don't have string, use dental floss or a shoelace tied around the pencil as in step 3, substitute a small blob of reusable adhesive (blu‑tack) or a paperclip to hold the free end at the center (step 5), and skip scissors by tearing the string to length or asking an adult to cut it.
My circle comes out wobbly or the pencil slips — how can I fix that?
If the pencil slips or the circle is uneven, retie the string tightly around the pencil (step 3), press the taped center firmly and keep the string taut with one finger as you draw (steps 5–7), and add a second wrap of tape around the knot to stop slipping.
How can I adapt this activity for different ages?
For toddlers, pre-tie a short piece of string to a dull crayon and use a cup as a template while an adult handles taping and cutting, and for older kids let them measure radii with the ruler, use a longer string for bigger circles, cut out the circle themselves, and label the center, radius, and diameter with coloring materials.
What are simple ways to extend or personalize the circle project?
Make concentric circles by marking different distances on the string and drawing multiple circles before cutting, decorate each ring with colors or stickers, glue several circles into a hanging mobile, and share your finished photo and notes on DIY.org as instructed.
Watch videos on how to make a circle
Fun & Easy Drawing Tutorial For Beginners
4 Videos
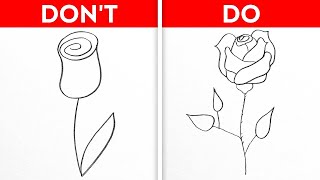
Fun & Easy Drawing Tutorial For Beginners

Drawing A Person With My 2-Year-Old (Preschool Lesson)
How To Draw A Kid Reading A Book

Learn Shapes Educational Video For Kids
Facts about basic geometry and measurement
🧵 You can draw a perfect circle with just a string and pencil — it's the same idea as a compass!
📏 The circumference of a circle is 2 × π × r, so measuring the radius helps find the circle's length around.
🔢 π (pi) is irrational: its decimal digits never end or repeat (3.14159…), which makes circles endlessly fascinating.
🧭 Simple compasses and string-and-pencil methods were used for geometric drawings in ancient architecture and maps.
🎨 Circles are everywhere in art and nature — from wheels and sunflowers to mandalas and planet orbits.
How do I make a perfect circle using a string and pencil compass?
What materials do I need for the Make a Circle activity?
What ages is the Make a Circle activity suitable for?
What are the benefits and safe variations of the circle-making activity?
