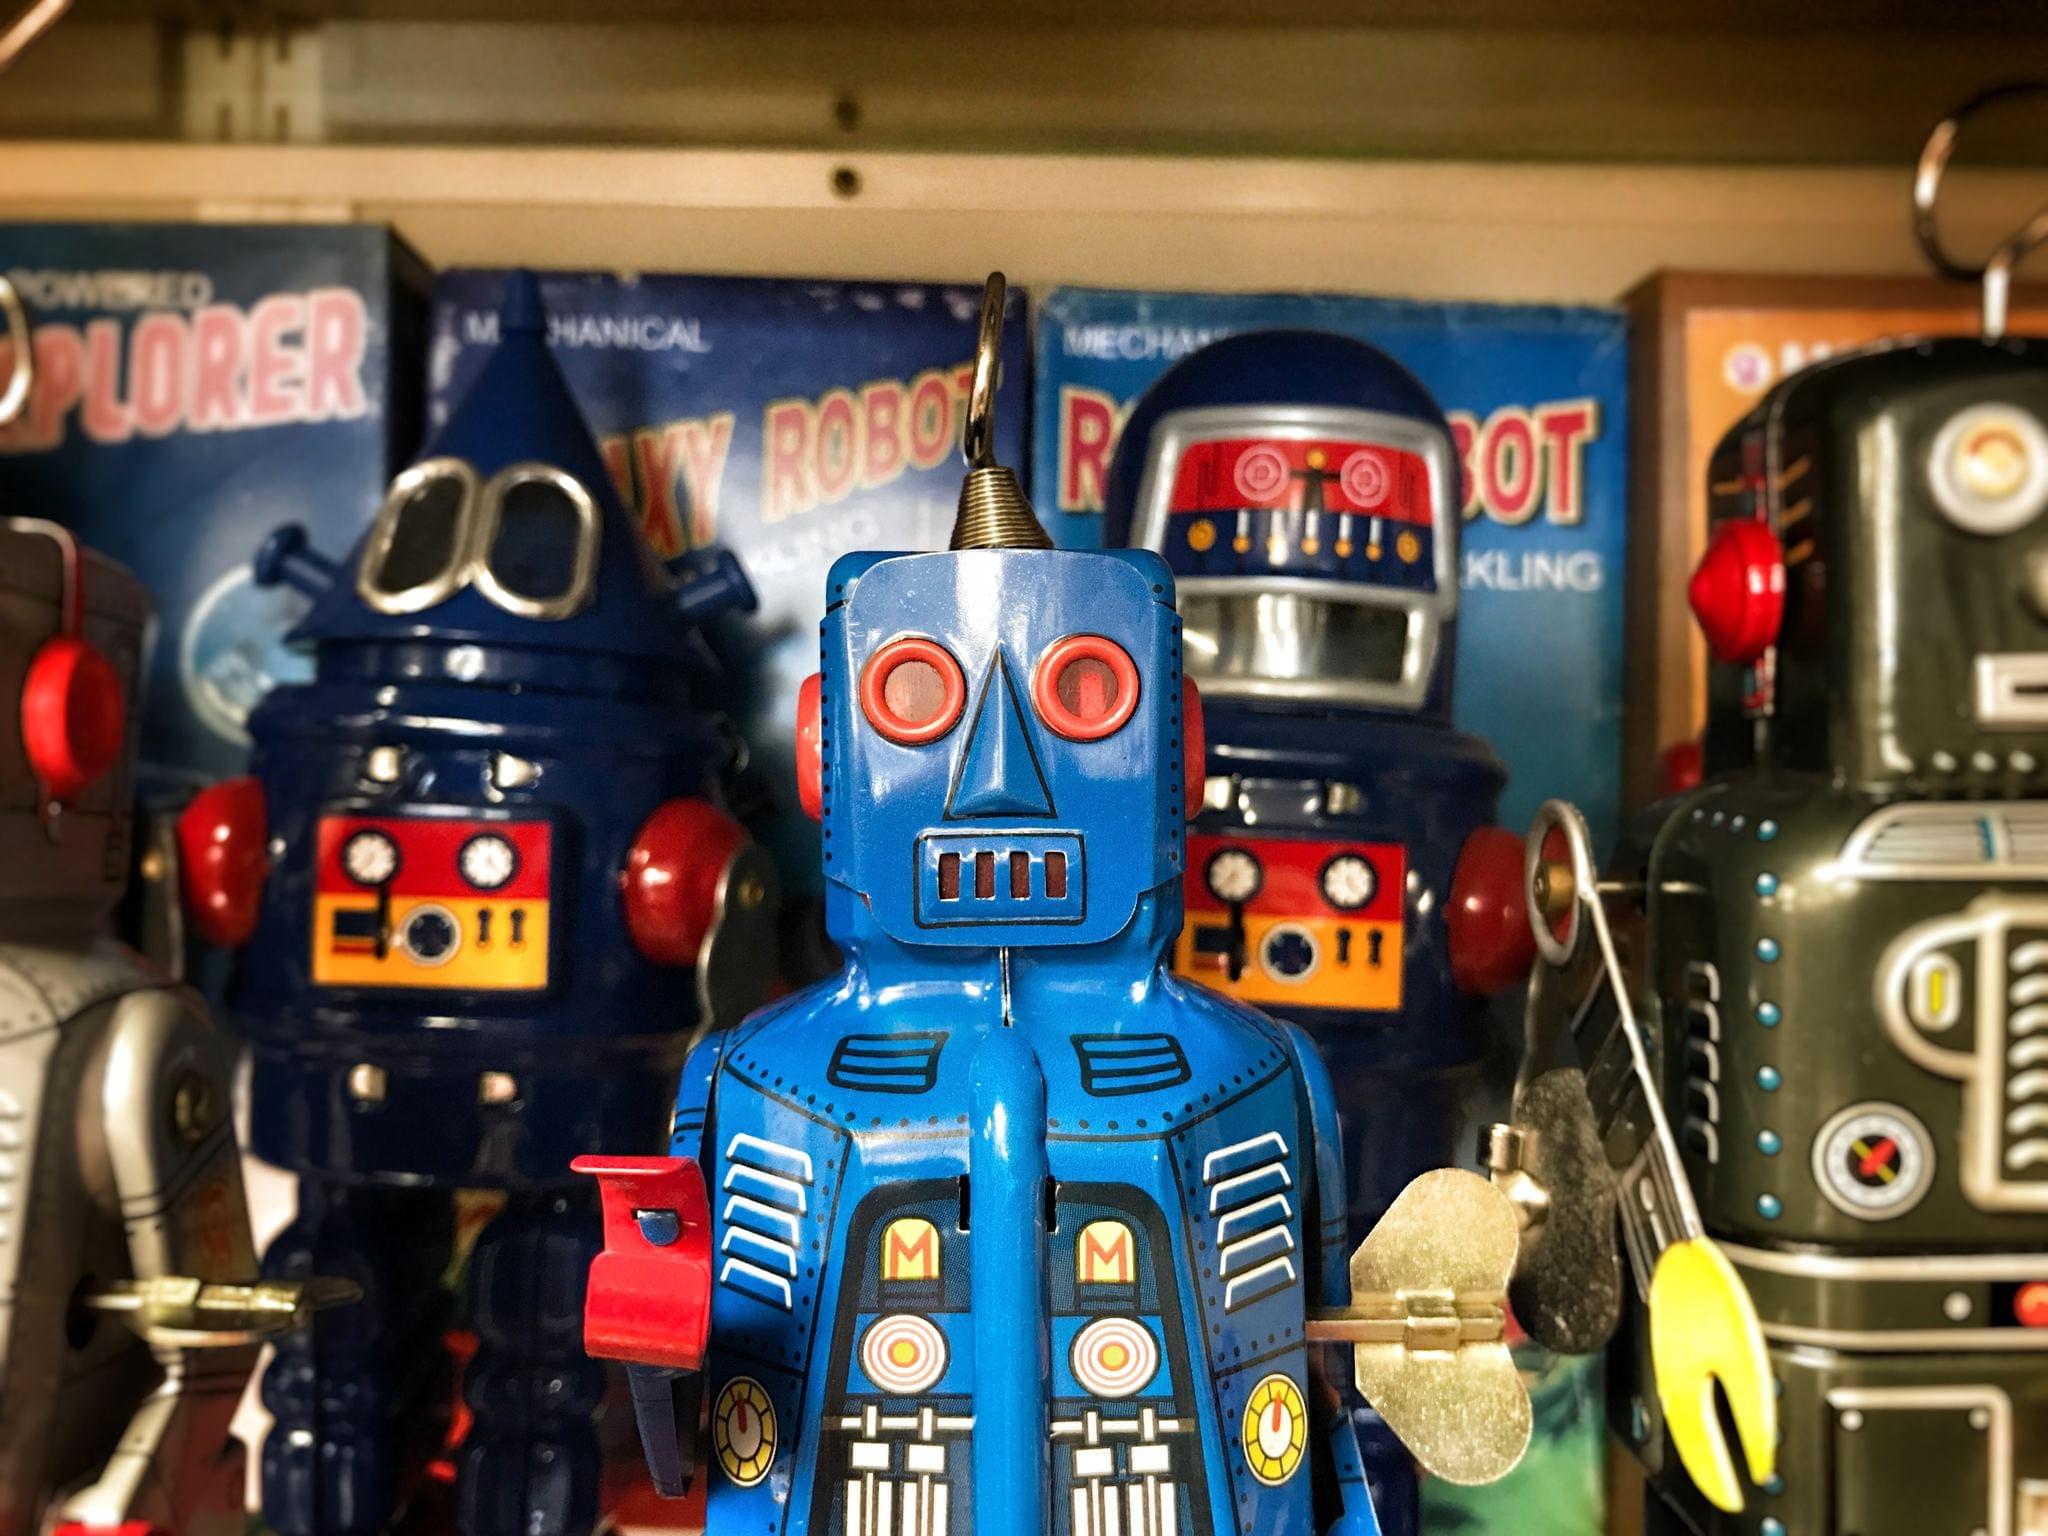
Share a hack for improving a robot
Upgrade a small toy robot with help, by adding simple sensors or weight adjustments to improve balance, obstacle detection, and movement; test and record results.


Step-by-step guide to upgrade a small toy robot
Robotics for Kids | Robotics Tutorial for Beginners | How to Build a Robot?
Step 1
Collect all materials from the list.
Step 2
Clear a flat clean work surface to do your upgrades.
Step 3
With an adult make sure the robot has fresh batteries or is fully charged.
Step 4
Use the screwdriver to tighten any loose screws on the robot.
Step 5
Turn on the robot and let it move across the flat surface for 30 seconds.
Step 6
Watch the robot as it moves and choose one problem to fix like wobbling veering or poor obstacle sensing.
Step 7
Write the baseline results in your notebook.
Step 8
Attach small weights to the robot base using tape or modeling clay to lower its center of gravity.
Step 9
Turn on the robot and run the same 30 second test after adding the weights.
Step 10
Write the weight test results in your notebook.
Step 11
If you have a sensor ask an adult to mount and connect it to the front of the robot.
Step 12
Test obstacle detection by placing an object in the robot's path while it moves and watch how it reacts.
Step 13
Write the sensor test results in your notebook.
Step 14
Share your finished upgraded robot and what you learned on DIY.org
Help!?
I don't have modeling clay or small hobby weights—what can I use instead?
Tape coins, metal washers, or small bar magnets to the robot base and secure them with the tape called for in the step 'Attach small weights to the robot base using tape or modeling clay' to lower the center of gravity.
My robot still wobbles or veers after adding weights—what should I check next?
Follow the instruction to use the screwdriver to tighten any loose screws, make sure the robot has fresh batteries or is fully charged, and try moving the added weights closer to the robot's center to improve balance.
How can I adapt this upgrade activity for different age groups?
For younger kids have an adult handle batteries, screwdriver use, and sensor mounting while the child times 30-second runs and records simple baseline and weight-test results in the notebook, and for older kids let them mount and connect sensors, run obstacle detection tests, and post detailed findings on DIY.org.
What are some ways to extend or personalize the robot upgrade after the basic tests?
Try several weight placements and obstacle courses, add a front-mounted sensor as described in the instructions, and personalize the chassis with stickers or a small LED while recording performance differences in your notebook to share on DIY.org.
Watch videos on how to upgrade a small toy robot
10 Robotics Projects Kids Can Really Make!
4 Videos
10 Robotics Projects Kids Can Really Make!
Easy Remote-Controlled Robot for Kids (DIY templates!)
Easy Micro:Bit Robot Tutorial: Build a Cardboard Bear for Kids & Beginners

An Introduction To Robotics 🤖 By Teach Kids Robotics (Full Lesson)
Facts about basic robotics for kids
🤖 Hobby robots often use ultrasonic sensors to “hear” distance and avoid obstacles up to a few meters away.
🧭 Tiny gyroscopes and accelerometers can detect tilt and rotation in milliseconds to help a robot balance.
⚖️ Lowering and centering a robot’s weight (moving the center of mass down) usually makes it much steadier.
🔋 Every extra sensor or motor draws more power, so upgrades can shorten battery life unless you plan for it.
📊 Simple tests and notes (like times, success/fail counts, and photos) make it easy to see which tweaks actually help.
How do I upgrade a small toy robot to improve balance, obstacle detection, and movement, and how should we test and record results?
What materials do I need to upgrade a small toy robot with sensors or weight adjustments?
What ages is this toy robot upgrade activity suitable for?
What are the benefits of upgrading a toy robot and are there safety tips or variations to try?
