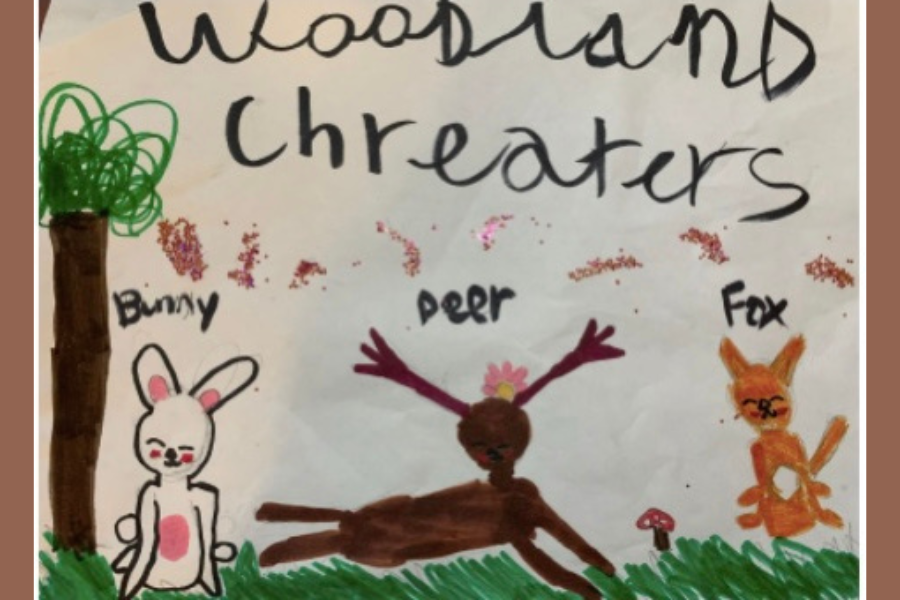
Draw Cute Woodland Creatures
Draw and color several cute woodland creatures like foxes, owls, and squirrels using simple shapes, practicing observation, proportions, and expressive details.

Drawing Apps
Step-by-step guide to Draw Cute Woodland Creatures
Step 1
Warm up your hand by drawing six simple shapes like circles squares triangles and ovals across the top of the paper.
Step 2
Lightly plan where each creature will sit by sketching three spaced ovals or circles to mark their places.
Step 3
Sketch a fox in one marked spot using simple shapes: a round head a teardrop body and a big curved tail.
Step 4
Sketch an owl in another spot using simple shapes: a round head a rounded body and two big round eyes.
Step 5
Sketch a squirrel in the last spot using simple shapes: a small round head a compact body and a bushy curled tail.
Step 6
Add facial features to each creature by drawing eyes noses mouths and eyebrows to give them unique expressions.
Step 7
Add texture details like short fur strokes feather lines whiskers and ear tufts to make each creature look fluffy or feathery.
Step 8
Draw a few simple forest items like leaves mushrooms a log or a small branch around your creatures to set the scene.
Step 9
Trace your favorite lines with a black pen or fine liner to make the characters bold and clear and wait for the ink to dry.
Step 10
Gently erase the pencil guidelines so only the clean inked drawing remains.
Step 11
Color each creature and the background using your coloring materials choosing warm colors for the fox soft browns for the squirrel and natural shades for the owl.
Step 12
Add simple shading and small highlights by using a slightly darker color for shadows and a lighter color or white for highlights.
Step 13
Take a photo or scan your finished woodland scene and share your creation on DIY.org.
Help!?
What can we use instead of a black pen or fine liner if we don't have one?
If you don't have a black pen or fine liner for the step to "Trace your favorite lines," trace with a thin permanent marker, a dark ballpoint pen, or carefully with a sharpened colored pencil for a softer line.
My ink smudges when I try to erase the pencil lines—how can I stop that?
Make sure to follow the "wait for the ink to dry" step and let the ink dry fully before gently erasing the pencil guidelines with a clean, soft eraser to avoid smudging.
How can I adapt this drawing activity for a 4-year-old versus a 10-year-old?
For a 4-year-old, pre-sketch the three spaced ovals and let them fill shapes and color with chunky crayons or washable markers, while a 10-year-old can focus on adding the texture details, shading, and extra forest items from steps 6–11 for more challenge.
How can we make the woodland scene more unique or advanced?
To enhance the scene, add mixed-media textures (like cotton for fluffy fur), use the shading and highlight tips from step 11 to create depth, invent a short backstory for the creatures, and then photograph the finished drawing to share on DIY.org as suggested.
Watch videos on how to Draw Cute Woodland Creatures
Full Art Book Flip Through: 'How to Draw Woodland Animals in Simple Steps' | Susie Hodge
4 Videos
Full Art Book Flip Through: 'How to Draw Woodland Animals in Simple Steps' | Susie Hodge
How to Draw a Cute Squirrel Holding an Acorn Step by Step || Easy Pencil sketch step by step drawing
How to Draw a Cute Hedgehog | Easy Step by Step Tutorial | Made for Kids
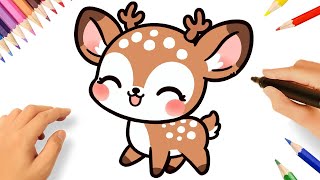
HOW TO DRAW A CUTE KAWAII DEER STEP BY STEP 🦌💟
Facts about drawing animals
🦊 Red foxes use their bushy tails for balance and warmth, and they perform a dramatic 'high pounce' when hunting under snow.
🦉 Owls can rotate their heads up to 270° thanks to extra neck vertebrae — their eyes stay facing forward, not rotating.
🐿️ Squirrels bury thousands of nuts each year and forget many of them, which helps new trees grow in the forest.
🌲 Forests are packed with repeating shapes (circles for leaves, ovals for stones) — noticing them helps you simplify scenes when drawing.
✏️ To make animals look extra cute, artists exaggerate big eyes, round faces, and small noses — a quick trick for expressive characters.
How do I help my child draw cute woodland creatures like foxes, owls, and squirrels?
What materials do I need to draw and color woodland creatures with my child?
What ages is drawing cute woodland creatures suitable for?
What are the benefits of drawing and coloring woodland creatures?
