Create a Waterfall Card
Make a waterfall card with folded paper panels, tabs, and a pull-tab mechanism; decorate with drawings and stickers to learn simple paper engineering.


Step-by-step guide to create a Waterfall Card
Easy Waterfall Card | Video Tutorial
Step 1
Fold the cardstock in half to make a card base and press the crease flat.
Step 2
Cut five equal rectangles from the plain paper to be your waterfall panels.
Step 3
Fold a 1 cm flap along the top edge of each rectangle to make a glue tab.
Step 4
Cut a long thin base strip from scrap paper about 2 cm tall and as wide as the card.
Step 5
Glue the base strip across the inside of the card about 2 cm from the top edge.
Step 6
Glue the folded tabs of the five panels to the base strip in a row so each panel overlaps the next slightly.
Step 7
Cut a pull-tab strip from scrap paper about as wide as the card and 6 to 8 cm longer than the card height.
Step 8
Attach one end of the pull-tab strip to the front of the first (leftmost) panel with tape or a dab of glue.
Step 9
Slide the rest of the pull-tab strip flat under all the panels toward the right side of the card.
Step 10
Fold a small square of scrap paper to make a stop and glue it inside the card at the right edge to catch the pull strip.
Step 11
Decorate each panel with drawings stickers and colouring materials to tell a little story or show a scene.
Step 12
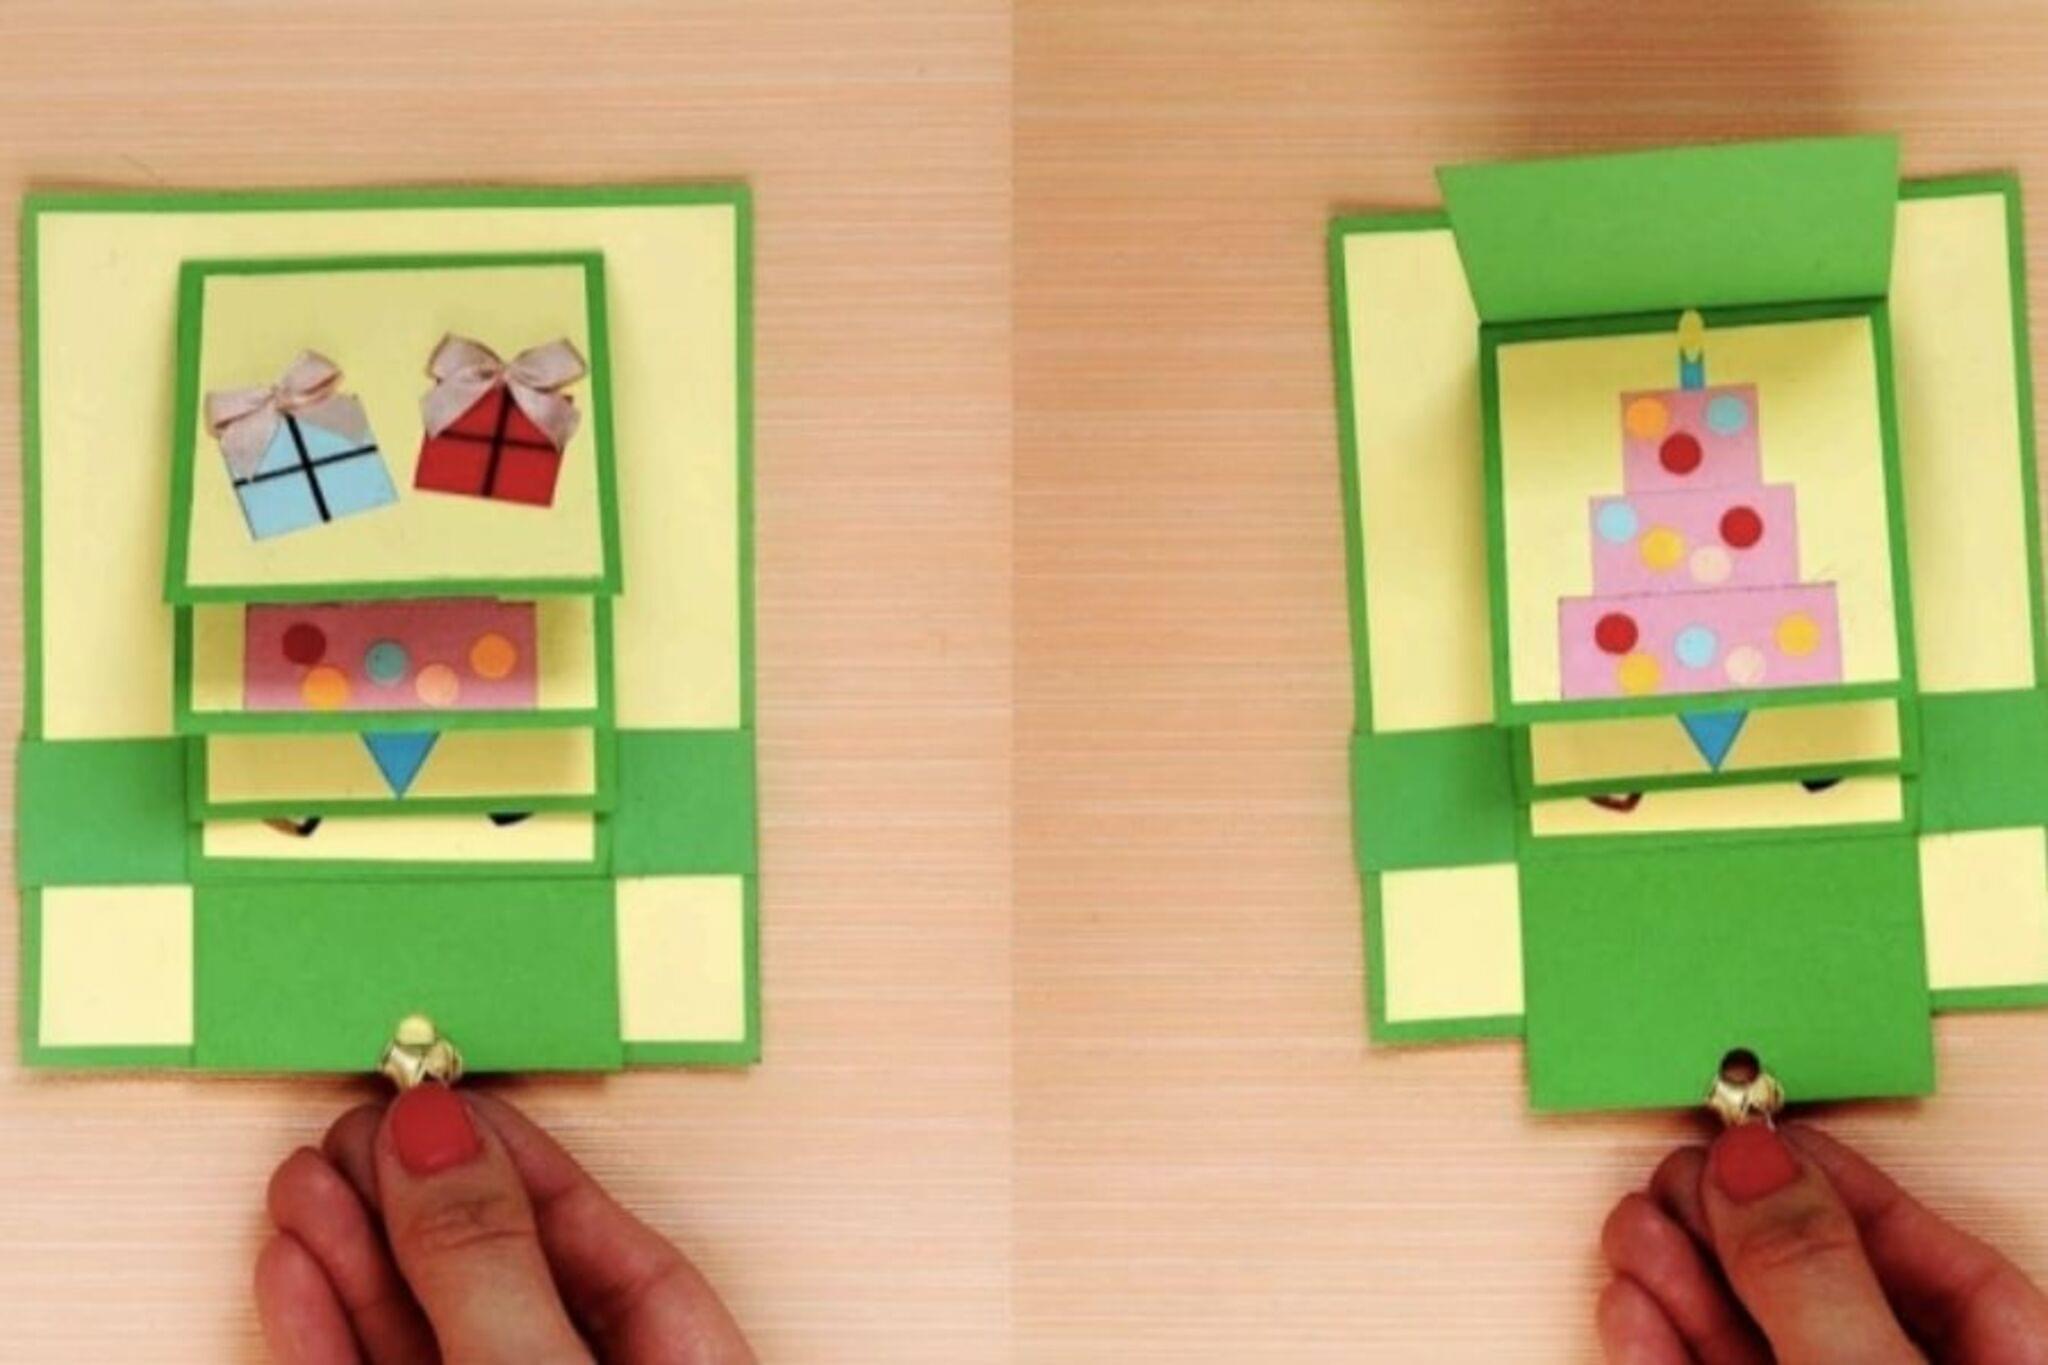
Gently pull the tab to test the waterfall motion and adjust any panel overlaps so they flip one by one.
Step 13
Share your finished waterfall card on DIY.org
Help!?
If I don't have cardstock, what can I use instead to make the card base?
Use a flattened cereal box, a manila file folder, or two sheets of printer paper glued together and folded in half to serve as the card base in place of cardstock.
Why won't the panels flip one by one when I pull the tab?
Make sure each panel has the 1 cm folded glue tab glued only to the long base strip, that panels overlap slightly instead of lining up edge-to-edge, and that the pull-tab strip sits flat under all panels with no excess glue blocking movement.
How can I change the project for younger or older kids?
For younger children, pre-cut the five rectangles and the base and let them stick and decorate the panels, while older kids can add more panels, create a detailed scene across panels, or install an eyelet for a smoother pull-tab.
How can we personalize or extend the waterfall card after assembling it?
Personalize it by drawing a continuous background across the panels, adding small photos or pop-up embellishments to individual panels, gluing a hidden message under the last panel, or covering the pull-tab with patterned scrap paper before sharing on DIY.org.
Watch videos on how to create a Waterfall Card
Easy WATERFALL Card Tutorial - No dies needed!
3 Videos
Easy WATERFALL Card Tutorial - No dies needed!
How To Make Waterfall Card | Easy Step by Step Tutorial
How to Make a mini WATERFALL CARD - DIY Fun Easy Craft
Facts about paper engineering for kids
🪄 Pop-up and waterfall cards turn flat paper into moving 3D scenes using clever folds, tabs, and hinges.
✂️ Kirigami mixes cutting and folding so you can create windows, doors, and cascading panels for waterfall effects.
🎴 A pull-tab is a simple paper mechanism — pull one tab and multiple panels can unfold or move in sequence.
🧠 Making moving cards helps kids learn cause-and-effect, sequencing, and basic mechanical thinking while crafting.
♻️ Paper is one of the most recycled materials, so using scrap paper for waterfall cards is both creative and eco-friendly.
How do I make a waterfall card with folded paper panels and a pull-tab?
What materials do I need to build a waterfall card?
What ages is a waterfall card activity suitable for?
What are the benefits of making a waterfall card and is it safe?
