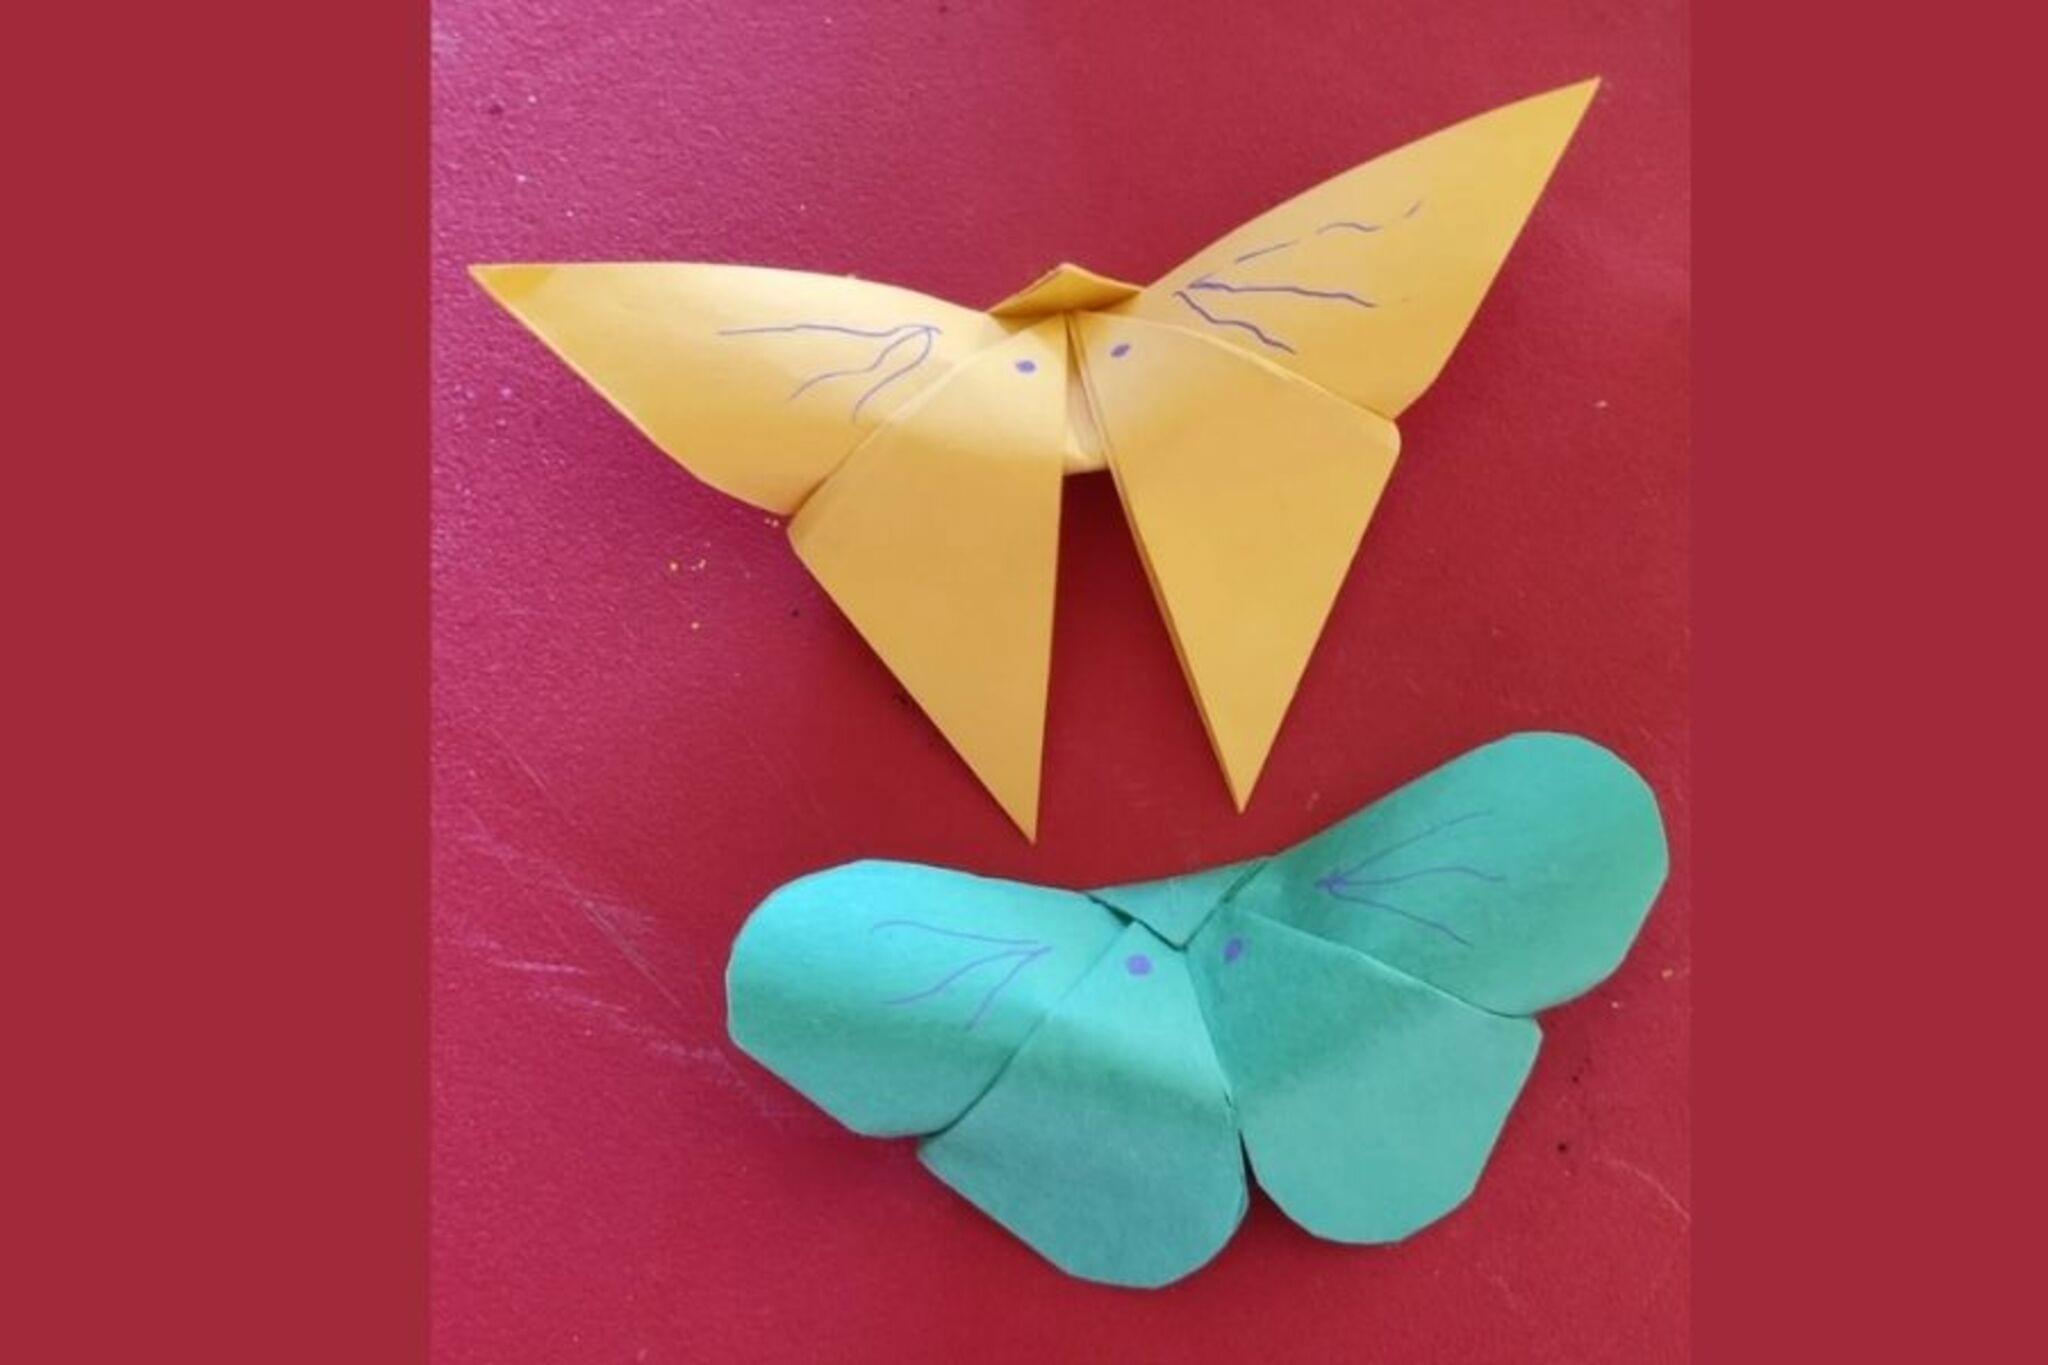
Make Butterflies Using Origami
Fold colorful paper to make origami butterflies, learn basic folding techniques, decorate them, and create a fluttering display to share or hang.


Step-by-step guide to Make Butterflies Using Origami
How to Make an Easy Origami Butterfly - Perfect for Kids & Beginners! 🦋✨
Step 1
Gather all your materials and find a clean flat table to work on.
Step 2
Choose one square paper and place it colored side down on the table.
Step 3
Fold the paper diagonally so two opposite corners meet to make a triangle.
Step 4
Fold the triangle in half by bringing the right corner to the left corner.
Step 5
Fold the top layer's right corner down so its tip touches the bottom point.
Step 6
Fold the top layer's left corner down so its tip touches the bottom point.
Step 7
Turn the folded paper over so the folded flaps are underneath.
Step 8
Fold the top corner down about one third of the paper's height to form the butterfly body.
Step 9
Press the wings flat so they lie nicely for decorating.
Step 10
Decorate the wings with colouring materials and stickers using fun patterns.
Step 11
Fold the whole butterfly in half along the center so the wings face forward.
Step 12
Pinch the middle tightly to make the wings pop out like a real butterfly.
Step 13
Tape a short piece of string to the back center where you pinched to make a hanger.
Step 14
Hang your butterfly from a window or a twig so it can flutter and make a display.
Step 15
Take a photo and share your finished origami butterfly creation on DIY.org
Help!?
What can I use if I don't have square origami paper?
You can cut any rectangular paper (printer paper, magazine page, or scrap colored paper) into a square and place it colored side down as directed in step 2.
My butterfly wings won't lie flat after step 8 — how do I fix that?
Gently unfold to the recent folds, re-crease the triangle and wing folds along the lines from steps 3–7, then press the wings flat on a clean table before pinching the middle in step 12 so they lie nicely.
How can I adapt this activity for younger kids and for older kids?
For toddlers, pre-fold through step 6 and let them do step 9 decorations with stickers and crayons, while older kids can use thinner origami paper, add extra wing creases before step 11, or experiment with asymmetric folds for advanced designs.
How can we personalize or extend our origami butterfly project?
Add pipe-cleaner antennae taped at the pinched center from step 12, use glitter or layered stickers during step 9, hang several butterflies at different string lengths from a twig as in steps 13–14 to make a mobile, and photograph the display for DIY.org in step 15.
Watch videos on how to Make Butterflies Using Origami
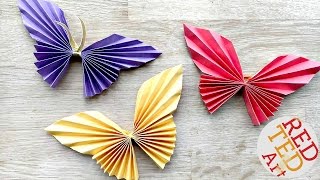
Easy Paper BUTTERFLY Craft for Kids | Step-by-Step Origami BUTTERFLY | Fun Paper Crafts for School
4 Videos
Easy Paper BUTTERFLY Craft for Kids | Step-by-Step Origami BUTTERFLY | Fun Paper Crafts for School
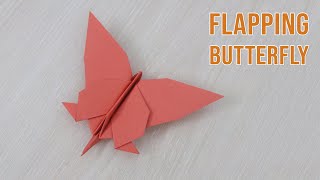
How to Make a Paper Flapping Butterfly - Easy Origami Butterfly step by step
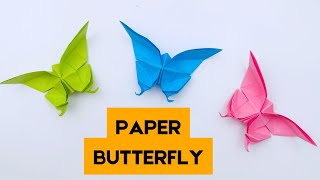
Easy Paper Butterfly Origami - Cute & Easy Butterfly DIY - Origami for Beginners

Origami Butterfly (Folding Instructions)
Facts about origami and paper folding
📝 The word "origami" comes from Japanese: ori (to fold) + kami (paper) — folding art with a long history!
🦋 Butterflies actually taste with their feet and there are about 17,500 butterfly species — so many wing designs to copy!
📐 Engineers use origami folding techniques to build foldable solar panels and tiny medical devices — folds can be super useful!
📄 Most traditional origami models begin with a single square sheet of paper — no glue or scissors needed for many designs.
🎨 Artist Alexander Calder popularized hanging 'mobile' sculptures in the 1930s — a perfect idea for fluttering displays.
How do you make origami butterflies?
What materials do I need to make origami butterflies?
What ages are origami butterflies suitable for?
What are the benefits of making origami butterflies?
