Tell A Story With a Stop Motion Movie
Create a short stop-motion movie using toys, clay, or paper puppets; plan scenes, take frame-by-frame photos, and add simple sound effects.


Step-by-step guide to tell a story with a stop-motion movie
Stop Motion Tutorial: What's Your Story?
Step 1
Pick a short fun story idea in one sentence that you can tell in under a minute.
Step 2
Choose which characters you will use and what they will be made of like toys clay or paper.
Step 3
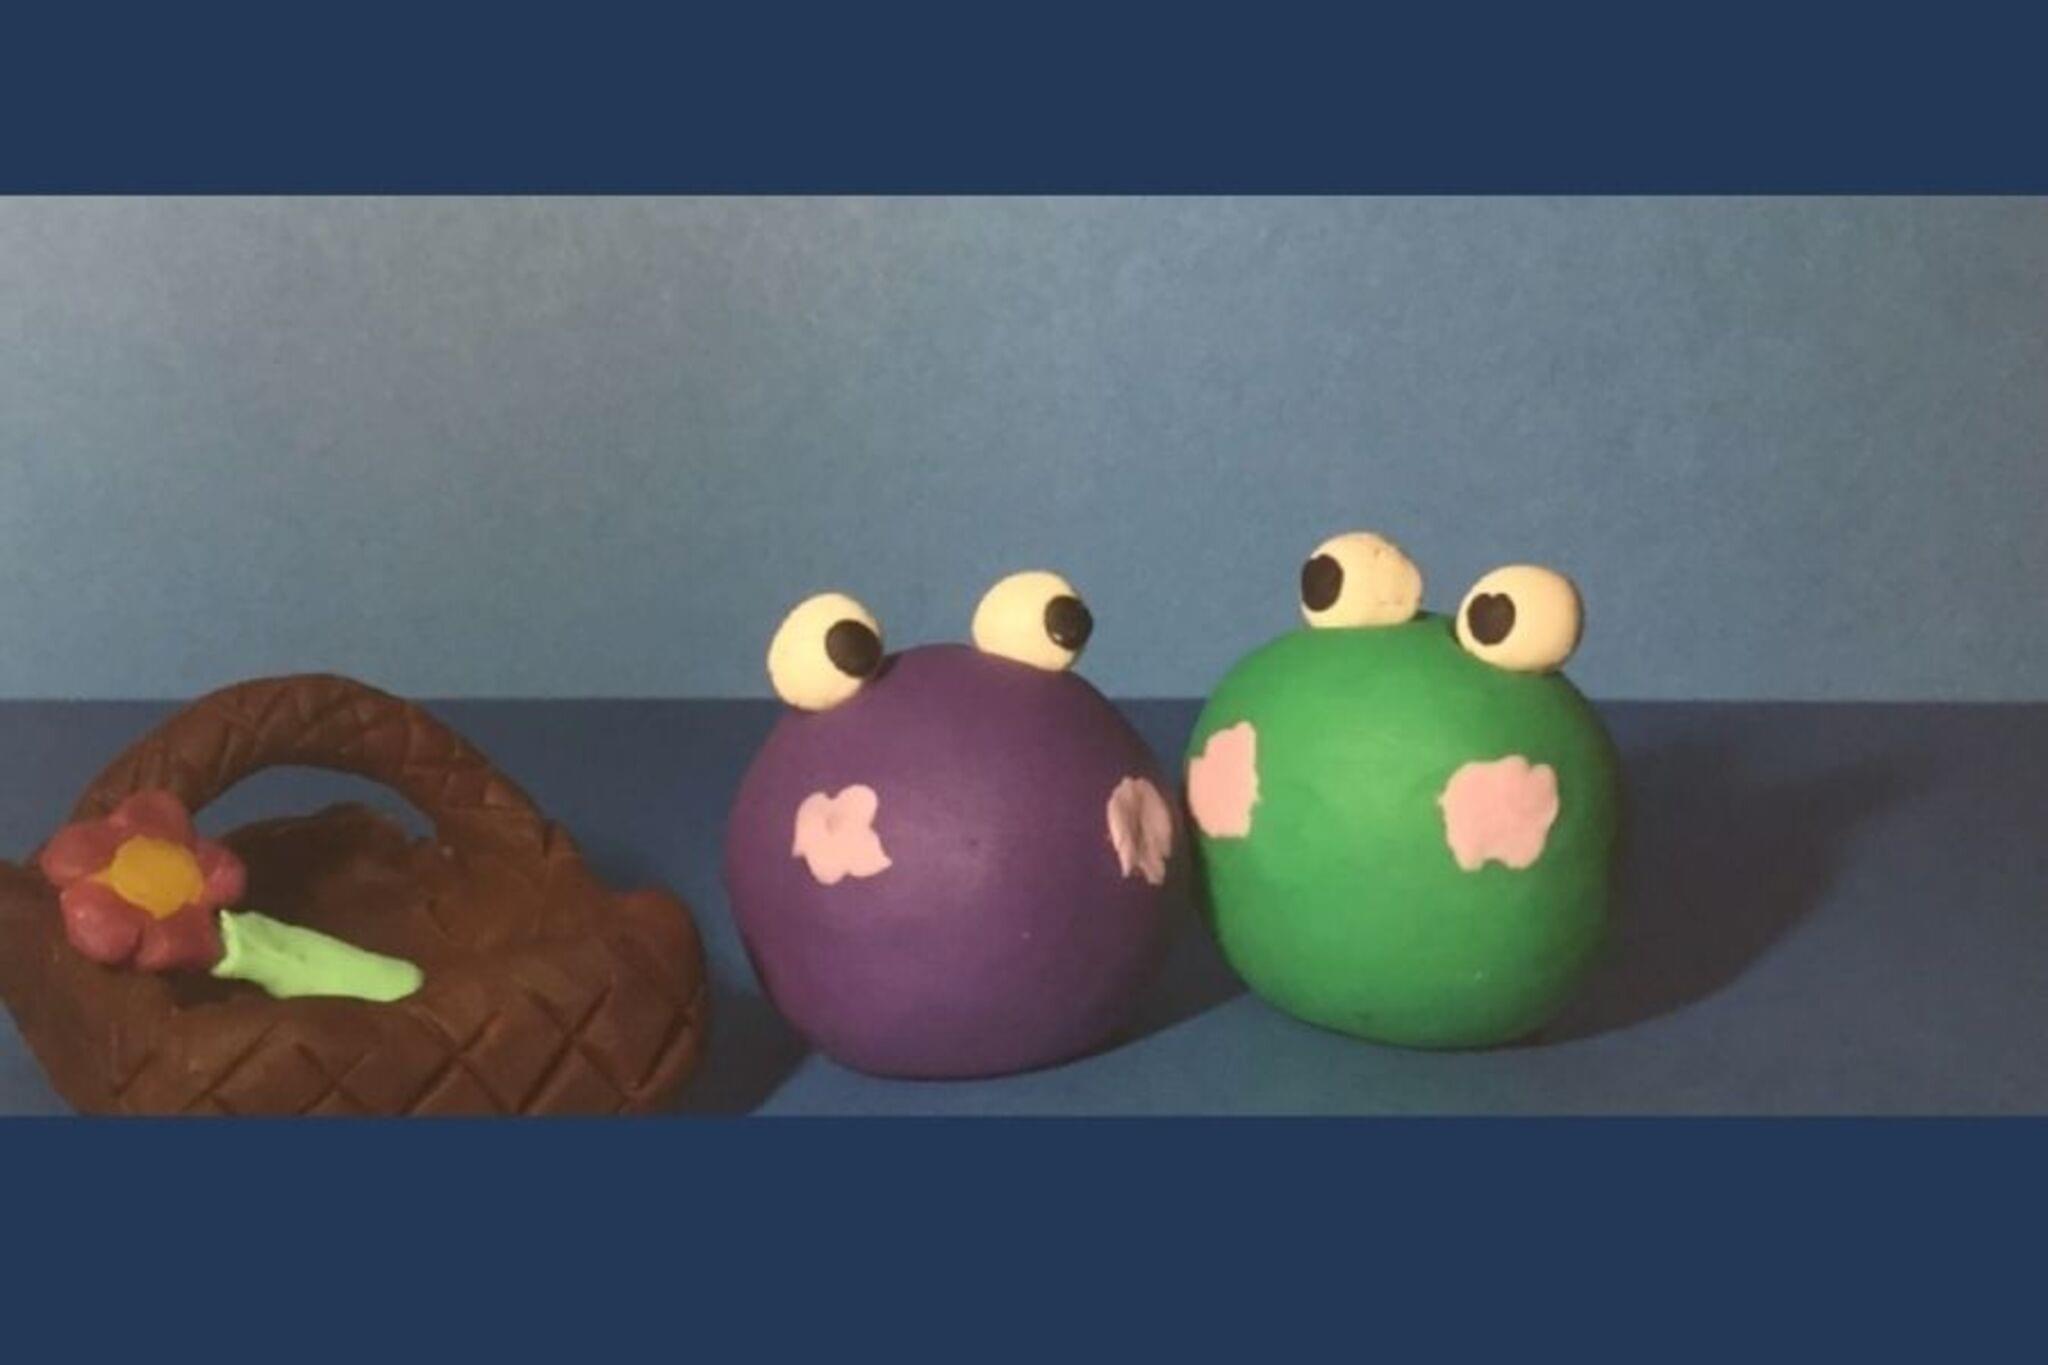
Create each character from your chosen material.
Step 4
Decorate your characters with colouring materials to give them faces clothes or costumes.
Step 5
Make a simple background or stage on a piece of cardboard or large paper.
Step 6
Add one or two small props to your stage using tape or glue.
Step 7
Put the stage on a stable flat surface where it won't move.
Step 8
Place your lamp or set up steady natural light so the stage is bright and even.
Step 9
Steady your camera or phone on the books or box and point it at the stage so everything fits in the frame.
Step 10
Draw a simple storyboard with 3 to 6 boxes and write one short sentence for what happens in each box.
Step 11
Position your characters for the first storyboard box inside the camera frame.
Step 12
Take one photo of the starting pose for that scene.
Step 13
Move your characters a tiny bit then take another photo and repeat this until the scene plays out smoothly.
Step 14
Repeat Steps 11 to 13 for each storyboard box then use a stop-motion app to import the photos add simple sound effects and export your movie.
Step 15
Share your finished stop-motion movie on DIY.org
Help!?
What can we use if we don't have clay or toys to make the characters?
If you don't have clay or toys you can fold, color, and tape paper figures or use small socks and stuffed animals as characters to complete Step 3 and then decorate them with the colouring materials in Step 4.
My photos are blurry or the animation jumps—how do we fix that?
To stop blur or jumping, follow Step 9 by steadying your camera with more books or a box (or a cheap tripod), secure the stage from Step 7 with tape so it won't move, and make tinier movements between photos as described in Steps 11–13.
How can I adapt the project for younger or older children?
For younger kids, reduce the storyboard to 3 large boxes, use bigger toys and simpler props from Step 6 so moves are easy to make, and let an adult steady the camera in Step 9, while older kids can create 6 storyboard boxes, detailed cardboard backgrounds in Step 5, and import more frames in the stop-motion app in Step 14 for smoother motion.
What are some ways to extend or personalize our stop-motion movie?
You can personalize and extend the activity by painting layered backgrounds on the cardboard stage from Step 5, adding original sound effects and a voiceover in the stop-motion app during Step 14, and creating opening titles and credits before sharing on DIY.org.
Watch videos on how to tell a story with a stop-motion movie
How to Make a Stop-Motion Animation | Tate Kids
4 Videos
How to Make a Stop-Motion Animation | Tate Kids
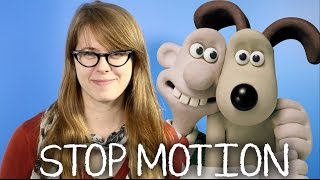
What Is Stop Motion Animation and How Does It Work? | Mashable Explains

Stop Motion | STEP1 Film-maker Lesson

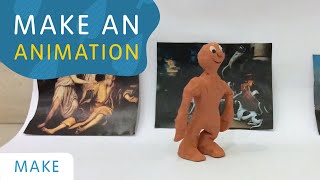
Make a Stop Motion Animation I Activities for Children
Facts about stop-motion animation for kids
🎬 Stop-motion animation dates back to the early 1900s and was one of the first ways filmmakers created special effects.
🧱 Clay animation (claymation) lets you reshape characters between frames — studios like Aardman and Laika made famous feature films this way.
🐉 Ray Harryhausen was a stop-motion legend whose creature effects (like the skeleton fight) amazed audiences for decades.
🧸 Using toys or paper puppets is a kid-friendly staple — and 'pixilation' is the special stop-motion technique that animates real people.
🔊 Foley and homemade sound effects (rice for footsteps, creaky paper for doors) are simple tricks that make tiny movies feel big.
How do I tell a story with a stop-motion movie using toys or puppets?
What materials do I need to make a short stop-motion movie at home?
What ages is making a stop-motion movie suitable for?
What are some fun variations to try with a stop-motion movie?
