Share a Screenshot of Your Recording App
Learn to take and share a safe screenshot of your voice recording app interface, removing personal info, then show it to a parent or teacher.


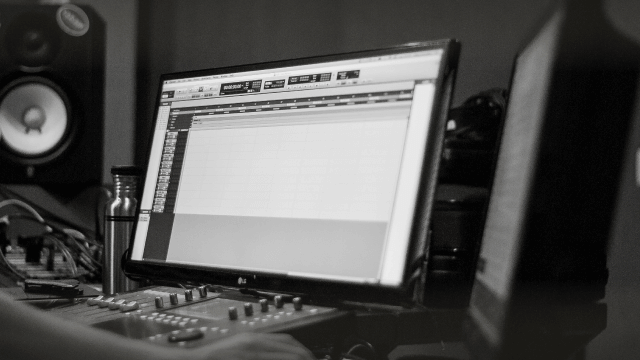

Step-by-step guide to share a screenshot of your recording app
Step 1
Open your voice recording app and go to the exact screen you want to capture so it looks ready for a picture.
Step 2
Ask a grown-up to be nearby and say it's OK to take the screenshot before you continue.
Step 3
Take a screenshot using your device's screenshot buttons or shortcut so the image is saved to your photos.
Step 4
Open the screenshot in your device's Photos or Gallery app so you can edit it.
Step 5
Look carefully at the picture and point out any personal information like full names phone numbers email addresses timestamps or file names.
Step 6
Use the crop tool to cut away parts of the picture that show personal information so only the safe parts remain.
Step 7
If any private info is still visible use a drawing or markup tool to cover it with a solid shape so nothing can be read.
Step 8
Save the edited image as a new file so you keep the original just in case.
Step 9
Show the edited screenshot to your parent or teacher and ask for their approval before sharing anything online.
Step 10
With your parent or teacher's help share your safe edited screenshot on DIY.org for others to see.
Help!?
What can we use if our device doesn't have the Photos/Gallery editor or a markup tool?
If your device lacks a built-in Photos/Gallery editor or markup tool, install a free photo editor app like Snapseed or Pixlr or use the screenshot editor that appears immediately after taking the screenshot so you can crop and cover personal information.
My screenshot didn't save or I can't find it — what should I check?
Check that you used the correct screenshot buttons or shortcut and then look in the Photos/Gallery app right away, and if it didn't save retake the screenshot following the step 'Take a screenshot using your device's screenshot buttons or shortcut so the image is saved to your photos.'
How can I adapt the steps for different ages?
For younger children, have a grown-up follow every step from opening the voice recording app to approving the edited image, while older kids can practice removing timestamps, file names, or metadata themselves and saving the edited image as a new file before sharing on DIY.org.
How can we personalize or extend the activity after editing the screenshot?
After you save the edited image as a new file, personalize it by adding a short caption or sticker or create a before-and-after image showing the original and the cropped/covered safe version to explain what personal information you removed.
Watch videos on how to share a screenshot of your recording app
How to Screen Record using your iPad
4 Videos
How to Screen Record using your iPad
How to Record Video with Camera on Windows 10/11 (Windows Camera App)

How to Make an Instructional Video with Screen Recording (easy step-by-step process)
How to Record Your Computer Screen and Make AMAZING Videos with Microsoft's Clipchamp
Facts about digital privacy and safe sharing
📸 On most phones a quick button combo or swipe saves a screenshot instantly to your photos — so watch what’s on screen!
🔍 Notifications, email previews, or contact names often appear in screenshots — cropping or blurring them keeps secrets safe.
☁️ Screenshots saved to your Photos app can sync to cloud backups (like iCloud or Google Photos) unless you remove them.
🎤 Voice recording apps often show file names, durations and waveforms — these details can hint at who or when something was recorded.
👪 Always show screenshots to a parent or teacher before sharing—adults can help spot hidden personal info kids might miss.
How do I teach my child to safely take and share a screenshot of their voice recording app?
What materials do I need to share a safe screenshot of a recording app?
What ages is this activity suitable for?
What safety steps should I teach my child when sharing screenshots of voice recordings?
