Practice strokes and lines
Practice drawing straight, curved, zigzag, and shaded strokes on paper using pencils, pens, and brushes to develop control, line variety, and hand coordination.


Step-by-step guide to practice strokes and lines
Step 1
Clear a flat table to make a comfy workspace for your drawing practice.
Step 2
Lay your paper pencil eraser pens and brushes on the table within easy reach.
Step 3
Draw a large rectangle in the center of the paper to make your practice board.
Step 4
Divide the rectangle into six equal horizontal rows by drawing five straight lines across.
Step 5
In the top row draw six long freehand straight lines from left to right trying to keep your hand steady.
Step 6
In the second row draw six curved lines like arches loops and gentle waves.
Step 7
In the third row draw zigzag lines varying how sharp or soft the angles are.
Step 8
In the fourth row make lines where you press lightly for thin strokes and press harder for thick strokes.
Step 9
In the fifth row fill a small area with short back-and-forth pencil strokes to practice smooth shading from light to dark.
Step 10
In the sixth row draw a set of parallel lines then draw another set across them to practice cross-hatching for darker tones.
Step 11
Trace a few pencil strokes with a pen to see how the line becomes bolder and cleaner.
Step 12
Use a brush with a little water or ink to practice making thin long strokes and short thick strokes in a blank corner.
Step 13
Share your finished practice sheet on DIY.org to show off your new line and stroke skills.
Help!?
What can I use if I don't have a brush or ink to practice the thin and thick strokes in the blank corner?
If you don't have a brush or ink, use a cotton swab dipped in water or a felt-tip marker to practice the thin long strokes and short thick strokes described for the blank corner.
My top-row straight lines keep wobbling—how can I make the six long freehand left-to-right lines steadier?
Lightly place pencil guide dots at the start and end of each line across the top row, rest your forearm on the cleared table for stability while drawing the six long lines left-to-right, then erase the dots with your eraser.
How can I adapt the divided-six-row practice board for younger or older children?
Make it easier for younger kids by drawing a much larger rectangle with wider rows and letting them use chunky markers for fewer strokes, and make it harder for older kids by keeping the six-row grid narrow, requiring precise six freehand lines per row and adding timed or ruler-guided challenges or the brush-with-ink step.
How can we extend or personalize the finished practice sheet before sharing it on DIY.org?
Turn the practice board into a mini-artwork by adding colored pens or watercolor washes over the shading and cross-hatching rows, sign the sheet, photograph it, and then upload it to DIY.org to showcase your new line and stroke skills.
Watch videos on how to practice strokes and lines
11 Basic Pencil Strokes - Drawing for Beginners Course 9
4 Videos
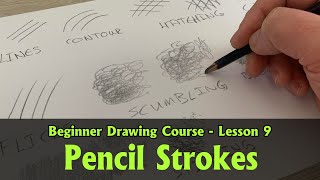
11 Basic Pencil Strokes - Drawing for Beginners Course 9
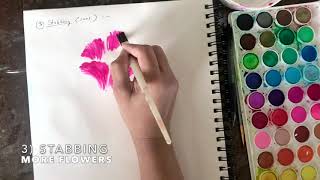
Basic Painting Strokes Tutorial | For Kids and Beginners

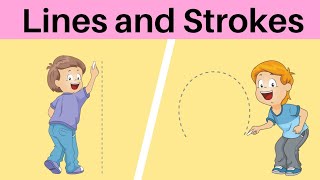
Basic Lines & Curves for Kids || How to draw an object using Lines & Curves || Learn Lines & Curves
lines and Strokes for nursery class | | standing line | sleeping line | curved | slanting line
Facts about drawing fundamentals for kids
✏️ A typical wooden pencil can draw a continuous line roughly 35 miles (about 56 km) long — that's a lot of practice strokes!
🖌️ Artists have used brush-like tools and pigments for tens of thousands of years to make marks and pictures — line-making is ancient!
🖊️ Calligraphers create thick and thin lines simply by changing pen angle and pressure — the same idea helps with line variety in drawing.
🎯 Practicing straight, curved, zigzag, and shaded strokes is a simple, fun way to build fine motor skills and hand–eye coordination.
🧠 Repeating line exercises strengthens the brain-to-hand connection, so drawing and handwriting become smoother with time.
How do I teach my child to practice strokes and lines?
What materials do I need to practice drawing straight, curved, zigzag, and shaded strokes?
What ages is stroke and line practice suitable for?
What are the benefits and safety tips for practicing strokes and lines?
