Make A Magic Photo Frame!
Make a magic photo frame using cardboard, decorations, and a simple light or hidden window; personalize it and learn basic crafting and design.


Step-by-step guide to make a magic photo frame
How to make DIY Picture Frame | Easy Kids Crafts
Step 1
Gather all your materials on a clean table so everything is easy to reach.
Step 2
Place the photo where you want it on the cardboard and draw a rectangle around it leaving a 1 to 2 inch border to mark the frame opening.
Step 3
Draw an outer rectangle around the first rectangle to mark the outer edge of your frame.
Step 4
Cut out the inner rectangle so you have a window in the front piece of the cardboard.
Step 5
Cut a second piece of cardboard the same outer size as the front to be the back of the frame.
Step 6
Cut a piece of tracing paper slightly larger than the window and glue it to the back of the front piece to make a soft light filter.
Step 7
Decorate the front of your frame with stickers sequins or coloring to make it uniquely yours.
Step 8
Tape the small battery LED tealight to the center-back of the front piece so the light shines through the tracing paper.
Step 9
Make a small flap or slot at the top of the back piece so you can slide the photo in later.
Step 10
Slide your photo into the slot so it sits behind the tracing paper window.
Step 11
Glue or tape the back piece to the front piece around the edges leaving the slot open so the photo can be removed.
Step 12
Turn on the LED tealight and admire the magic glow in your photo frame.
Step 13
Share a picture of your finished magic photo frame and tell what you decorated it with on DIY.org
Help!?
What can I use instead of tracing paper or an LED tealight if I can't find them?
If you don't have tracing paper, use vellum, wax paper, or baking/parchment paper glued over the window, and if there's no small battery LED tealight use a tiny flashlight or an LED sticker taped to the center-back of the front piece.
The cardboard tore when I cut the inner rectangle or the light doesn't shine evenly—what should I do?
If the inner rectangle rips or is uneven, re-draw with a ruler and cut slowly with a craft knife on a cutting mat or sharp scissors and reinforce the edges with clear tape before gluing the tracing paper, and if the LED doesn't shine evenly, re-tape it to the exact center-back of the front piece or add a small folded cardboard reflector behind it.
How can I adapt this activity for different ages?
For preschoolers, have an adult pre-cut the inner window and back piece and let them glue tracing paper and add big stickers, while older kids can cut their own cardboard, tape the LED tealight into the center-back themselves, and add sequins or more detailed coloring.
How can we make the magic photo frame more special or long-lasting?
To enhance the frame, glue a layer of colored tissue paper behind the tracing paper for a tinted glow, add a folded cardboard strip as a stand on the back piece, and personalize with sequins, stickers, or a handwritten name around the frame opening.
Watch videos on how to make a magic photo frame
18 INTERESTING DIY PICTURE FRAME IDEAS
4 Videos
18 INTERESTING DIY PICTURE FRAME IDEAS
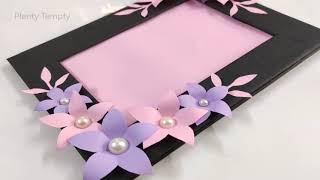
Photo Frame Making At home/ DIY Photo Frame/Easy Picture Frame DIY /How To Make Photo Frame At Home
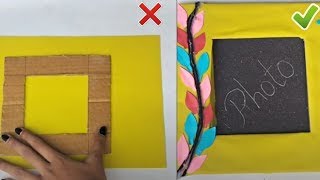
Photo Frame diy Ideas || How to Make Easy Photo Fram at Home || Photo Frame Craft Ideas #craft
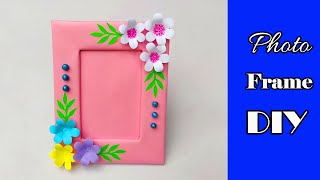
DIY Paper Photo Frame Making Easy Tutorial / How to make a Unique Photo Frame at home
Facts about cardboard crafts and simple electronics
🖼️ The earliest picture frames were used by ancient Egyptians to display painted portraits and protect artwork.
📦 Corrugated cardboard was developed in the 19th century and is surprisingly strong — perfect for sturdy DIY frames.
💡 Tiny LEDs can last tens of thousands of hours and use far less energy than old bulbs, so they’re ideal for a glowing photo frame.
✂️ Papercraft and simple decorations let kids personalize frames using stickers, sequins, and recycled bits.
📸 The first permanent photograph was made in the 1820s, and handmade frames have been a popular way to treasure photos ever since.
How do I make a magic photo frame?
What materials do I need for a magic photo frame?
What ages is the magic photo frame activity suitable for?
What are the benefits and safety tips for making a magic photo frame?
