Draw Anime Eyes With UFOcreator32
Follow UFOcreator32's step by step guide to draw expressive anime eyes using pencils, eraser, ink, and simple shading to practice character drawing.

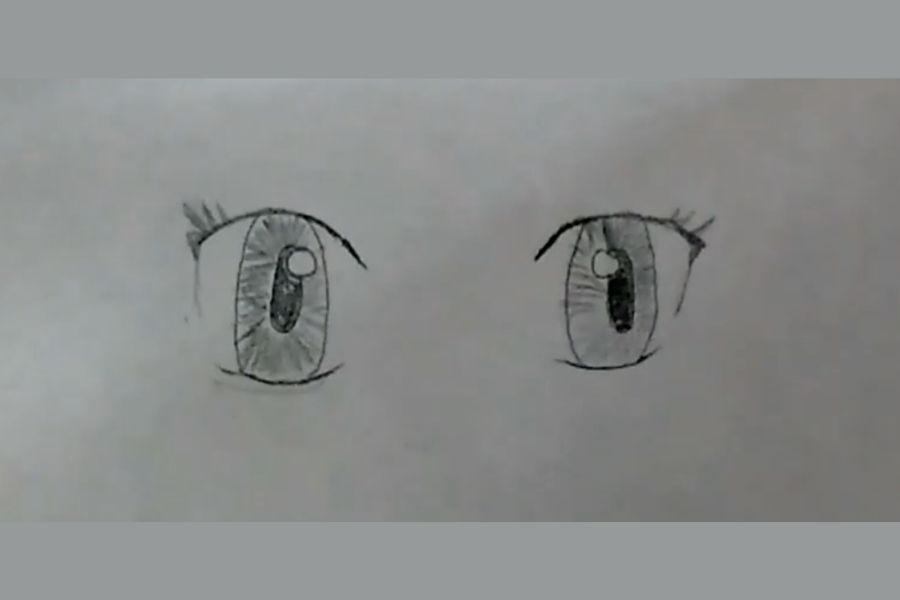

Step-by-step guide to Draw Anime Eyes With UFOcreator32
Step 1
Lay out your materials on a clean flat table so everything is easy to reach.
Step 2
Open UFOcreator32's step-by-step guide or video on your device.
Step 3
Watch the guide section about proportions and basic eye shapes to see how the eyes should sit.
Step 4
Lightly draw the full first eye (outline iris and pupil) following the guide's shape.
Step 5
Lightly draw the full second eye to match the size and position of the first eye.
Step 6
Add the eyelid crease lines to both eyes as shown in the guide.
Step 7
Add eyelashes to each eye using the style the guide demonstrates.
Step 8
Draw the catchlights (small light reflections) in both pupils as the guide shows.
Step 9
Shade the irises and deepen the shadows in the upper iris and eyelid crease following the guide.
Step 10
Gently blend the shaded areas with your blending tool or cotton swab to smooth transitions.
Step 11
Erase any extra construction lines so the eyes look clean.
Step 12
Carefully ink the final outlines of both eyes with your black pen.
Step 13
Wait for the ink to dry completely so it won't smudge.
Step 14
Erase any remaining pencil marks to finish the drawing.
Step 15
Share your finished anime eyes on DIY.org.
Help!?
What can I use if I don't have a blending tool, cotton swab, or the black pen listed in the materials?
Use a clean fingertip, tissue, or a torn piece of cotton to gently blend shaded areas and substitute a fine-tip waterproof marker or micron-style pen for the black pen when you ink the final outlines.
My second eye doesn't match the first—what step can I retry to fix symmetry before inking?
Lightly erase and redraw the second eye using the guide's proportions by measuring the iris size and the distance from the first eye's outer edge with your pencil so both eyes align before you ink.
How can I adapt this activity for younger children or make it more challenging for older kids?
For younger children, give thicker pencils or markers and printed step images or pre-drawn eye outlines to trace, while older kids can follow the full shading, blending with a blending tool or cotton swab, and precise inking steps to add detailed irises and shadows.
What are simple ways to extend or personalize my finished anime eyes after completing the listed steps?
Personalize by changing eye shapes or eyelash styles, adding colored pencils or watercolor after the ink dries, experimenting with different catchlight shapes from the guide, or placing the eyes into a full face drawing before sharing on DIY.org.
Watch videos on how to Draw Anime Eyes With UFOcreator32
How To Sketch Eyes
4 Videos
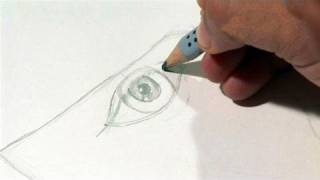
How To Sketch Eyes
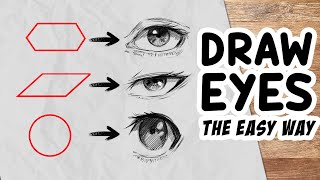
HOW TO DRAW EYES | All styles | Drawlikeasir
How To Draw An Alien UFO (young artists)
How To Draw Perfect Eyes | DIY Course
Facts about character drawing for kids
👁️ Anime eyes are often drawn much larger than real eyes—some character styles use eyes that cover almost half the face to show strong emotion.
🎌 Osamu Tezuka, inspired by Western cartoons like Betty Boop, helped popularize the big-eyed anime style in the 1950s.
✏️ Soft pencils (2B–6B) are great for shading and gradients while harder pencils (H) are perfect for light construction lines.
🖊️ Varying ink pen sizes (for example 0.1mm to 0.8mm) creates line weight that makes eyelashes and eyelids more expressive.
🌟 A tiny white catchlight in the iris can instantly make an eye look alive—its size and placement change the mood of the character.
How do I draw expressive anime eyes step-by-step with UFOcreator32?
What materials do I need to draw anime eyes with UFOcreator32?
What ages is this anime eye drawing activity suitable for?
What are the benefits and safety tips for drawing anime eyes with UFOcreator32?
